Earlier in the week, I showed the Girly Skirts I made for my girls. But I wanted to add a little extra something sweet to the outfits for Valentine’s Day.
Then I had an idea at 2:00 am that seemed brilliant and I wanted to give it a try.
Like most ideas I have at 2:00 am, it didn’t work out exactly as I hoped. In fact, I had to play and play with this project to come up with something I was really happy with.
The idea was to use pom poms, which my girls love.
It turned out to be a brooch for the skirt. A skrooch…. no… a brirt… definitely no.
No, It’s just a brooch… best worn on a skirt. But it might be really cute on a scarf too…. or a coat. In the end, the project turned out to be much more simple that I thought… which I love best of all.
Here’s what you need for this project:
- approx. ten yards of yarn of choice- not too fine or you’ll need more
- small amount of red felt
- small amount of pink felt
- a safety pin or broach pin
- freezer paper
- I will posting a heart template on Saturday…. I used the inside and outside edges of a small cookie cutter.
Here’s how I made this project. Start by making pom poms:
Wind the yarn around your fingers. I used approx. 4 1/2 – 5 yards of yarn. The amount sort of depends on the thickness of your yarn.
Slip it off your fingers and tie a piece of yarn around the bundle, pulling the string very tight. Make sure your string has about a 6 inch tail. That gives you something to hold on to while you’re making the pom poms… and also is what allows the pom poms to dangle from the heart.
Using sharp scissors, cut through the loops.
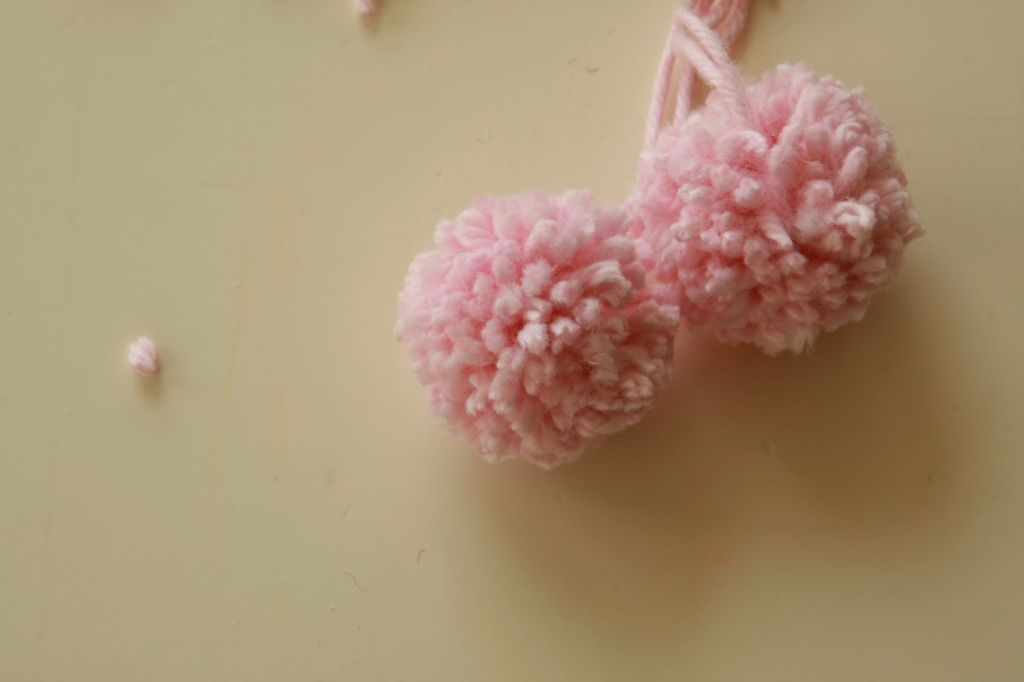
You should have what looks like a really shaggy pom pom. It needs a hair cut.
Give the pom pom a good trim. I need to warn you. You can cut for what seems like forever to get it looking perfect. That’s why I think perfection’s overrated. Your pom pom will be about 1″. Leave on 6″ tail coming from pom pom.
Repeat the process and make a second pom pom. Get out your broom.
Next for the heart:
Trace your two hearts onto freezer paper. I used the outside and inside edge of the cookie cutter. My outside heart is about 2 1/4″ wide and the inside heart is about 1 3/4″ wide.
Iron the freezer paper template onto your felt. Make sure the waxy side is facing down toward the felt. You will be making two red hearts and one smaller pink heart.
Cut out the heart.
Peel off the freezer paper. Using the freezer paper heart template, make a second red heart.
Repeat the process to make the smaller pink heart. Now you should have two red hearts and one smaller pink heart.
Blanket stitch the pink heart to the first red heart.
Now for the second heart: Clip the back twice for a pin to be inserted later.
Like so.
Tie the top of the two tails of the pom poms together. Clip the yarn at the top close to the knot. On the second heart with the slits, using a zigzag stitch, sew the pom poms to the heart. I made sure my pom poms came out on either side of my heart.
Place the two hearts together with the strings from the pom poms sandwiched in between and stitch around using a straight stitch, right along the outside edge of the pink heart.
And it’s done. I stuck a safety pin through the slits to attach to the skirt. And that’s it.
This project was easy and I absolutely love how it dresses up the skirt.


cute skirts and specially that broach. lovin’ it <3
Aww, I love this! Thanks so much for sharing such a sweet embellishment. I’ll be linking.
What does the freezer paper do for the felt?
These are so adorable! And the hearts are the icing on the cake!
bet the girls just love the pompoms bounce as they dance around. Hi, I just found your blog from one pretty thing. The skirts are sweet too!
Will be back to look around.
Thanks so much for posting your 2 am. idea! Sometimes those are the best ones:)
My girls are going to love these. I love the pom-poms. I think I now have a bit of a pom-pom addiction:) I had no idea they were so easy!
[…] week, when I was fiddling with making my Pom Poms and Hearts Brooch, I made some fabric covered buttons. I wanted to incorporated them into the brooch. But after […]
I wanted to let you know I tried this project and really had a lot of fun with those pom-poms.
I also wanted to let you know that I used a barrette in one(instead of a pin) and it looked adorable. Here is a link to my blog if you’d like to see! Thanks again.
http://noggintoppers.wordpress.com/
Thanks for this beautiful idea! I have thought about sharing it with my readers and I hope you are not sorry if I have inserted her in my post of S. Valentine (http://bimbumbeta.blogspot.com/2010/02/s-valentino-piccoli-pensieri-amorosi.html). If you had to not make you like I will handle to remove the link to your blog. Regards, Beta
It’s the details that count. Love this!
i just foind your blog and i love it!! i sew and do lots of crafts with my kids, my daughter is 6 and she will simply love this pom pom idea!! thanks for sharing it !!