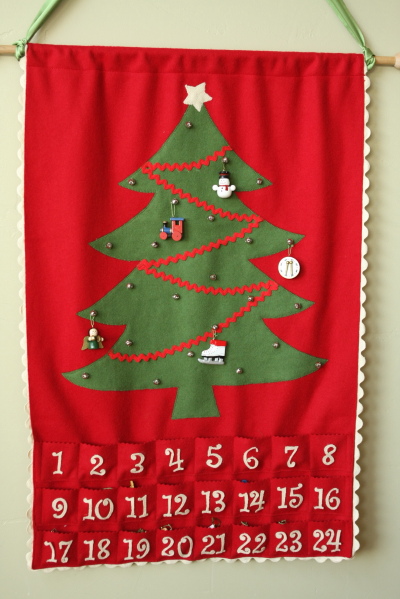
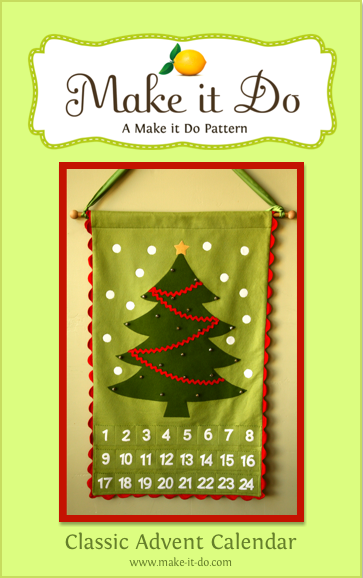
First, I want to thank you all for the overwhelming encouragement to create this advent calendar pattern. I am so happy to say it is finished!
Sewing the Advent Calendar was an absolute joy and it’s even been tested by my intrepid testers. For this new version, I was able to use what worked well from my original:

…the template I had created for the Christmas tree, the dimensions, the bells, and the fun rick rack trim. But, I was also able to make some nice improvements.
Here’s what changed:
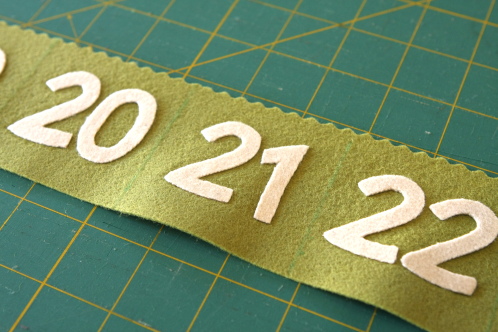
 1. The Numbers- The font I used originally was Curlz. I love the font, but cutting them out was a BUGGER! The other problem was the font is so thin, that when I tried to stitch a number to the pockets, the wool started to pull apart. I ended up with a combination of Heat ‘n Bond and fabric glue with no stitching. Every year I’ve had a few casualties and needed to re-glue a number or two.
The new numbers are CK Frosting Font. They are more sturdy and I was able to blanket stitch them on… suitable for a lifetime of use, dare I say, even sturdy enough to pass down to next generation of merrymakers.
 2. I’ve added a backing. This is a major improvement over the original. It not only looks cute, but it adds stability, particularly to the pockets: I used a fun polka dot fabric.
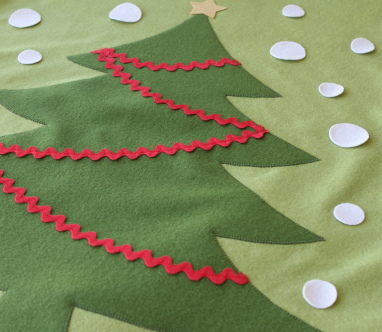
 3. It has the option of adding “polka dot” snowflakes for an updated look.
I love the new version. The green background with snowflakes feels a little more updated. But, the pattern can still be made in the traditional red, without the snowflakes for a retro, nostalgic version, which I love every bit as much.
All in all, I couldn’t be happier with the results. For anyone interested in making this before December 1st, there is hope. I was able to make mine in several days!
Here is the pattern Supply List:
- 1 yard light green or red felt fabric for front body and pockets
- ½ yard dark green felt for Christmas Tree
- White or cream felt for snowflakes and numbers
- Matching thread for felt and medium rick rack
- 2/3 yard quilting cotton for backing
- 3 yards large rick rack for trim
- 1 ½ yards medium rick rack for tree embellishment
- 1 yard Heat ‘n Bond
- 24 small bells (I used 3/8” sized bells)
- 24” of ½” circumference dowel and 2 decorative ball end caps
- Decorative rope or ribbon for hanging
- 24 small ornaments (size 2” high or less)
- Water Soluble Fabric Marking Pen
- Sharp fabric scissors
- Ruler, Mat and Rotary Cutter
- Optional: 45 mm Pinking Blade for Rotary Cutter
Also, we’ve found lots of online sources for the miniature wooden ornaments. My family members who are making this Advent Calendar are purchasing theirs from Old World Christmas.
To purchase the pattern, click the Buy Now button below to checkout via PayPal. Once payment is received your .pdf pattern will be emailed to you for instant download. Pattern includes instructions and templates.

Wow, you made the pattern so quickly! The new version looks super cute – I like the snowflakes. :)
Yay Calli! It looks wonderful!
I really liked the retro version but I think you have improved it.
I am so glad you made the pattern (I just got it)! I’ve been wanting to make something similar for a while, and this is perfect…I am glad I won’t have to do all the guess work of figuring out sizing, etc. Thank you!
Thanks for the pattern, I’m looking forward to sewing it over the weekend!
I’ve almost finished my daughter’s calendar — with a color scheme of bright pink, aqua and neon green. We love it. Thank you!
Cute pattern! Do you hand cut out the numbers?? YIKES!
My sister-in-law made an Advent Calendar like this for my daughter about 30 years ago. She handmade about 20 small felt ornaments. All these ornaments were sequined!! The other ornaments were small Christmas pins. A gold sequined star topped the tree. I have passed the tree down to my daughter so now her children get to enjoy it. In all my years of sewing I’ve not seen a pattern for this, so I am so happy you have revived this advent calendar for future generations!!!
I just found your blog and stumbled across this pattern. My first grade teacher(in 1968!) made an advent calendar for every student in her class that year. It looked just like this one! We were her first class out of college and she loved us as we loved her. What great memories this brought back!
Hi Calli!
Please check your e mail. My comments are there. Sure was a pleasure to meet you on this site this morning…ESPECIALY the wonderful Christmas Calendar.
Ann
Oh my gosh, we have this exact advent calendar that my Grandma made! Glad to find the pattern here, my grandma’s pattern is hard to read!
Thank you for posting these pictures! I’m inspired to make an advent calendar this year and this looks a lot like what I’d like to do! Heading to the fabric store now :)
Hi there! Thanks for the pattern- I’m enjoying it! Just a note: if the fabric you choose for the backing has a direction (mine was a vertical Christmas tree pattern), you’ll need more than 2/3 of a yard- you’ll need more like 1.25 yards, or else you’ll have to use the fabric sideways. I could have figured that out if I’d read more carefully before shopping, but I thought I’d note it here in case you ever make updates to the pattern!
I got mine done! Thank you so much for the pattern! You can check out mine:
http://daylifein.blogspot.com/2011/11/it-is-done.html
I love the advent calendar. I’ve been looking for something just like this. Before I purchase it, can you tell me the finished dimensions of the calendar? And also, what size are the pockets? Thanks!
Hi Missy, the finished dimensions (not including the rick rack border) are 20 3/4″ x 31 1/2″ The pockets are 2″
Cheers,
Calli
I use the miniature hallmark christmas ornaments…really cute!!
Not familiar with pdf patterns, will I have to tape pieces together to get the full size? What is the dimension of the finished project? Thank you.