Hi, I’m Calli
Welcome! If you enjoy your visit, be sure to follow me:
Oh My Stars!
Canning Day Quilt

Archive for January, 2010

Read Aloud Books for my Girls
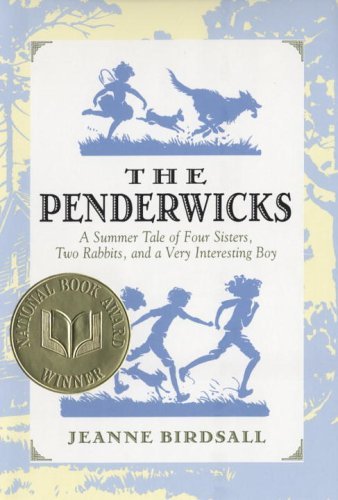
Over the last few weeks, I’ve had the pleasure of reading aloud The Penderwicks: A Summer Tale of Four Sisters, Two Rabbits, and a Very Interesting Boy to my girls. We are nearly to the end of the book and the girls and I have thoroughly enjoyed every minute of it.

It’s a sweet tale of four very clever, self-sufficient sisters and their summer vacation.  The Penderwick girls’ mother died when the youngest sister was a baby.  The girls have learned to care for each other with the help of their kind though somewhat absent-minded father.  Each of the girls have wonderfully distinctive personalities and interests.   And I love the sense of family pride and honor each of the girls have.

The adventures in the book are decidedly ordinary, but they are told with such insight that they seem like grand adventures.  And isn’t that exactly how childhood is?  You don’t need to ride a camel across the Gobi desert to have an adventure…. as a child, you just need to search for a lost rabbit or climb a tree to escape from a cruel landlady.  The Penderwicks has left us wanting to read just one more page… Pleeeease.  And I know we will all be sorry to have this wonderful story come to an end.

Since I mention great read aloud books for girls, I have to share one of my very favorites: The Ordinary Princess. I loved this book when I was young and I could hardly wait to read it aloud to my girls.

It is a story of a young princess who is the seventh princess in a family of lovely princesses… each one more beautiful and more perfect than the last.  She is expected to be the most splendid princess of all.   That is, until a fairy godmother comes to her christening and gives her the magical gift that she should be ordinary.

While the gift of ordinariness shocks and dismays her family, the ordinary princess, Amy, grows up to be a delightful girl.  She has none of the qualities valued in a princess, she has mouse brown hair and freckles and would rather climb trees than play the harp.  But rather than being cool and austere like her sisters, Amy is lively, quick-witted, and kind.  When her parents attempt to marry her off to a stuffy prince, she runs away… and has adventure and in the end she falls in love with someone as ordinary and extraordinary as she is.

I love the values this book teaches.  You don’t need to look or be what our society thinks is perfect.  The way to happiness is to be true to your self.  There are gifts whose value is far above physical beauty.

Valentine Flags

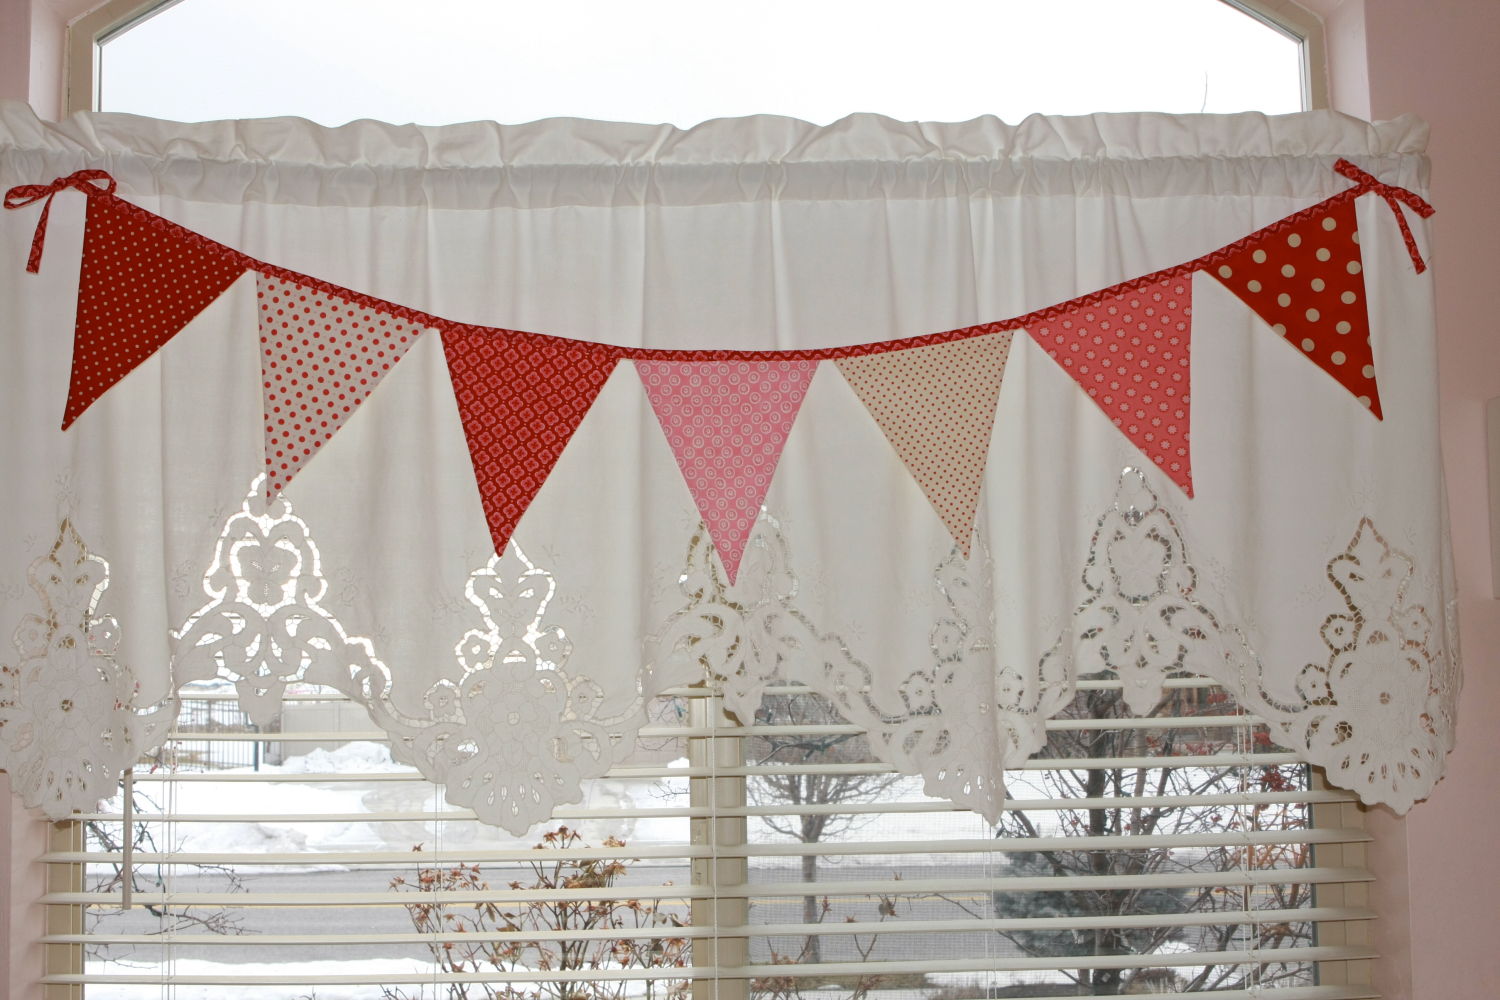
My sister-in-law Marcie inspired this cheery little project (She wanted to make one for her home).  This January has been so dreary… I think I’m craving a bit of color to brighten up my house.  A Valentine Bunting seemed like the perfect thing.  And it project uses fairly small pieces of fabric and can be made of scraps, making it inexpensive too.

Like most of my favorite projects, this project is very easy and fast.  (This would be a great project for a beginner.)

To make a Valentine Bunting (or any occasion bunting really) you will need:

  • 8″ x 10″ squares for each flag
  • 1/2 yard of inexpensive muslin for the back of the flags (if you cut carefully you will have left over fabric.)
  • 1/4 yard of fabric for binding (or 2″ wide x 88″ piece of ribbon folded if you wish)
  • freezer paper
  • ruler and rotary cutter or scissors

Here’s how:

To make the template for the flags:

  1. On the freezer paper draw an 8″ line, making a mark at the 4″ (half-way point).
  2. Measuring at a 90 degree angle from the 4″ mark, measure 9 1/2″.  (It will look like a “T”)
  3. Connect the points of the triangle.
  4. Cut out the template.  (I used my rotary cutter.)

With the waxy side down to the right side of the fabric, iron the template to your fabric.

Measuring a 1/4″ seam allowance on the sides, cut out the flags.  The top of the flag can be cut right along the template.

Peel off the template and reuse to make the rest of the flags.  I made seven flags for my banner.

Repeat the process for the muslin.  An FYI:  I cut the muslin careful to maximize the fabric.  Leave the fabric folded so you can cut two at once.  Then cut (2) one direction and flip the template and cut (2) the other direction.

Pin right sides together.

Using a 1/4 inch seam stitch together, leaving the top of the flag open.  At the point of the flag, make a single stitch across before turning and stitching up the other side.

Clip the tip.

And I use my handy dandy chop stick to turn my flag right side out.  I carefully used a bamboo skewer to get the tip pointed nicely.  (Careful is the optimal word, if you push too hard with a bamboo skewer, you can poke it right through the fabric.)

Now to make the binding.  Cut (2) 1 3/4″ x 44″ strips.  (2 strips is enough for 7 flags)  Make sure to cut off the selvages.  Stitch the two strips together.  Press the seam apart.

To make my binding I use my Clover Bias 1″ Tape Maker.  Press as it comes out of the tape maker. 

Then fold and press in half.

Line the flags up in a pleasing order.  Because I made 7 flags, my 4th flag was my center flag.  I lined up the center of my 4th flag with the center of my binding.  Slip the flag into the binding and pin into place.  I placed my flags right next to each other.

I finished the ends of my binding by folding them in like shown.  Stitch along the edge of the binding to finish.

That was the easy part.  The hard part is deciding where to hang my flags.  It looks so fun swagged across a window.  I love it pinned under my mantle.  It also looks great on a wall, or over a kitchen table.  My girls want to use it for their upcoming birthday.  They are bright and fun.  If you need a bright spot in the house this Winter, give this easy project a try.

Archives


Virtual Quilting Bee