Archive for March, 2010
Make Ahead Muffins
There’s nothing quite so good as freshly made muffins in the morning.
But most mornings are too hectic to make muffins from scratch.
Cold cereal anyone?
Not if you have bran muffin batter waiting for you in the refrigerator. Spoon it into a tin and pop them into the oven, and before everyone is done showering, hot muffins are waiting.
My mom has made these delicious bran muffins since I was a little girl. The recipe came from an old neighbor… and it’s been a family favorite ever since. Every once in a while my mom will show up on my doorstep with a batch… It’s a gift that’s especially appreciated when life is hectic. A batch makes a great gift for a friend at the birth of a new baby.
One batch makes 5 1/2 dozen muffins- so you’ll have more than a few mornings of muffins. And the batter keeps in the refrigerator for about a month… if they ever make it that long.
Here’s the recipe:
Busy Day Bran Muffins
- 2 c. boiling water
- 5 tsp. baking soda
- 1 c. shortening
- 2 c. sugar
- 4 eggs
- 1 qt. buttermilk
- 5 c. flour
- 1 tsp. salt
- 4 c. All Bran
- 2 c. Bran Flakes
- 2 c. chopped dates (optional)
- 1 c. chopped pecans (optional)
Add baking soda to boiling water and let cool. Cream shortening and sugar. Add eggs. Stir in buttermilk. Stir in flour that has been sifted with salt. Add water/baking soda mixture.
In a large bowl, stir together All Bran, Bran Flakes, dates and pecans. Pour buttermilk mixture over and stir lightly. Cover tightly and refrigerate for a minimum of 12 hours. Be sure not to stir again. Batter keeps in the refrigerator for approximately 4 weeks.
To bake: Preheat oven to 375 degrees. Drop by spoonfuls into a greased muffin tin. Bake at 375 degrees for 20 minutes.
Makes 5 ½ dozen.
Click on over to Tasty Kitchen for my printable recipe.
Here’s how to make them:
The bran in these muffins comes from cereal. I always by Western Family Brand of Bran Flakes which costs about 1/2 the price of Kellogg’s Bran Flakes. I haven’t found a good substitute for the All-Bran… so try to pick it up on sale.
Bring two cups of water to a boil. Add the baking soda and stir to dissolve. Set aside to cool.
Cream together shortening and sugar. We’ve tried to substitute the shortening for butter and it was a flop. This is the only recipe I use shortening in, but unfortunately it’s a requirement. Since I just don’t use enough shortening to use a can before it goes bad, I buy the sticks and they are SO nice. I really hate measuring shortening into a cup!
Add the eggs. And cream together.
Add the buttermilk and stir in well.
I sift the flour and salt directly into the mixture… saves me washing another bowl.
Add the cooled water/baking soda and mix together.
In a large bowl, mix together your cereals, date and nuts. I don’t add dates and nuts. My mom never did and I don’t either. I love nuts. I just don’t like them in my muffins. I wish I was, but I’m not a fan of dates. I blame it all on my mom.
Pour the buttermilk mixture over the cereals (and dates and nuts if you are so inclined) and fold together gently. To fold, I start in the center and fold gently in a circular motion around the bowl.
Place in an container with a tight lid and put in the refrigerator for at least 12 hours. Make sure not to stir again. My mom saves 1 gallon plastic ice cream containers to keep the batter in. I use a tall thinnish 4.5 quart Rubbermaid container because it doesn’t take up too much refrigerator space.
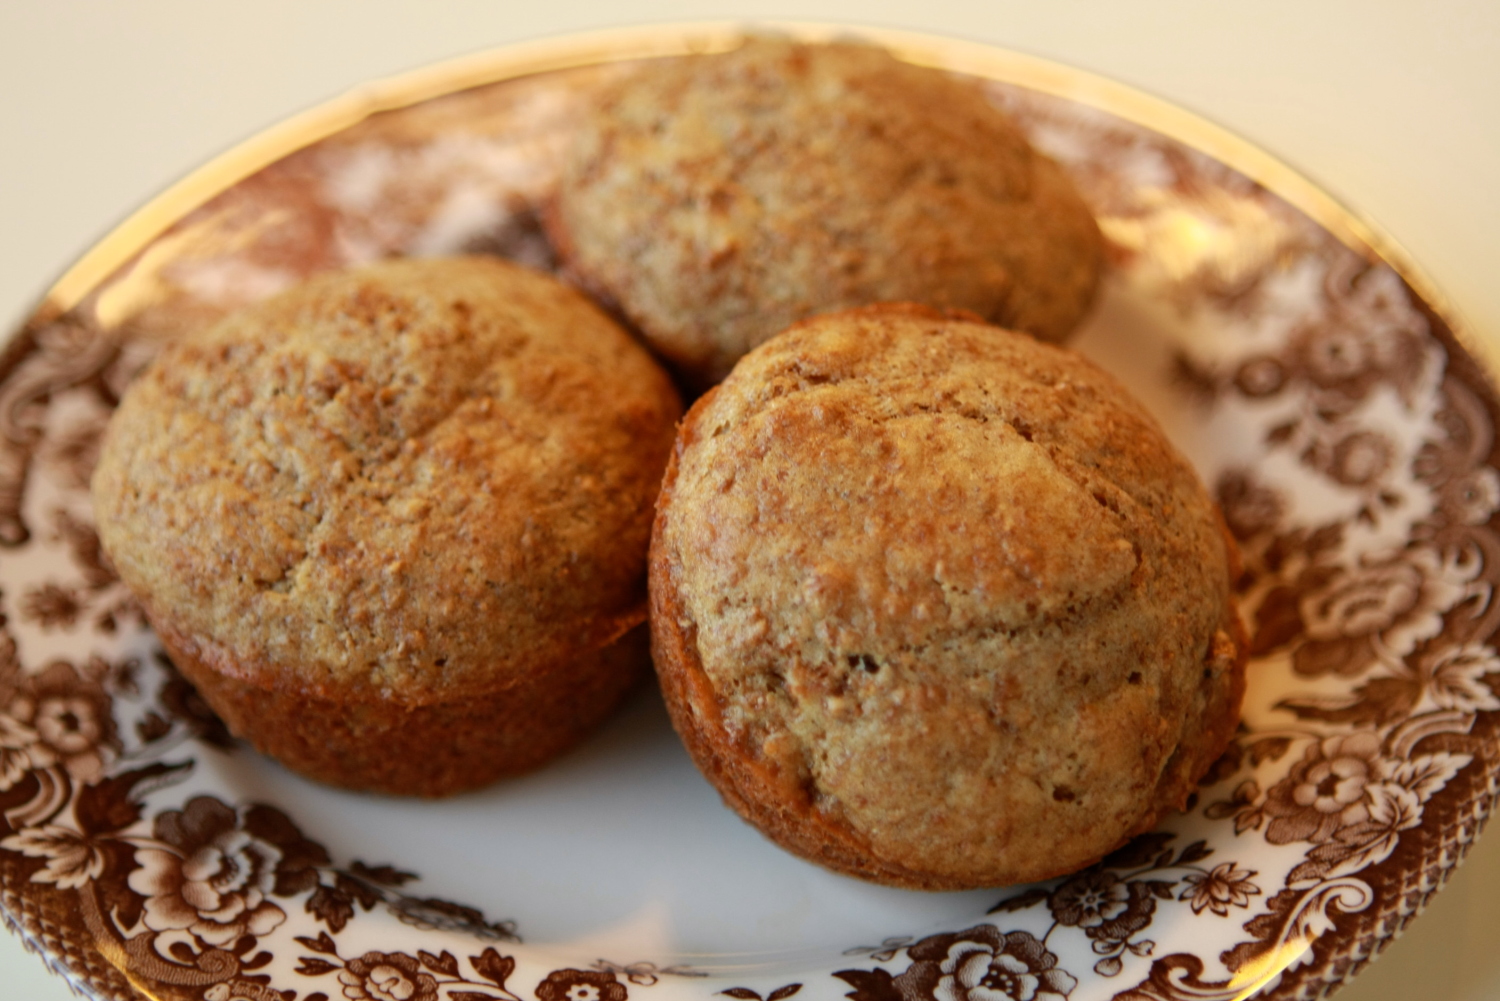
To bake muffins preheat the oven to 375 degrees. Spray a muffin tin with cooking spray. Drop the batter by spoonfuls into the tin. (I never use a paper cup for these muffins.) Bake at 375 degrees for 20 minutes.
They are at their best served warm. A little pat of butter on them is an indulgence… so, so good. They are still wonderful without any thing at all.
And they really fill you up and stay with you for a while (unlike a bowl of cereal).
Needles on the Go
I’ve been on the go with my sewing class and needed a safe place to keep my needles.
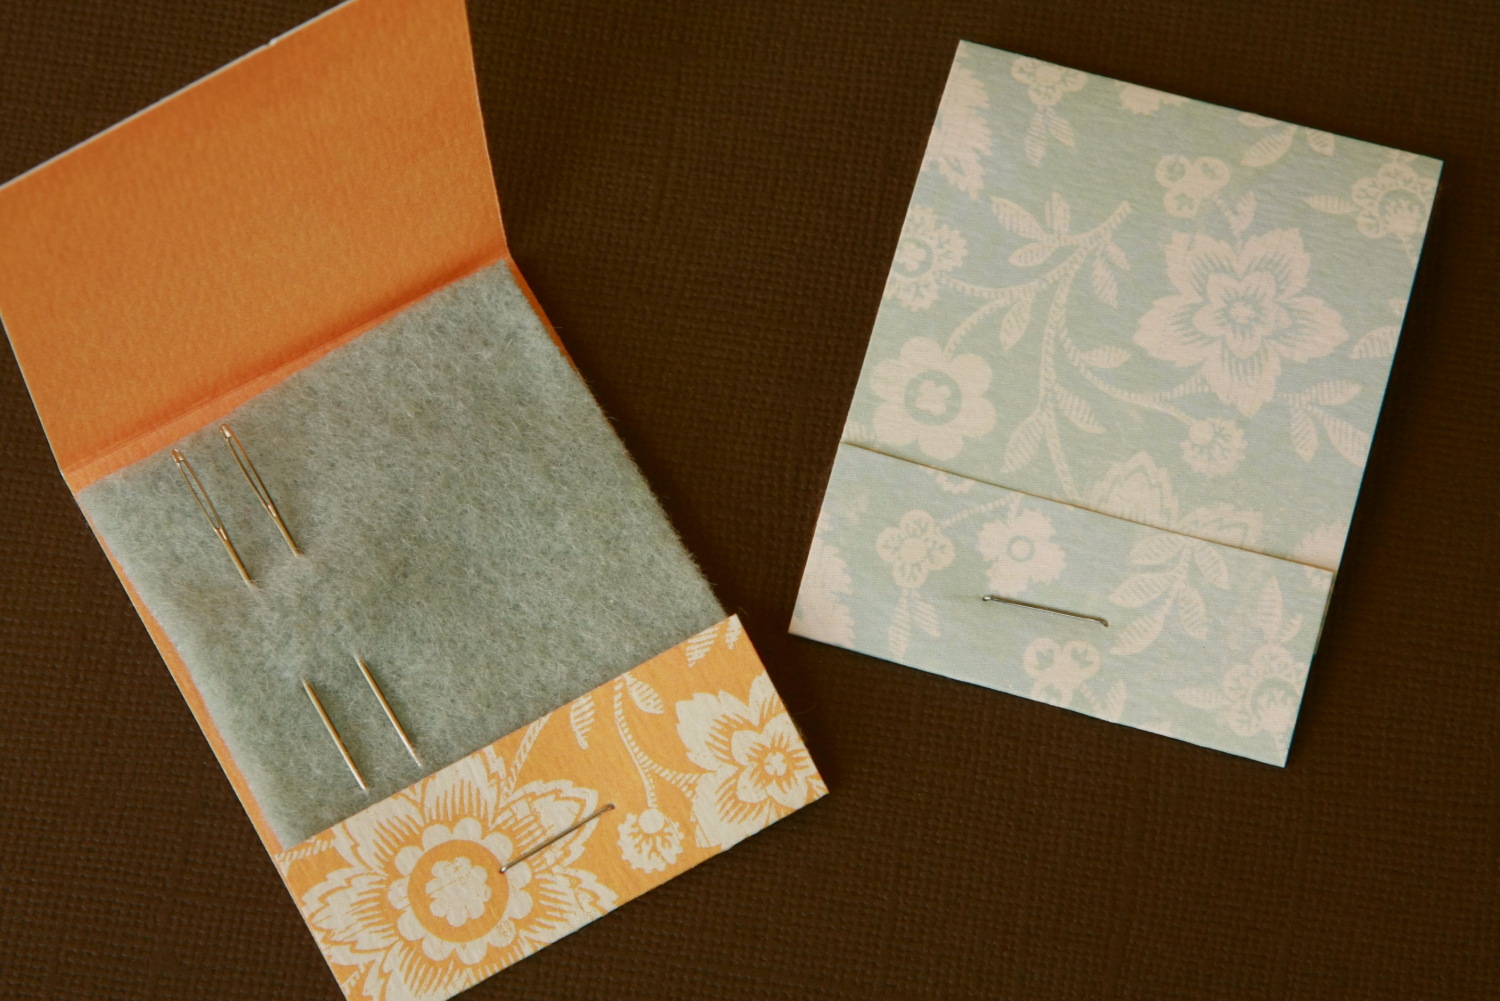
The solution was this cute little Matchbook Needle Keeper. It’s so easy to make, it only takes a few minutes.
Here’s how to make one:
Cut a piece of scrapbook cardstock weight paper 5 3/4″ x 2″.
Using a bone folder or comparable tool, fold the bottom up 3/4″ and fold the top down 2 1/4″
It should look like this:
Next cut a piece of felt 2 1/2″ x 2″. I used wool felt.
And staple the felt into the “matchbook” needle keeper.
Just add needles. It shuts just like a matchbook.
Like many of my favorite projects, it was quick and easy… and used scraps from other projects… so it was essentially free.
I just love when form meets function.