Archive for March, 2010
Salad for Dinner
Lately, instead of wanting beef stew or shepherd’s pie, I’ve been craving lighter foods like strawberries, grilled fish or chicken, asparagus…
Does that mean Spring is on it’s way? Please say it’s so.
Last night’s dinner fit that bill perfectly. I totally ignored my windows shaking from the chilling winds and the rain and sleet coming down and made one of my favorite salads:
Sesame Chicken Spinach Salad. The sesame oil and mandarin oranges give this salad a slightly Asian flair. The grilled chicken is my favorite and one I use in more than one recipe. With the pasta, pears, grapes, and spinach, it all comes together to make a delicious meal. I say meal, because this salad is filling. It is easy enough for a weekday night and nice enough to serve for a party.
Here’s the recipe:
Sesame Chicken Spinach Salad
Salad ingredients:
- 5 cups cubed grilled chicken breasts (about 4 large chicken breasts)*
- 2 cups seedless red grapes (halved)
- 3 cups packed torn baby spinach
- 8 oz. fusilli pasta (cooked)
- 1 jar marinated artichoke hearts (drained & quartered)
- 1 bunch chopped green onions
- 1- 15 oz. can mandarin oranges
- 1 pear (diced & tossed w/ lime juice)
- 2 Tbs. toasted sesame seeds
Dressing:
- 1/3 cup extra virgin olive oil
- 3 Tbs. sesame oil
- 1/4 cup sugar
- 2 Tbs. balsamic vinegar
- 1 tsp. salt
- 2 tsp. dried minced onion
- 1 tsp. fresh lemon or lime juice
- 2 tbs. minced fresh parsley
Toss all the ingredients together. Whisk together the ingredients for the dressing. Dress the salad, right before serving.
*Marinade for chicken
Approximately one third each of the following ingredients:
- 1/4 cup Teriyaki sauce (soy sauce, ginger, sugar or any commercial brand)
- 1/4 cup Lawry’s Mesquite-lime Marinade
- 1/4 cup Italian salad dressing (Newman’s Own Balsamic Vinaigrette or Italian dressing (any brand but not fat-free)
Marinate chicken for 1-4 hours (not overnight)
Sprinkle generously with lemon-pepper before grilling. Grill chicken until cooked through.
This recipe serves between 8-10 people.
I will be posting a printable link on Tasty Kitchen just as soon as it’s available.
Prepping the vegetables takes only a few minutes.
Have you noticed grapes have been on sale lately? That makes the kids happy.
I love pears in salad.
Squeeze of bit of lime on the pears to keep them from turning brown. (You need a little more for the dressing… so don’t use it all.)
Open a few cans.
And grill up the chicken. Let it stand for about 15 minutes before cubing it up and throwing it into the salad.
No need for chopping, just tear up the spinach.
And don’t forget the toasted sesame seeds in the salad. And speaking of sesame…
I didn’t get a good shot of the dressing other than this ingredient… the key to this salad’s delicious flavor.
Oh see, I did get a shot of the dressing. It’s nice and dark thanks to the balsamic vinegar. I love they way it coats the salad. Dress the salad just before serving.
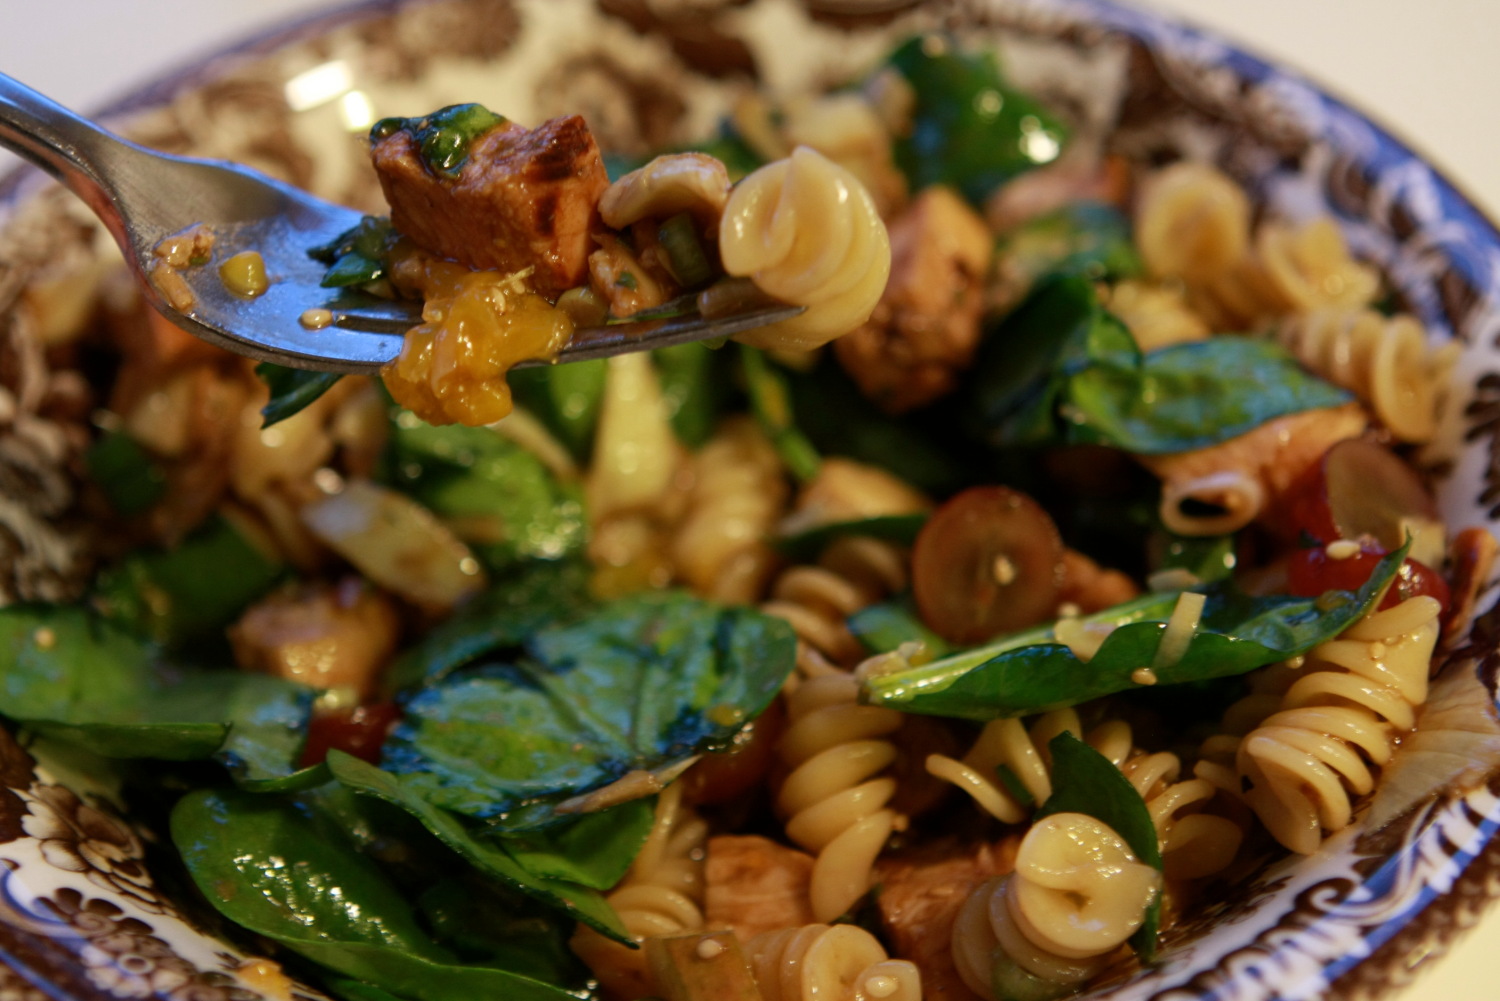
Oh yum, that fork went right into my mouth. Served with rolls hot out of the oven, I loved this dinner.
Cutting Fabrics for a Quilt
I hope there are a few other beginning quilters out there who can benefit from the lessons I’m learning from my mom as I make a quilt for my son. Choosing fabrics was the first in my series of posts on beginning quilting.
My next step is to cut all my fabrics and get them ready for piecing.
Now I cut fabrics all the time for various projects, but cutting for a quilt requires precision. So I dropped by my Mom’s house the other day for a dust up lesson on how to accurately cut my stack of fabrics. My mom has taught quilting classes for many years, and I feel so lucky to have her as a resource.
First off, she said it’s important to have a good mat, ruler and sharp blade. She recommends before buying a ruler, really looking at them carefully and find one you are comfortable with, one that is easy to read.
The next key to accurate cutting is to carefully press all your fabrics first.
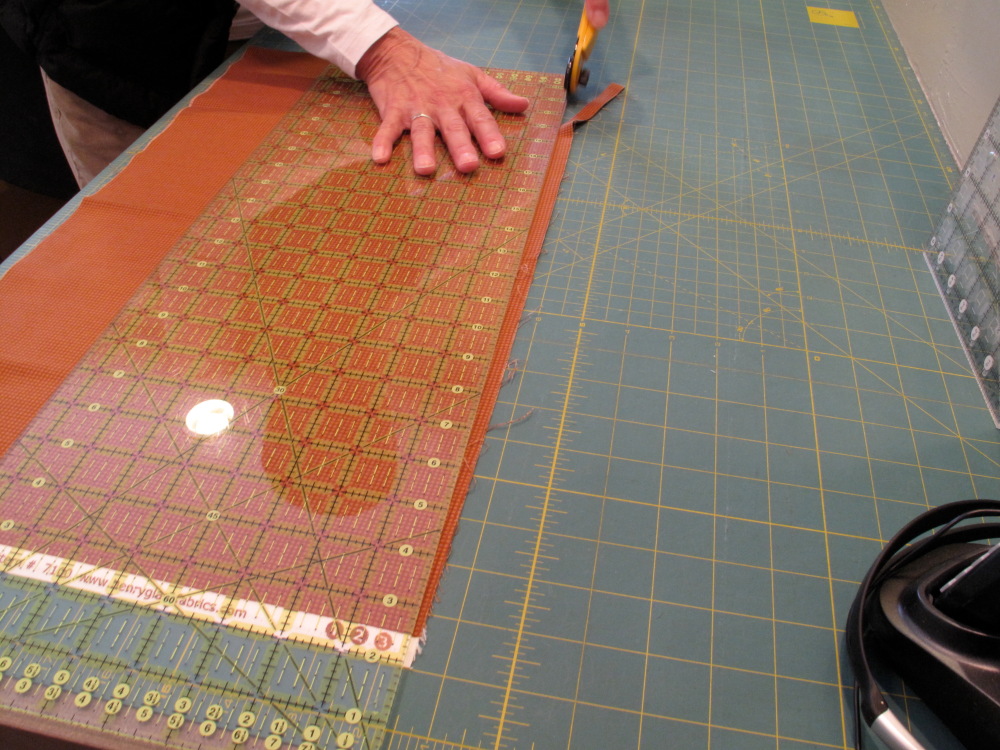
Now it’s time to square up the fabric before cutting. Always use the folded edge of the fabric to square up the ruler.
This next advice saved me many a slipped ruler and subsequent crooked fabric when I learned it. As you cut, carefully “walk” your hand down the ruler. That way you never take you hand off the ruler and the ruler won’t slip.
The rule of thumb is you can cut up to 4 layers of fabric accurately…. my mom admits she sometimes breaks that rule and cuts up to 6 layers with a sharp blade. But she is a pro and I’m sticking to 4 layers.
She also stressed the old adage: “Measure twice, cut once.”
Organization is another important part of cutting. She folds each piece and stacks them as she cuts to keep them in order. She also folds up any worthwhile scraps and sets them aside so they don’t get mixed back up with fabrics for the quilt.
Thanks Mom for the lesson… I can’t wait to move on to the next step, piecing my quilt together. That’s where the fun really starts.