Hi, I’m Calli
Welcome! If you enjoy your visit, be sure to follow me:
Oh My Stars!
Canning Day Quilt

Archive for the ‘make it a party’ Category

A Party for Little Cooks
IMG_0292

I love to throw birthday parties.  I think my heart will break when my kids get too old for them.

The best kind of party is a homemade party… which means making invitations, decorations and party favors.

One of my favorite’s was a Cooking Party for Lily and Emma’s 5th birthday.  Oh, wow… was it really two years ago?  Well, I loved it so much I wanted to share some of the ideas with you.

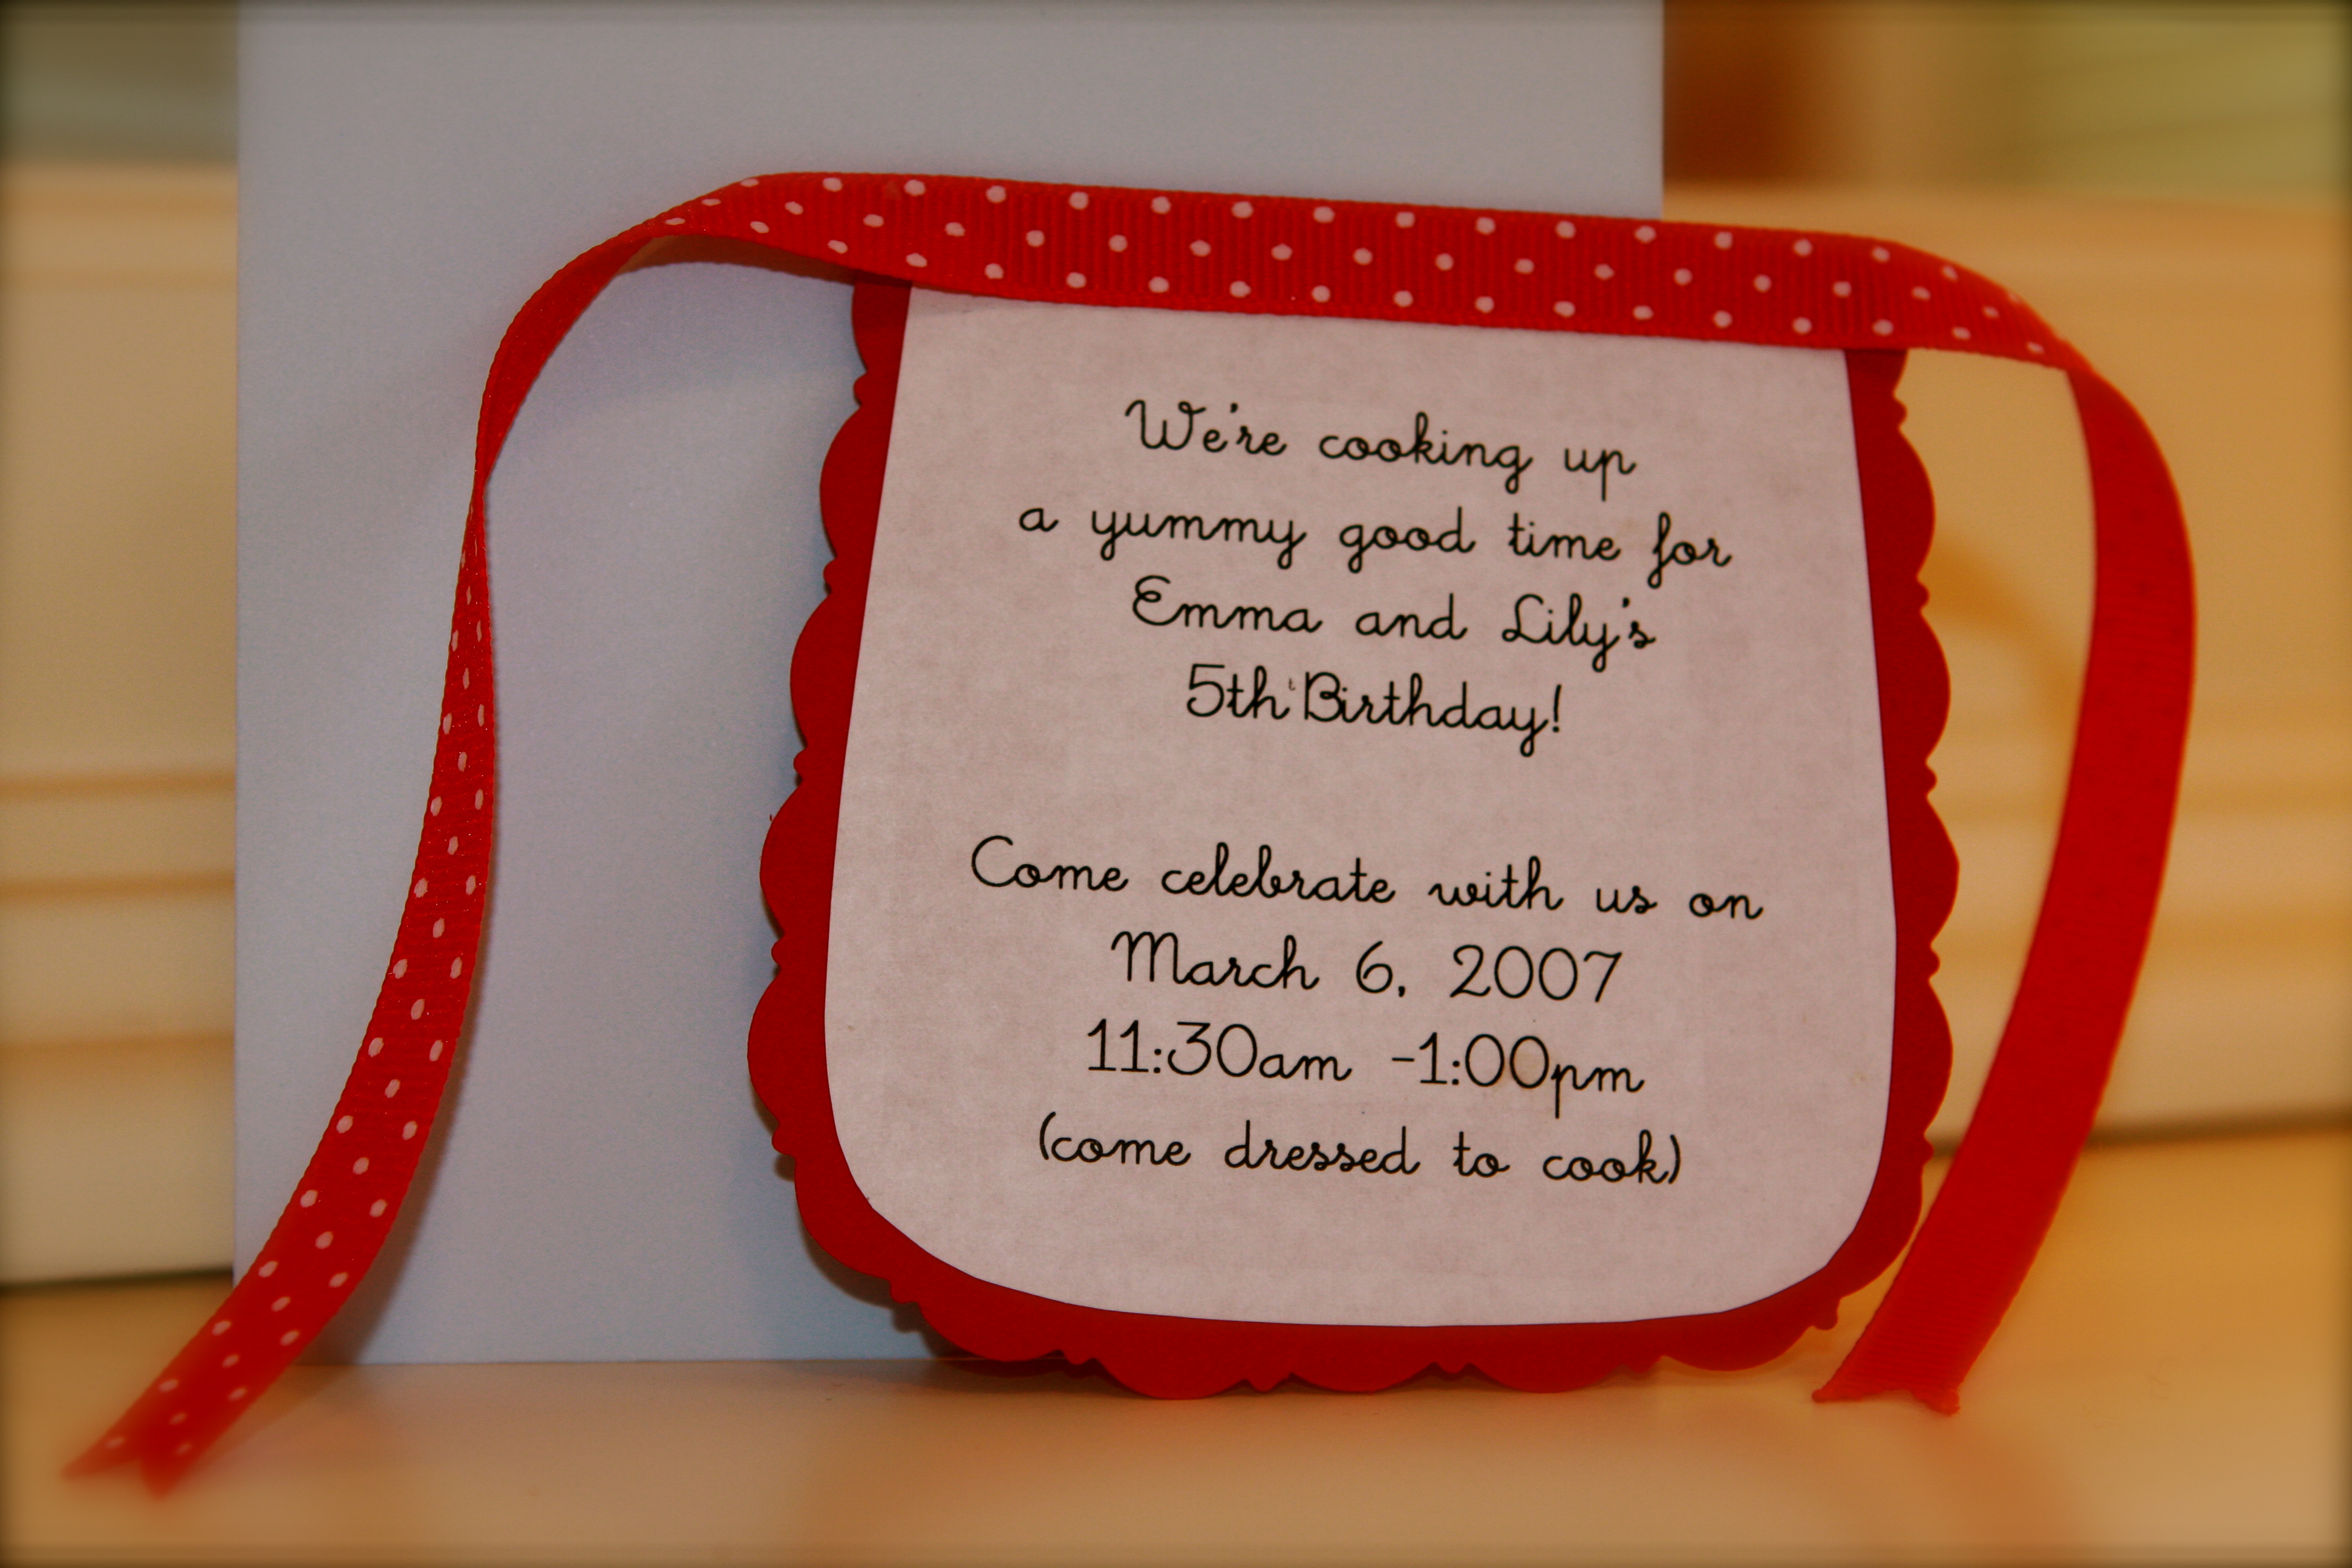
First I made the invitations… little aprons, of course.   I printed the text out on white paper using Little Days typefont. ( I love Little Days font.)  I drew a simple apron template, centered it over the printed text and cut them out.  I glued the white aprons on red cardstock and cut around each using Fiskars Paper Edger Scissors.  It looked just like ruffled trim.  I glued a piece of ribbon along the top for the apron ties.

I decided the colors of the party would be red and light blue.  And everything would be polka dots.

Party favors are always tricky for me.  I don’t like cheap disposable toys and I try not to give lots of candy.  But, I am also trying to “Make it Do”, which means I can’t spend a lot of money either.

IMG_2941

The answer was to roll up my sleeves and make some aprons.  I bought fabric on sale and designed a simple little apron pattern.  I enlisted my mom to help me sew.  She has taught me how to squeeze blood out of a turnip… and we were able to make 8 aprons out of very little fabric.

For another party favor, I sent a note with the invitation asking for the child’s favorite recipe.  I copied all the recipes and made them into little recipe books.  It was called “Lily and Emma Among Friends: Our Favorite Recipes.”  The recipes were named things like “Grace Loves to Make Saturday Morning Biscuits with her Daddy” or “Eliza Prefers Homemade Mac and Cheese” and “Madeleine Loves Grandma Clark’s Famous Dinner Rolls (especially the dough)”  My girls have loved trying the great recipes from their friends.

For the activities, I made little pizza rounds for each girl and let them create their own mini pizzas.  Because it was for little girls, I cheated and used Rhodes frozen rolls.  I just rolled them out thin, pricked the dough with a fork, then pre-baked the rounds for two minutes on a pizza stone before the party.  I set out all sorts of toppings for the girls to get creative.   They loved making them.  Some girls made plain cheese pizzas and a few girls made mini mountains out of the toppings!

While the pizzas were cooking, the girls made their own fruit kabobs.

After eating their lunch, the girls got to decorate large cupcakes, which they took home with them in little white bakery boxes labeled with polka dot paper and their name (in the Little Days font of course.)

IMG_2956

Since they were taking home their cupcakes as a party favor, we needed a cake!  My creative sister-in-law Marcie Jane gave me the idea of using Necco’s candies to make the polka dots.  I made a two layer cake, frosted with blue frosting and pressed the Necco’s into place.  It doesn’t get much easier or sweeter than that.

In the two birthdays since that cooking party, my girls have asked for the cooking theme again twice.  I think it was a big hit.  With a little work, you can make a birthday memory that is wonderful… without spending a lot of money.

Make it Do… a Cowboy Party

Benjamin loved his Cowboy Party!

Are you ready for a great hoedown?

Here’s a fun birthday party for a little boy.  Cuz what boy doesn’t love cowboys?

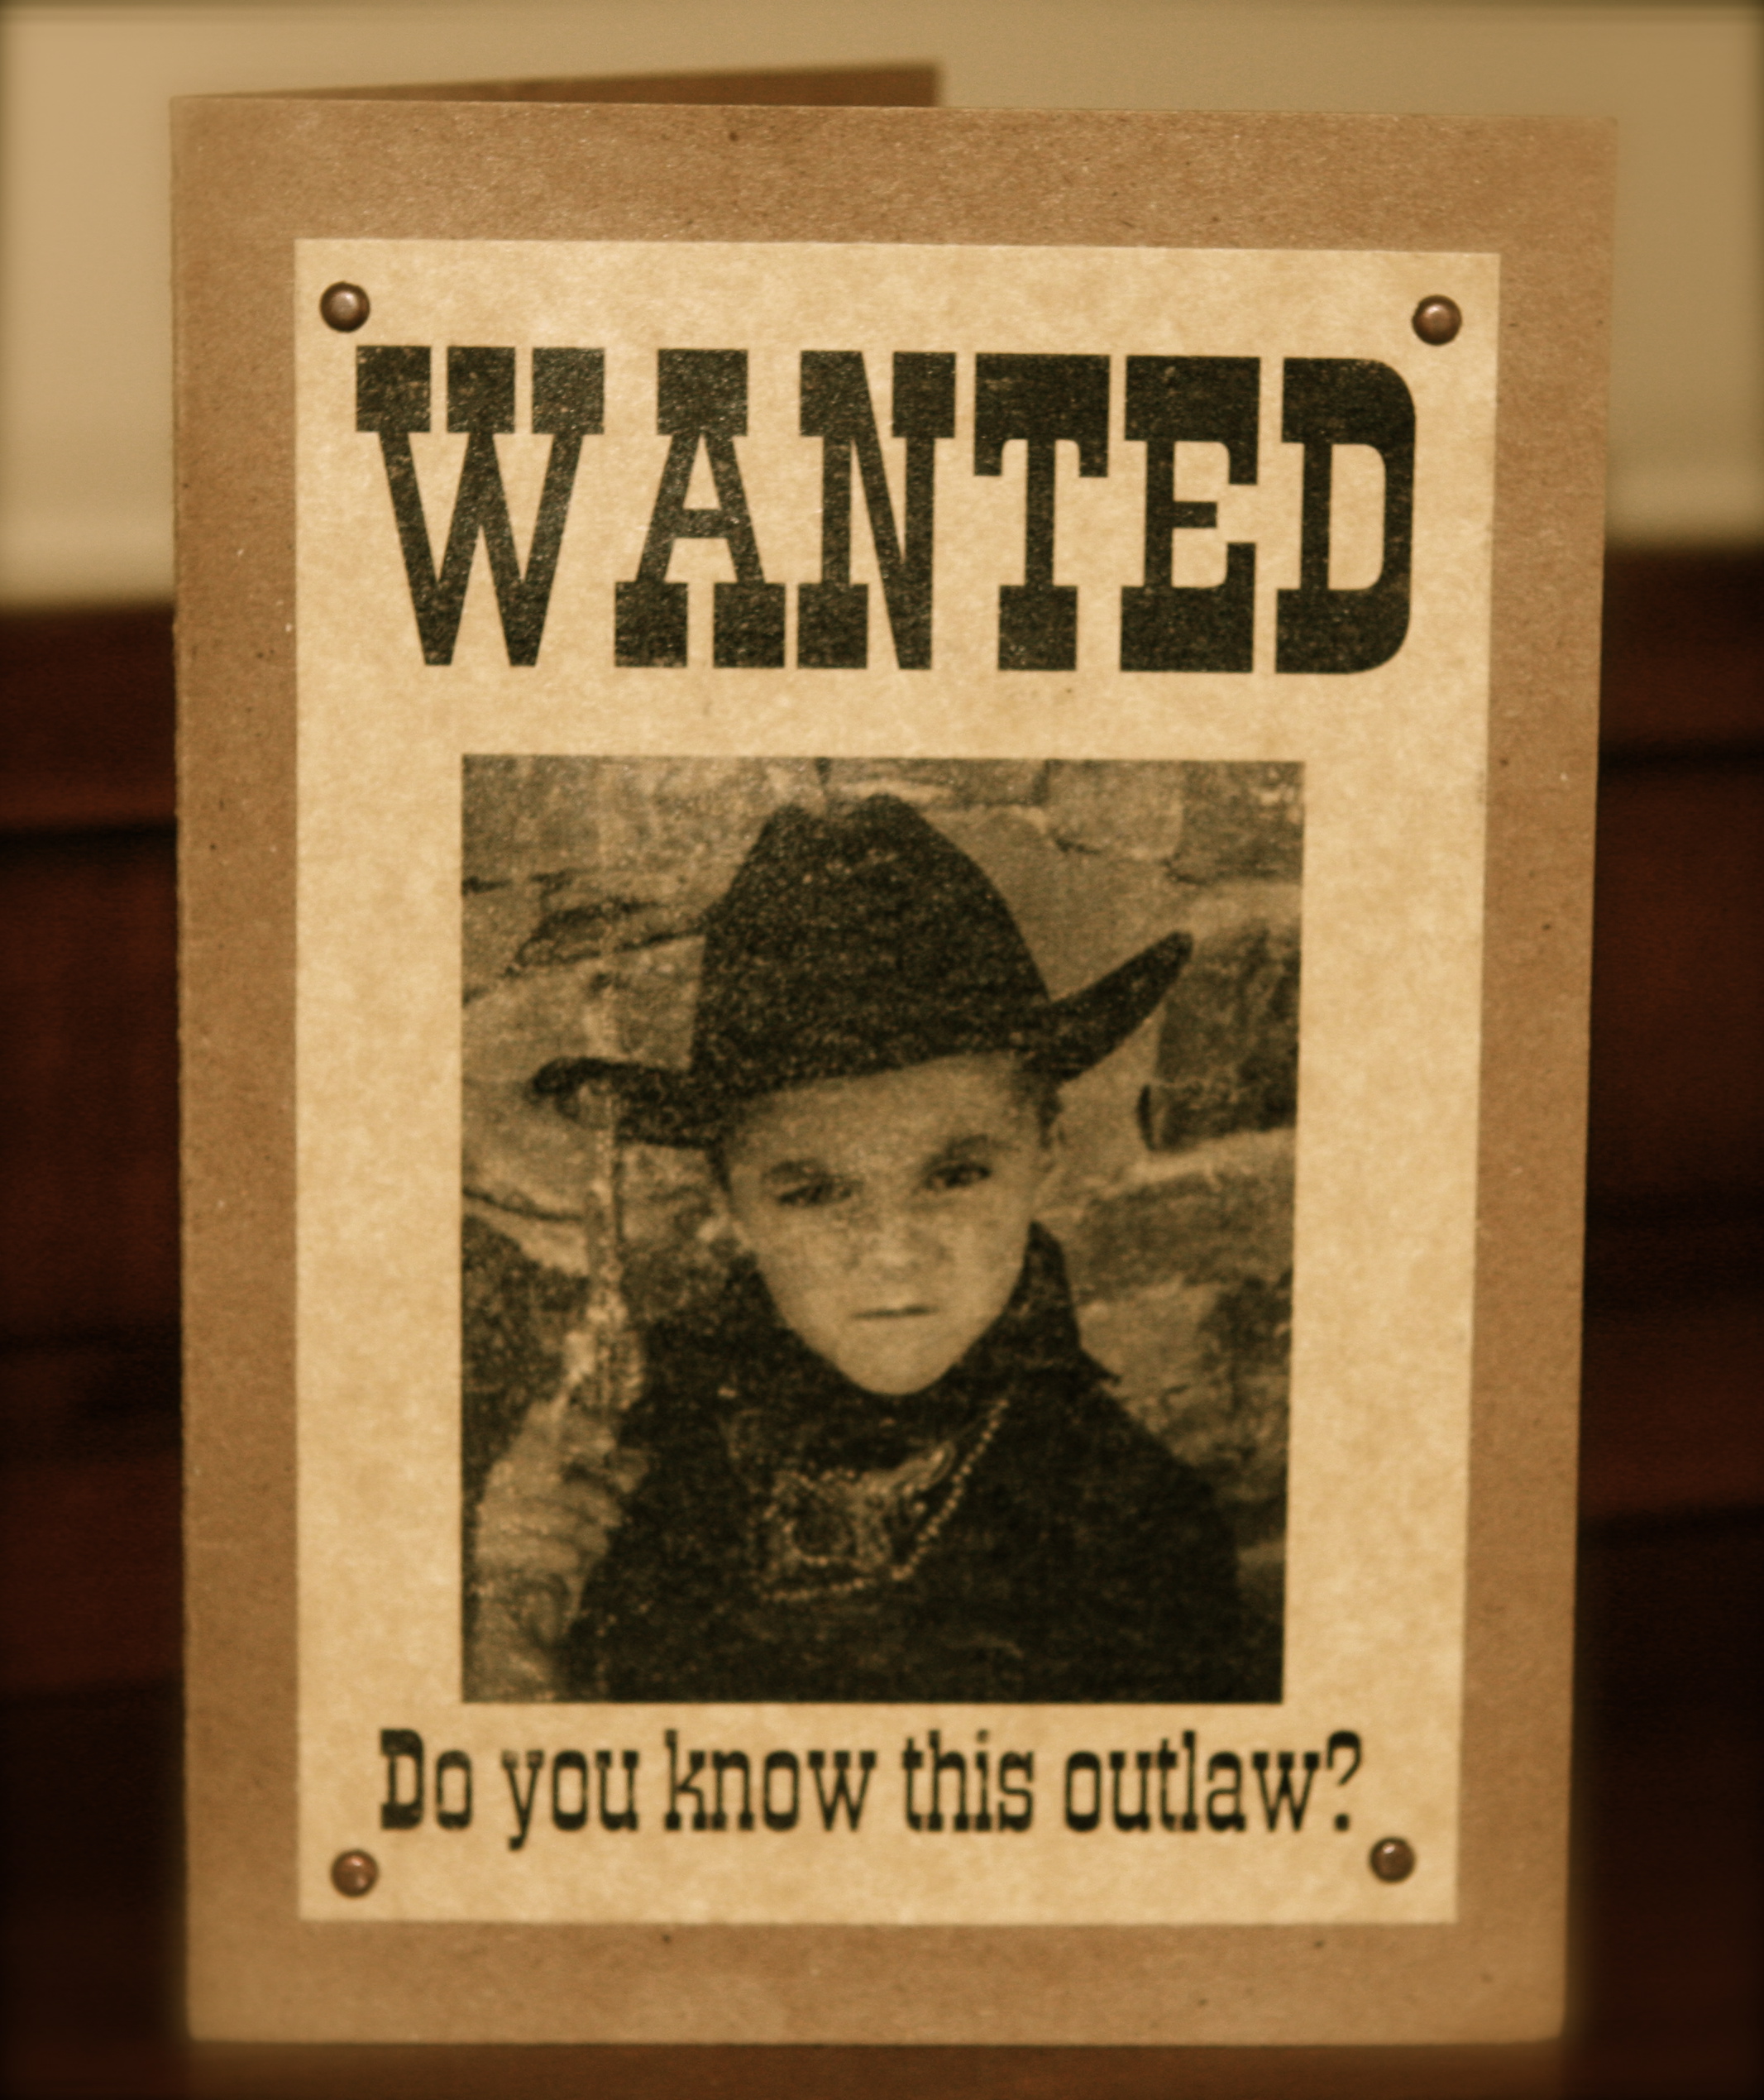
It all starts with the invitations.  Here’s how I made the “Wanted” invitations above.  Dress your little cowboy in a hat and bandanna.  My cowboy insisted on a six-shooter too.  He couldn’t wait to make an ornery face!

After taking a digital picture, I imported the picture and created the card in Microsoft Word.  Yes, I know Word is really low tech, but it is also really easy! I used the free font available in my Word fonts called Blackoak standard.  Then I printed the Wanted Posters out on parchment paper. To age them a bit, I lightly rubbed them with sandpaper.  I ran the cards through the printer for the inside text.  Then I glued the Wanted Poster to the cards and added the antique brass brads. Here’s the text inside the card:

HOWDY PARTNER!
Saddle up and head west
to the Alpine Homestead of the ______ Family
‘Cuz the Dirty Rustler
Benjamin “Black Boot”
is having a Birthday Roundup (then date, time and RSVP)

For activities we played horseshoes and practiced ropin’ a horse with a real lasso. Then we panned for gold which was the hit of the party. I used iron pyrite or Fools Gold (you could also gather rocks and spray paint them gold.)  In our very large sandbox I dug shallow holes for each child.  I gave every child a cowboy name and then made claim markers on which I wrote “Claim #15, Buffalo Will” or “Connor the Kid”.  I printed the claims on parchment and mounted them on red cardstock and then mounted the claim on a popsicle stick.  I carefully covered the hole and stuck the claim marker right on top.  I save all my old pie tins and my husband kindly drilled holes (fairly large, but smaller than the rocks)  The kids then dug up their gold, swirling the sand in the pie tins until the gold was revealed.  We had little sacks made from muslin for the gold to go in.  They loved it.

The kids cooked their own hot dogs over a fire (quite an experience!)  The rest of the meal was watermelon, baked beans (recipe to follow) and chips.  We served rootbeer in brown bottles.  Each meal was served on a pie tin for a plate (the cowboy way!)  I decorated with our camping lantern, hay bales and ropes.

Eatin the grub

Eatin the grub

The cake was cute… it was a campfire.  I baked chocolate cake in my long bread pans.  Froze them and then cut them into a roundish shape with a serrated knife.  I frosted them with chocolate frosting and used a fork to make them look like wood.  I used a lighter brown (chocolate with white frosting mixed in) for the ends and ran the for in a circle action to create rings.  I bought chocolate donut holes and tossed them with powdered sugar for the coals, and tried to used orange fruit leather for the flames (they didn’t look that good.)

Not the best picture, but you get the idea

Not the best picture, but you get the idea

For the party favors, I used regular brown paper sacks, with cute tags made from bandanna paper and their cowboy names printed on parchment.  They were filled with the little sacks of gold, a harmonica, and a bundle of dynamite (my favorite)  The dynamite was made from covering 3 packages of Rollo candies in red construction paper.  Hold the three rolls together and stick black shoelace licorice in the middle, sticking some out of the end like a wick.  Then I tied the bundle together.  They were so cute!  It was a great hoedown!  And by using things we already had and a little elbow grease, it didn’t cost a whole lot either.

Now for the Baked Beans recipe… It’s real cowboy food!

Buddy Loves Baked Beans

2 40-oz. cans Pork & Beans
1 20-oz. can red kidney beans
2 15-oz. cans baby lima beans
1 ½ lbs. ground hamburger
1 onion diced
1 lb. bacon, diced
11/2 c. ketchup
1 cup brown sugar
2 cups white granulated sugar
3-4 TBSP liquid smoke
2 TBSP vinegar
Tabasco sauce to taste –lots for me thanks

Brown hamburger and onion; drain.  Cook bacon, drain.  Drain and rinse all beans (except Pork and Beans.)  Mix all the ingredients in a 5 quart oven proof pot with a tight fitting lid (I use a dutch oven.)  Cook in oven at 300 degrees with the lid.  Remove lid and cook three more hours at 250 degrees.  If the beans are too thick you can always add water to get the right consistency.

Archives


Virtual Quilting Bee