Hi, I’m Calli
Welcome! If you enjoy your visit, be sure to follow me:
Oh My Stars!
Canning Day Quilt

Archive for the ‘make it’ Category

Picnic Basket Part 2: Weighting a Picnic Tablecloth
“Never eat more than you can lift.” -Miss Piggy

Very good advice for a picnic Miss Piggy.  I’ll try to remember that.

But sometimes a little weight at a picnic comes in handy…. like on a breezy day for instance.

Here’s what I did to solve the windy-day-fly-away tablecloth dilemma:  This tutorial can be used to modify any cloth picnic tablecloth.

It all starts with a trip to the hardware store to pick up some 2″ heavy duty washers.  Look around for the heaviest 2″ washer in the store.
But let’s face, these washers aren’t exactly attractive.  I needed to spruce them up a bit.
I found a piece of scrapbook paper in my stash, that was a good match to my tablecloth.  And using a 2″ circle cutter, I cut out a circle.  You can also do it the old fashioned way, and trace the washer, then cut it out by hand.  Be sure to trace the outer and inner circle and cut out both.
Next I made a dot in the center of my circle.
That helped me center my 7/8″ circle punch in the middle of my 2″ circle of paper.
I had some fun cutting out my circles.  I even used my scalloped punch for a few.  Be sure to cut out a circle for both the front and back of each washer.
Now it’s time for some Outdoor Mod Podge.
And paint the Mod Podge evenly on the washer using a foam brush.
Add the paper and paint more Mod Podge evenly over the paper, making sure to paint away any bubbles in the paper.
Set it aside to dry.
Repeat the process on the other side of the washer.
Now it’s time to modify the tablecloth to hold the weight.  Cut a 4 x 20″ sections of ribbon.  I used 3/8″ grosgrain.  Fold each piece in half and pin one to each corner of your tablecloth about 1 1/2″ in from the corner.  I made a narrow upside down “V”.
And stitch it into place.  Make sure to back stitch several times.  This will be holding weight.  You can do it the old fashioned way with needle and thread too.
Next add a decorative button to cover up the ugly stitching.
Make sure to use a match or Fray Check to keep your ribbon from fraying.
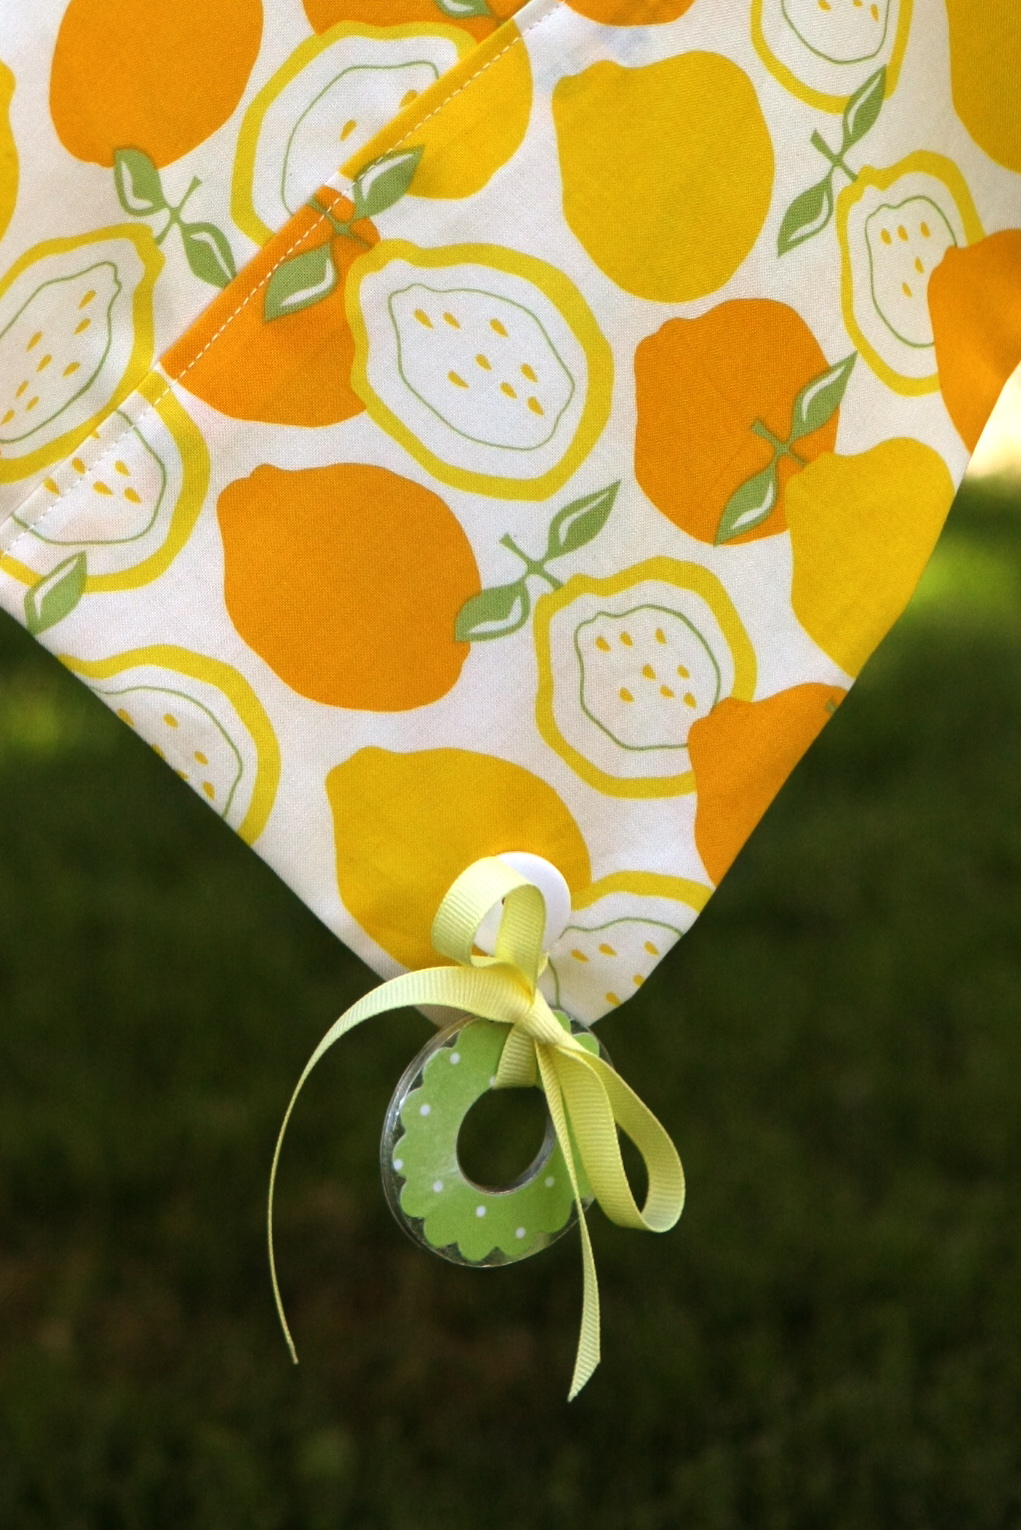
Repeat the process until all 4 corners are done.  They should look like this.  I think it looks pretty, even without a washer.  And on a calm day, you can leave them just as they are.
But if the wind picks up….
It’s not going to bother your picnic.  Just tie a washer to each corner and you are good to go…
If you live a very windy area, you might want to make a few extra washers for each corner.
Happy Picnicking!


Bunting Inspired Ribbon Buttons

I love the 4th of July and this time of year I start thinking of all things red, white and blue.

The look of a classic bunting is on my mind.  So this morning I pulled out some of my supplies of ribbon and fabrics and started to play around.

This little bunting inspired ribbon button was the result of my fun.

Maybe I’ve let my imagination run wild… but I think these are perfect for:

  • hair clips
  • embellishing headbands
  • embellishing flip flops
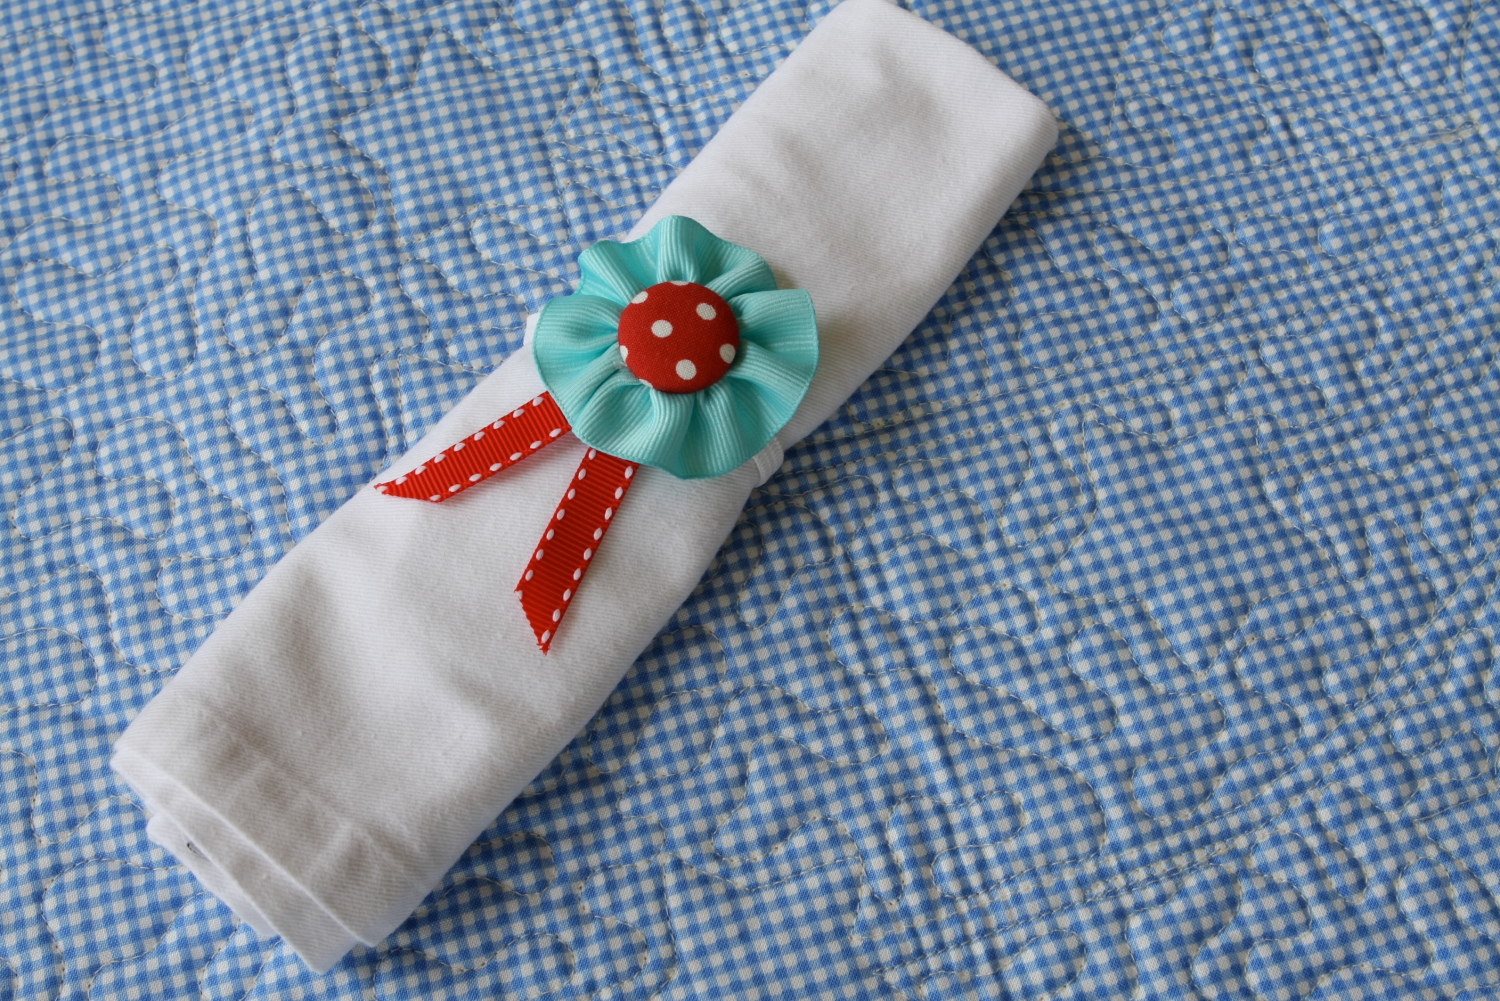
  • napkin rings
  • lapel pins

Here’s how to make them:

You will need:

  • 10″ of a 7/8″ or wider ribbon – grosgrain or other stiff style ribbon works best
  • 7/8″ button cover kit
  • small scrap of fabric

Follow the instructions on the button cover kit to cover your button in fabric of choice.  It only takes a scrap of fabric to make a cute button.  I think a small print fabric works best. If you want to see a step by step tutorial, I wrote about covering buttons here.

Cut a 10″ length of ribbon.  Move needle position on sewing machine all the way to the right.  Using a long running stitch, stitch along the edge of the ribbon about 1/8″ from the edge.

Carefully pull thread to gather the ribbon.  It starts making a circle immediately.

Once it’s gathered evenly and fairly tightly, hot glue the ends, right sides together.  Be careful to not glue the ends of your thread.

Make any adjustments to the thread to make sure it is even all the way around.  Tie the ends of the thread together to secure.  I couldn’t take a picture as I did this step… it took both hands to tie the knot.  Trim away any excess thread.

It should look like this.

Run a bead of hot glue around the back of the button and adhere the ribbon.

Hey look, you can easily make an award ribbon… by just hot gluing equal length ribbons to the back.  Be sure to apply fray check or use a match on the ends to keep from fraying.

Now what to do with the finished button?  I think I’ll make 20.

Make a few hair clips.

How about attaching one to a headband?

Or slip elastic through the back of the button to make easy napkin rings.

These little ribbon buttons are versatile, easy and fun… a perfect summer project.

Archives


Virtual Quilting Bee