Hi, I’m Calli
Welcome! If you enjoy your visit, be sure to follow me:
Oh My Stars!
Canning Day Quilt

Archive for the ‘make it’ Category

Crystal Snowflakes

I think I must have snowflakes on the brain.  It’s finally snowing here, which makes it feel like Christmas.  I love the snow!  I love playing in it and I love being cozy in my house when it’s snowing outside.  A good storm makes me want to work on a project or to curl up with a good book.  (Curling up with a good book doesn’t happen enough, that’s for sure.)

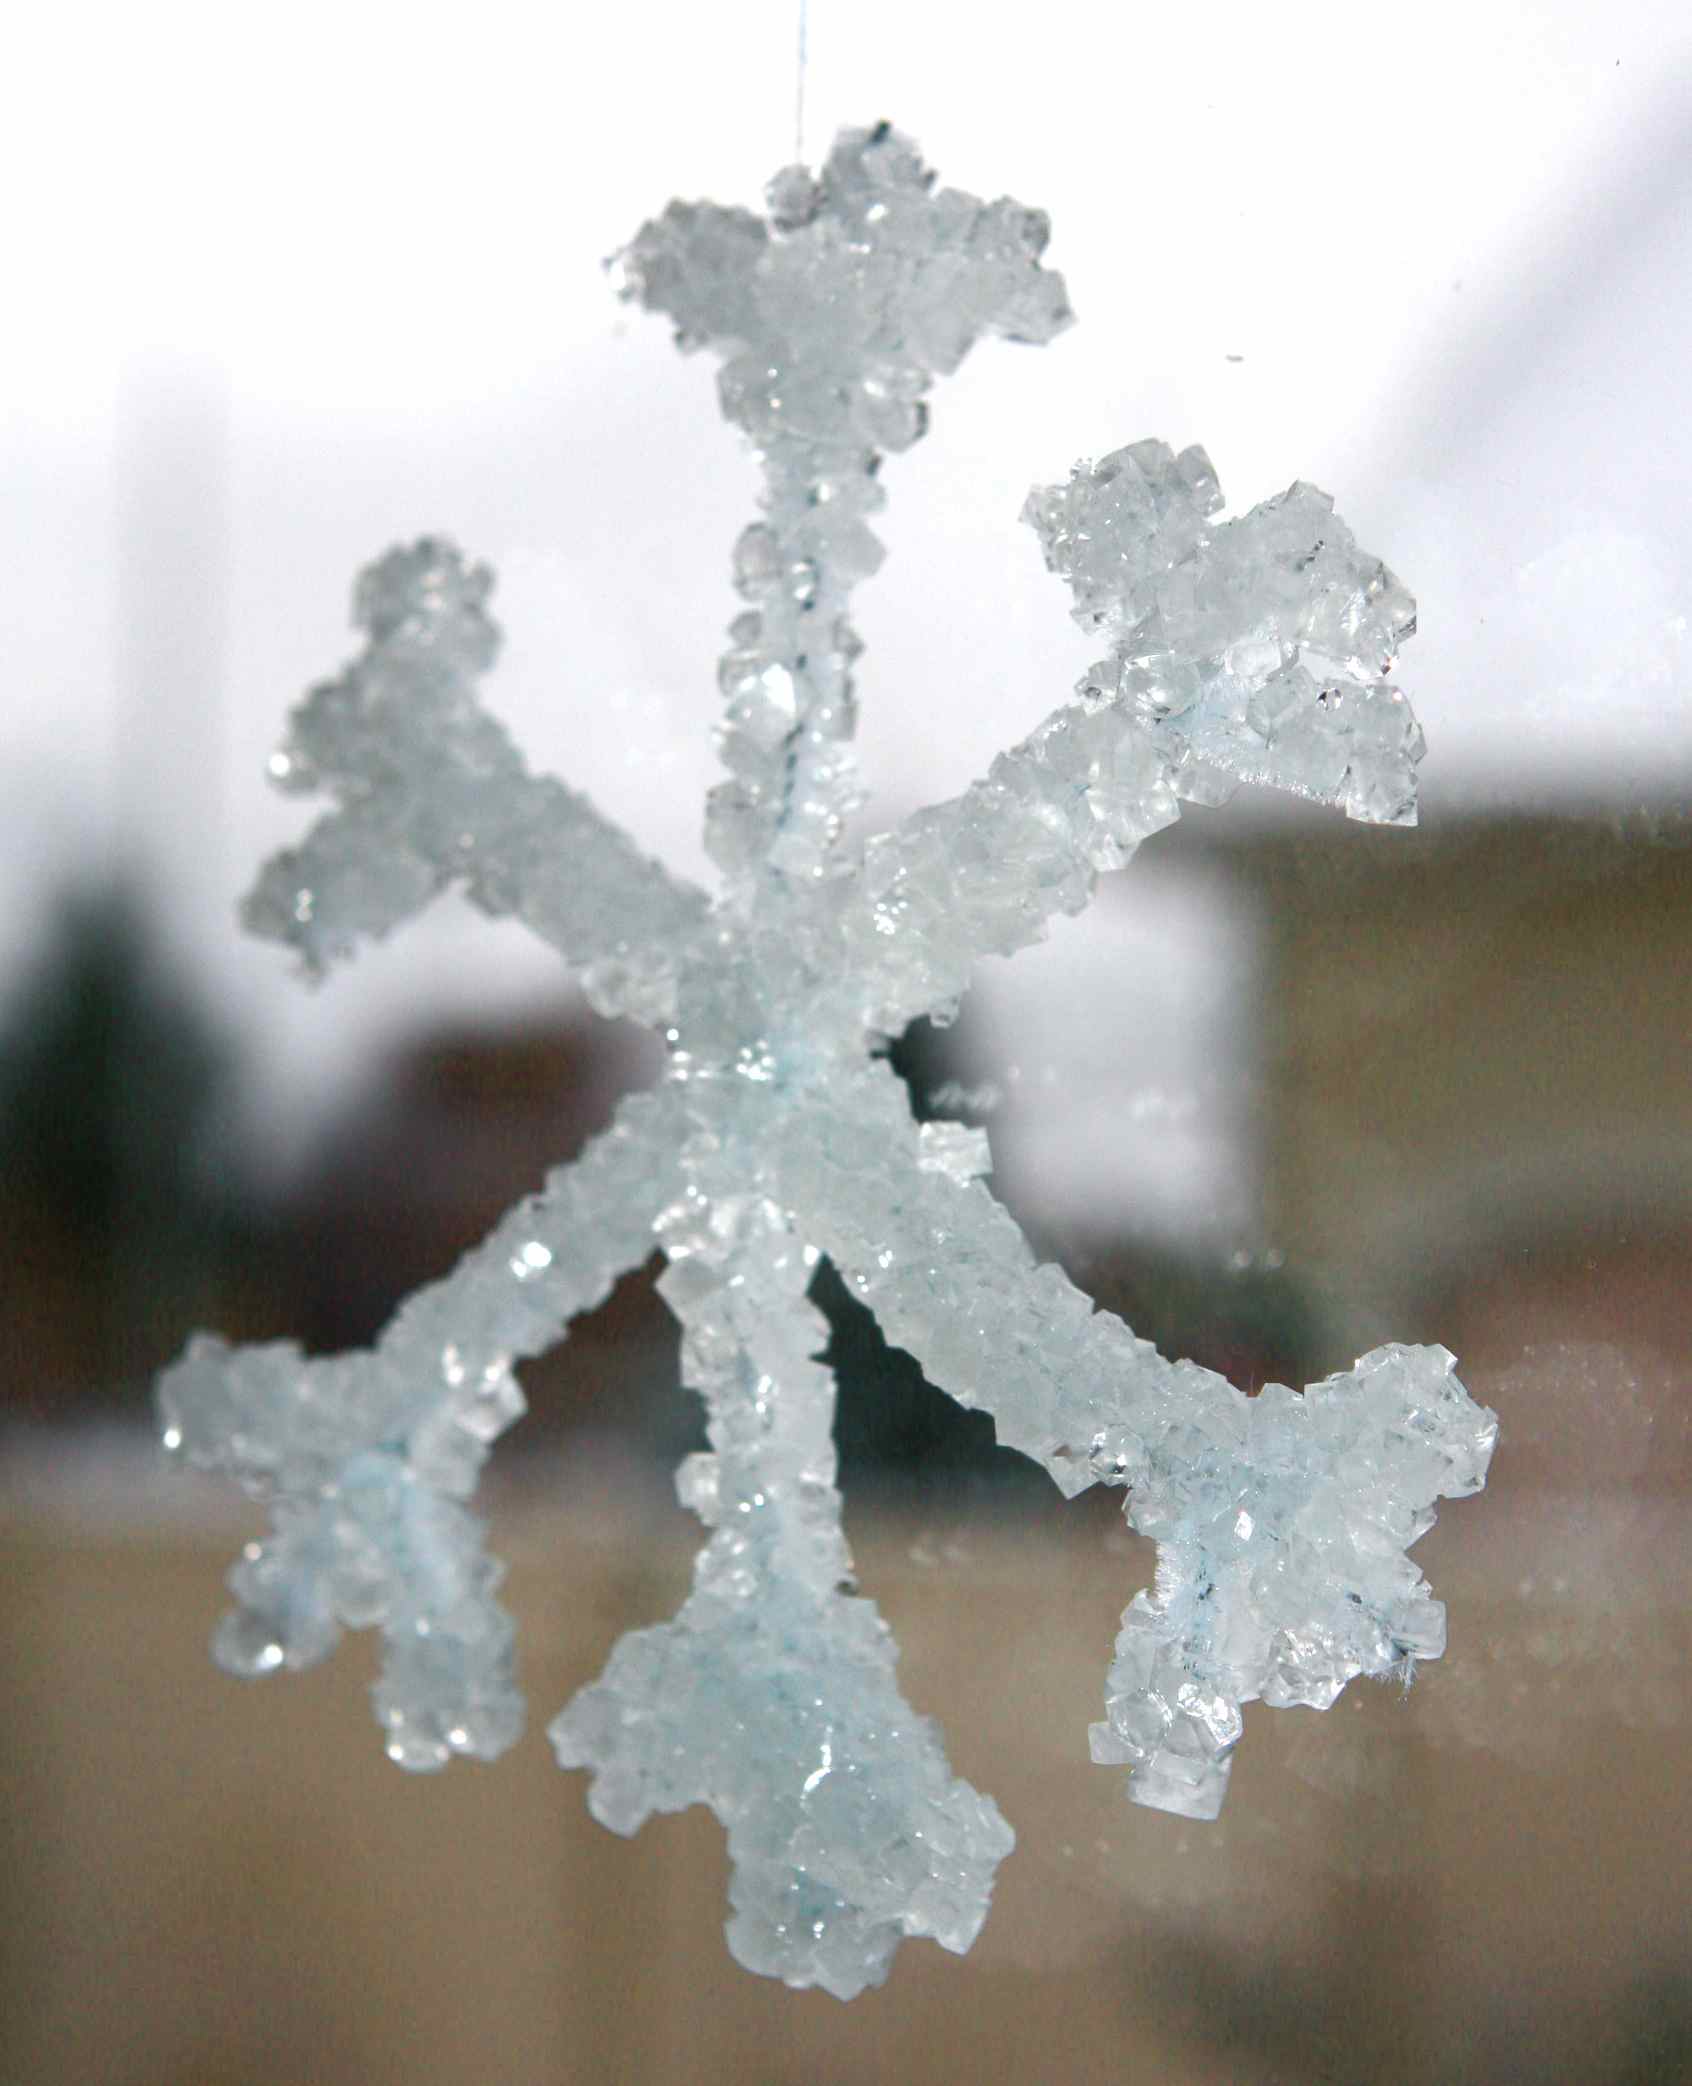
I have been asked to help my son’s third grade class make a gift so, I experimented with this lovely and very easy crystal snowflake from Martha Stewart.  It couldn’t have been easier. I used white pipe cleaners, my favorite Mighty 20 Mule Team Borax, boiling water and a small amount of blue food coloring.  For the how to click on over to Martha.  Borax is available at most grocery stores in the cleaning isle.

Later this week I will be helping my son’s 3rd grade class make these crystal snowflakes… with 26 students it should be a lot of fun.  Now I just need to brush up on my science to explain how and why the minerals crystallize.

Tomorrow I will share an easy way to embellish an inexpensive pair of gloves with little snowflakes to make a perfect quick gift for the Holidays.

How to Make Hand Cut Snowflakes

When my parents-in-law were newly married and both in school, they faced decorating their Christmas tree with no money to buy ornaments.

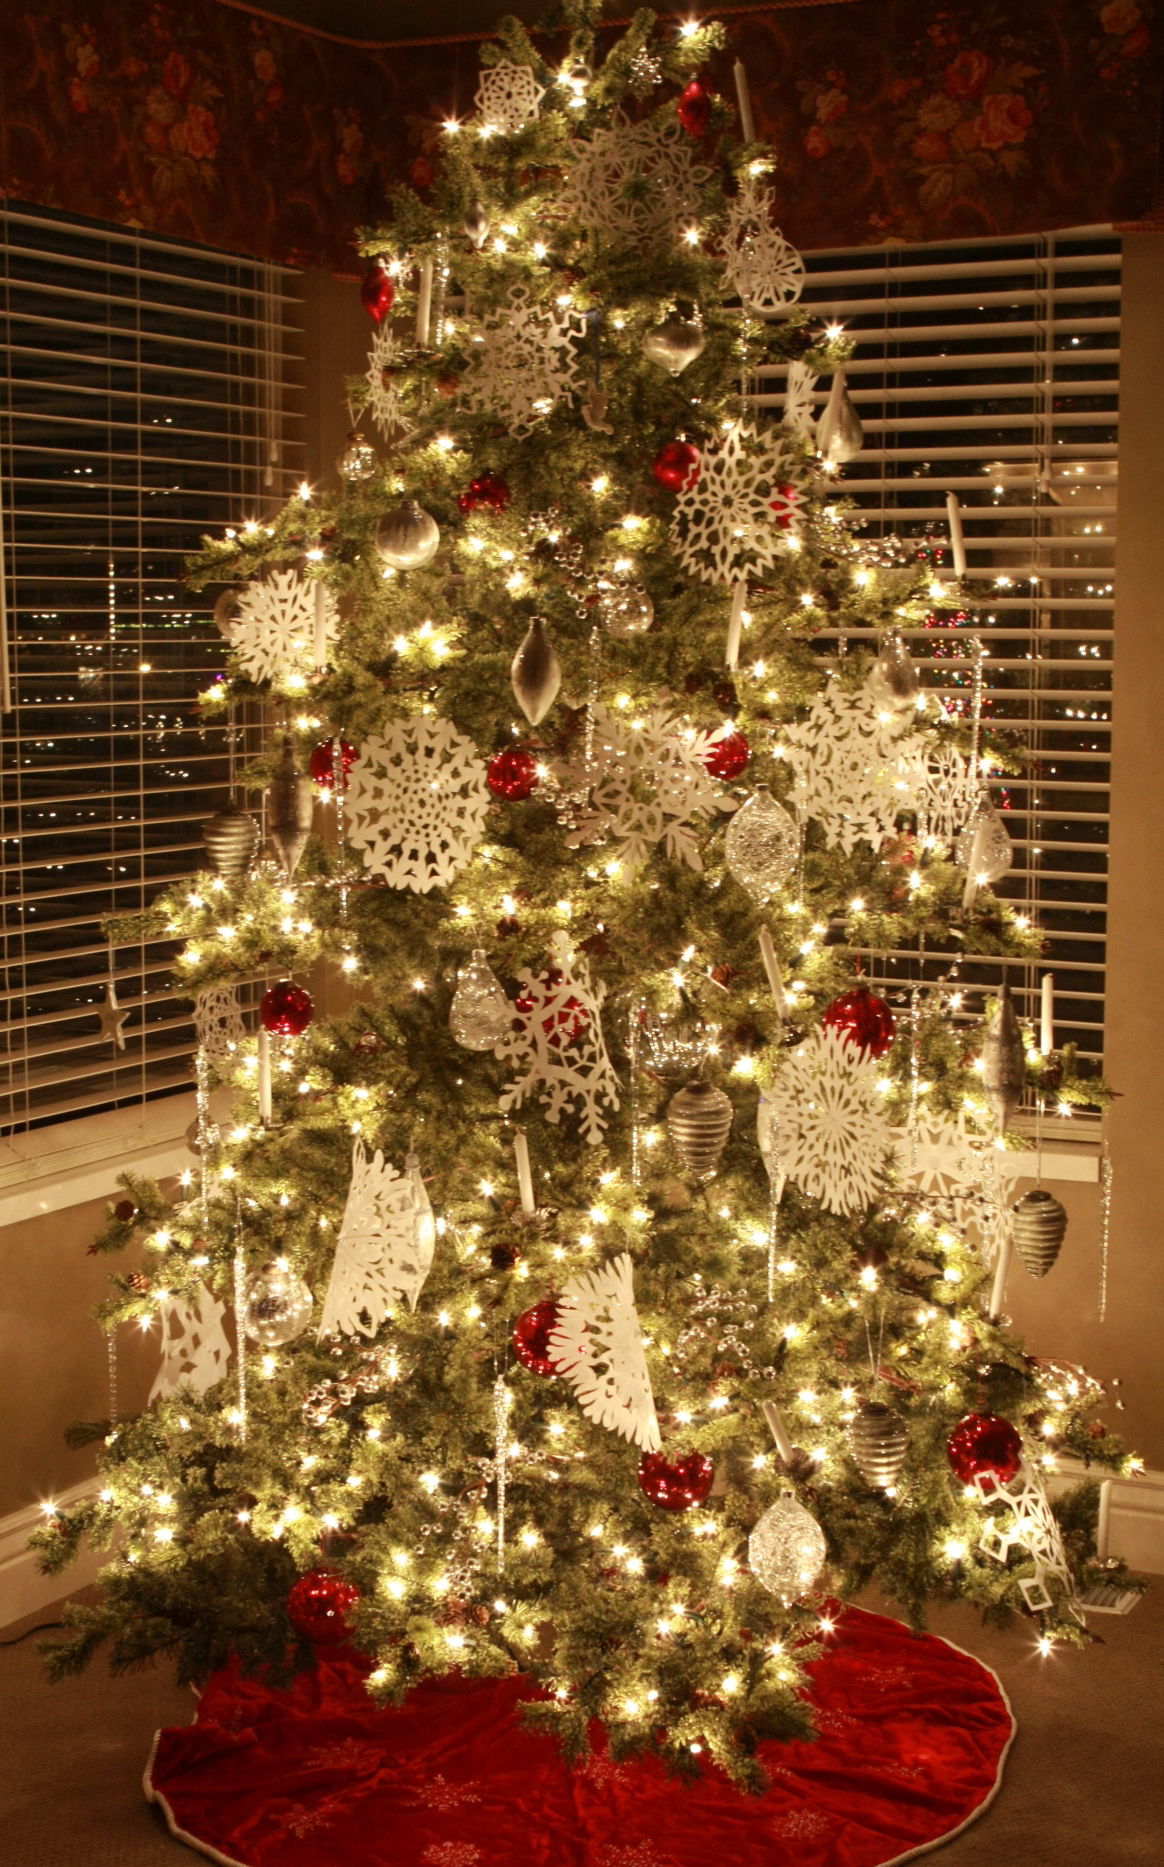
The solution came from what they, as young students had in abundance… white typewriter paper.  They folded and cut and soon their tree was blanketed in beautiful, elegant snowflakes.

As the years passed and they had the money to buy more expensive ornaments, they found they could not give up their beautiful handmade snowflakes.  After nearly 45 years of marriage, they still decorate their tree with paper snowflakes along with their favorite ornaments.  Some of the snowflakes are many years old, some were even cut by loved ones who have passed away.  Each year the best snowflakes are carefully saved between sheets of cardstock.

Most of my husband’s siblings, our family included, have carried on the tradition of hand cut snowflakes.  It started for us, just as it did for my in-laws… out of necessity, but has continued out of choice.

I know we all did this in grade school, but in case you can’t remember, here’s how we cut our snowflakes:

Start by cutting an 8 1/2″ x 11″ sheet of printer paper into a square- 8 1/2″ x 8 1/2″.  Cheaper, thinner (light weight) paper is actually best for this project.

Fold your sheet in half.

And then half again, so you have a small square.

Now fold your square into a triangle, in thirds.

Like so.

Here’s is where small, good quality scissors are worth their weight in gold.  Don’t try to make an intricate snowflake with your kid’s snub nose kindergarten scissors…

Once cut, I open them up gently and press them with my iron on the lowest setting.  Be very careful not to catch and rip the snowflakes when pressing.

Tie a length of string onto the snowflake and hang them on the tree… or from the ceiling or wall.  I love this tradition, because every member of our family can contribute and each snowflake is unique, lovely and festive. But, best of all each year we create wonderful new memories.

Archives


Virtual Quilting Bee