Archive for the ‘make it’ Category
Giving Thanks
There are lots of ways to express gratitude. But I sometimes I need an exercise, something visual, to help me really think about the things that matter to me most.
The answer this year was a Gratitude Tree.
It all started with a need to prune my Contorted Filbert Tree. It was blocking the pathway next to our home. Yay, I thought. That’s one of the reasons I bought the tree almost 7 years ago, so one day it would need to be pruned, and I could bring the limbs in the house to decorate with.
I cut down the crooked limbs, removed the leaves from the branches. And placed them in my favorite copper flower bucket.
These lovely branches were just perfect to create a Gratitude Tree.
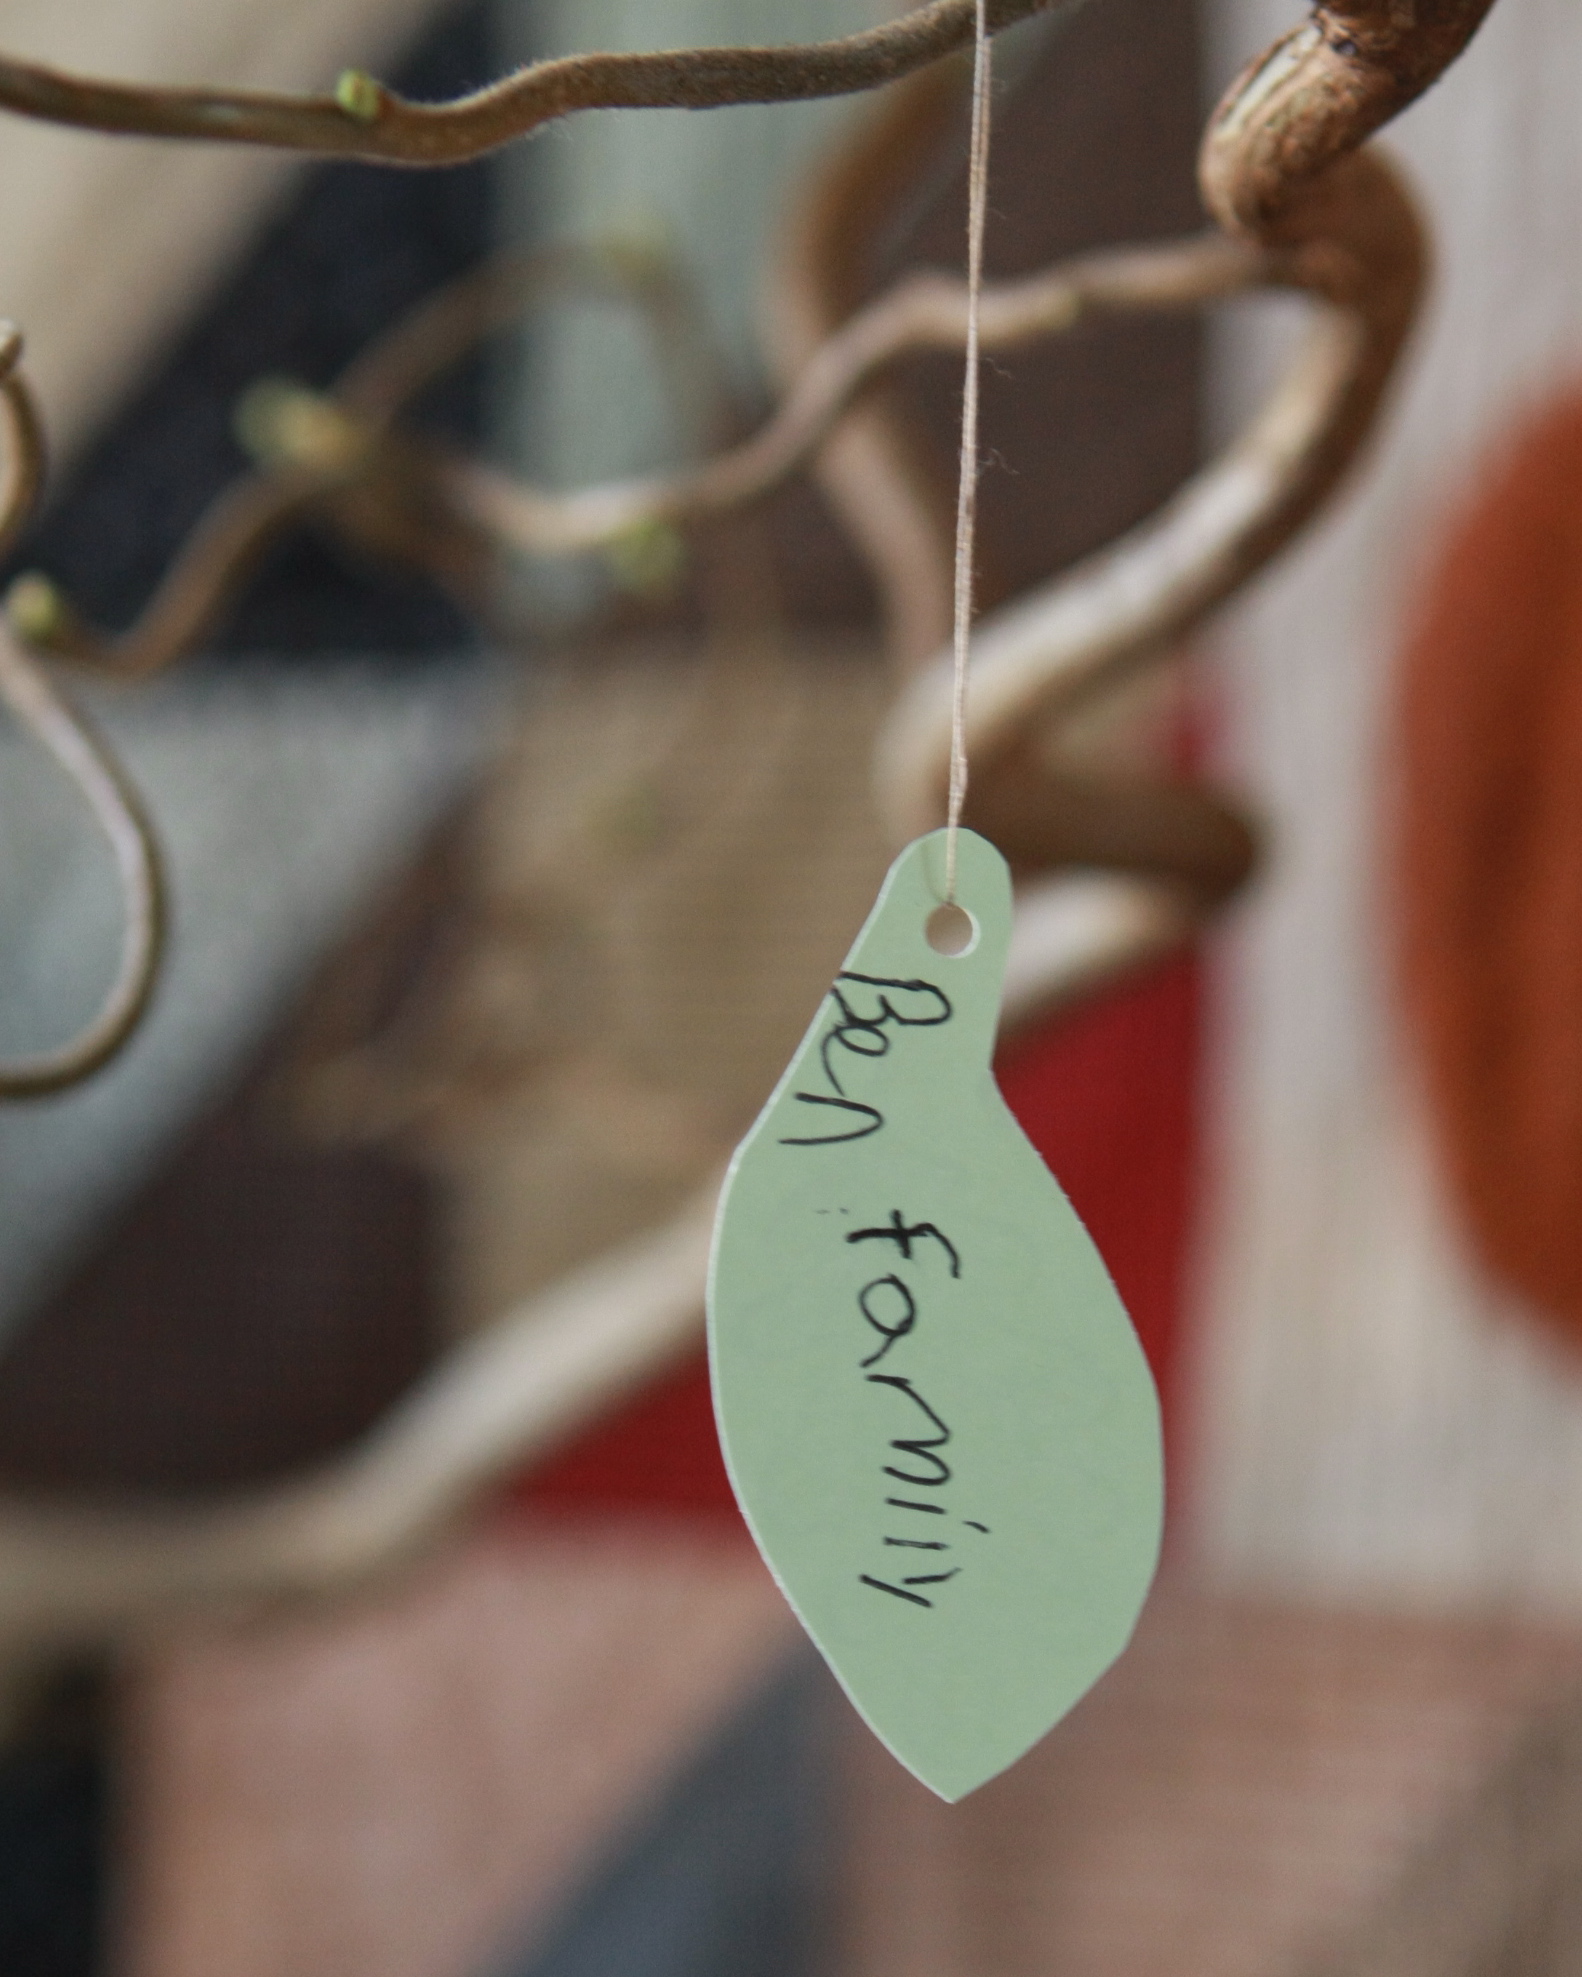
Since Ben and I were home alone, he and I stamped some paper with leaf stamps and cut them out. And began to write some of the things we are grateful for. He wrote his family and our dog, Finn. He is also grateful for his best friend Connor, his teacher Mrs. Pope, video games and Harry Potter books.
I, of course, am most grateful for my family. My friends, good health, my home and food in my pantry are also at the top of my list. But I found myself thinking about other things. The little things (relatively)… my sewing machine, warm showers, bread just out of the oven, Sunday mornings, and felted wool slippers to name a few. I realized I could simply cover those branches in gratitude.
Who knew pruning trees could be so good for the soul?
__________________________________________________________________________________
Snowman Hat update…. it took me long enough, but I have directions for making the snowman hat. I’ve posted it with the snowman kit tutorial if you’re interested.
Make it Do Gift: Felt Poinsettia
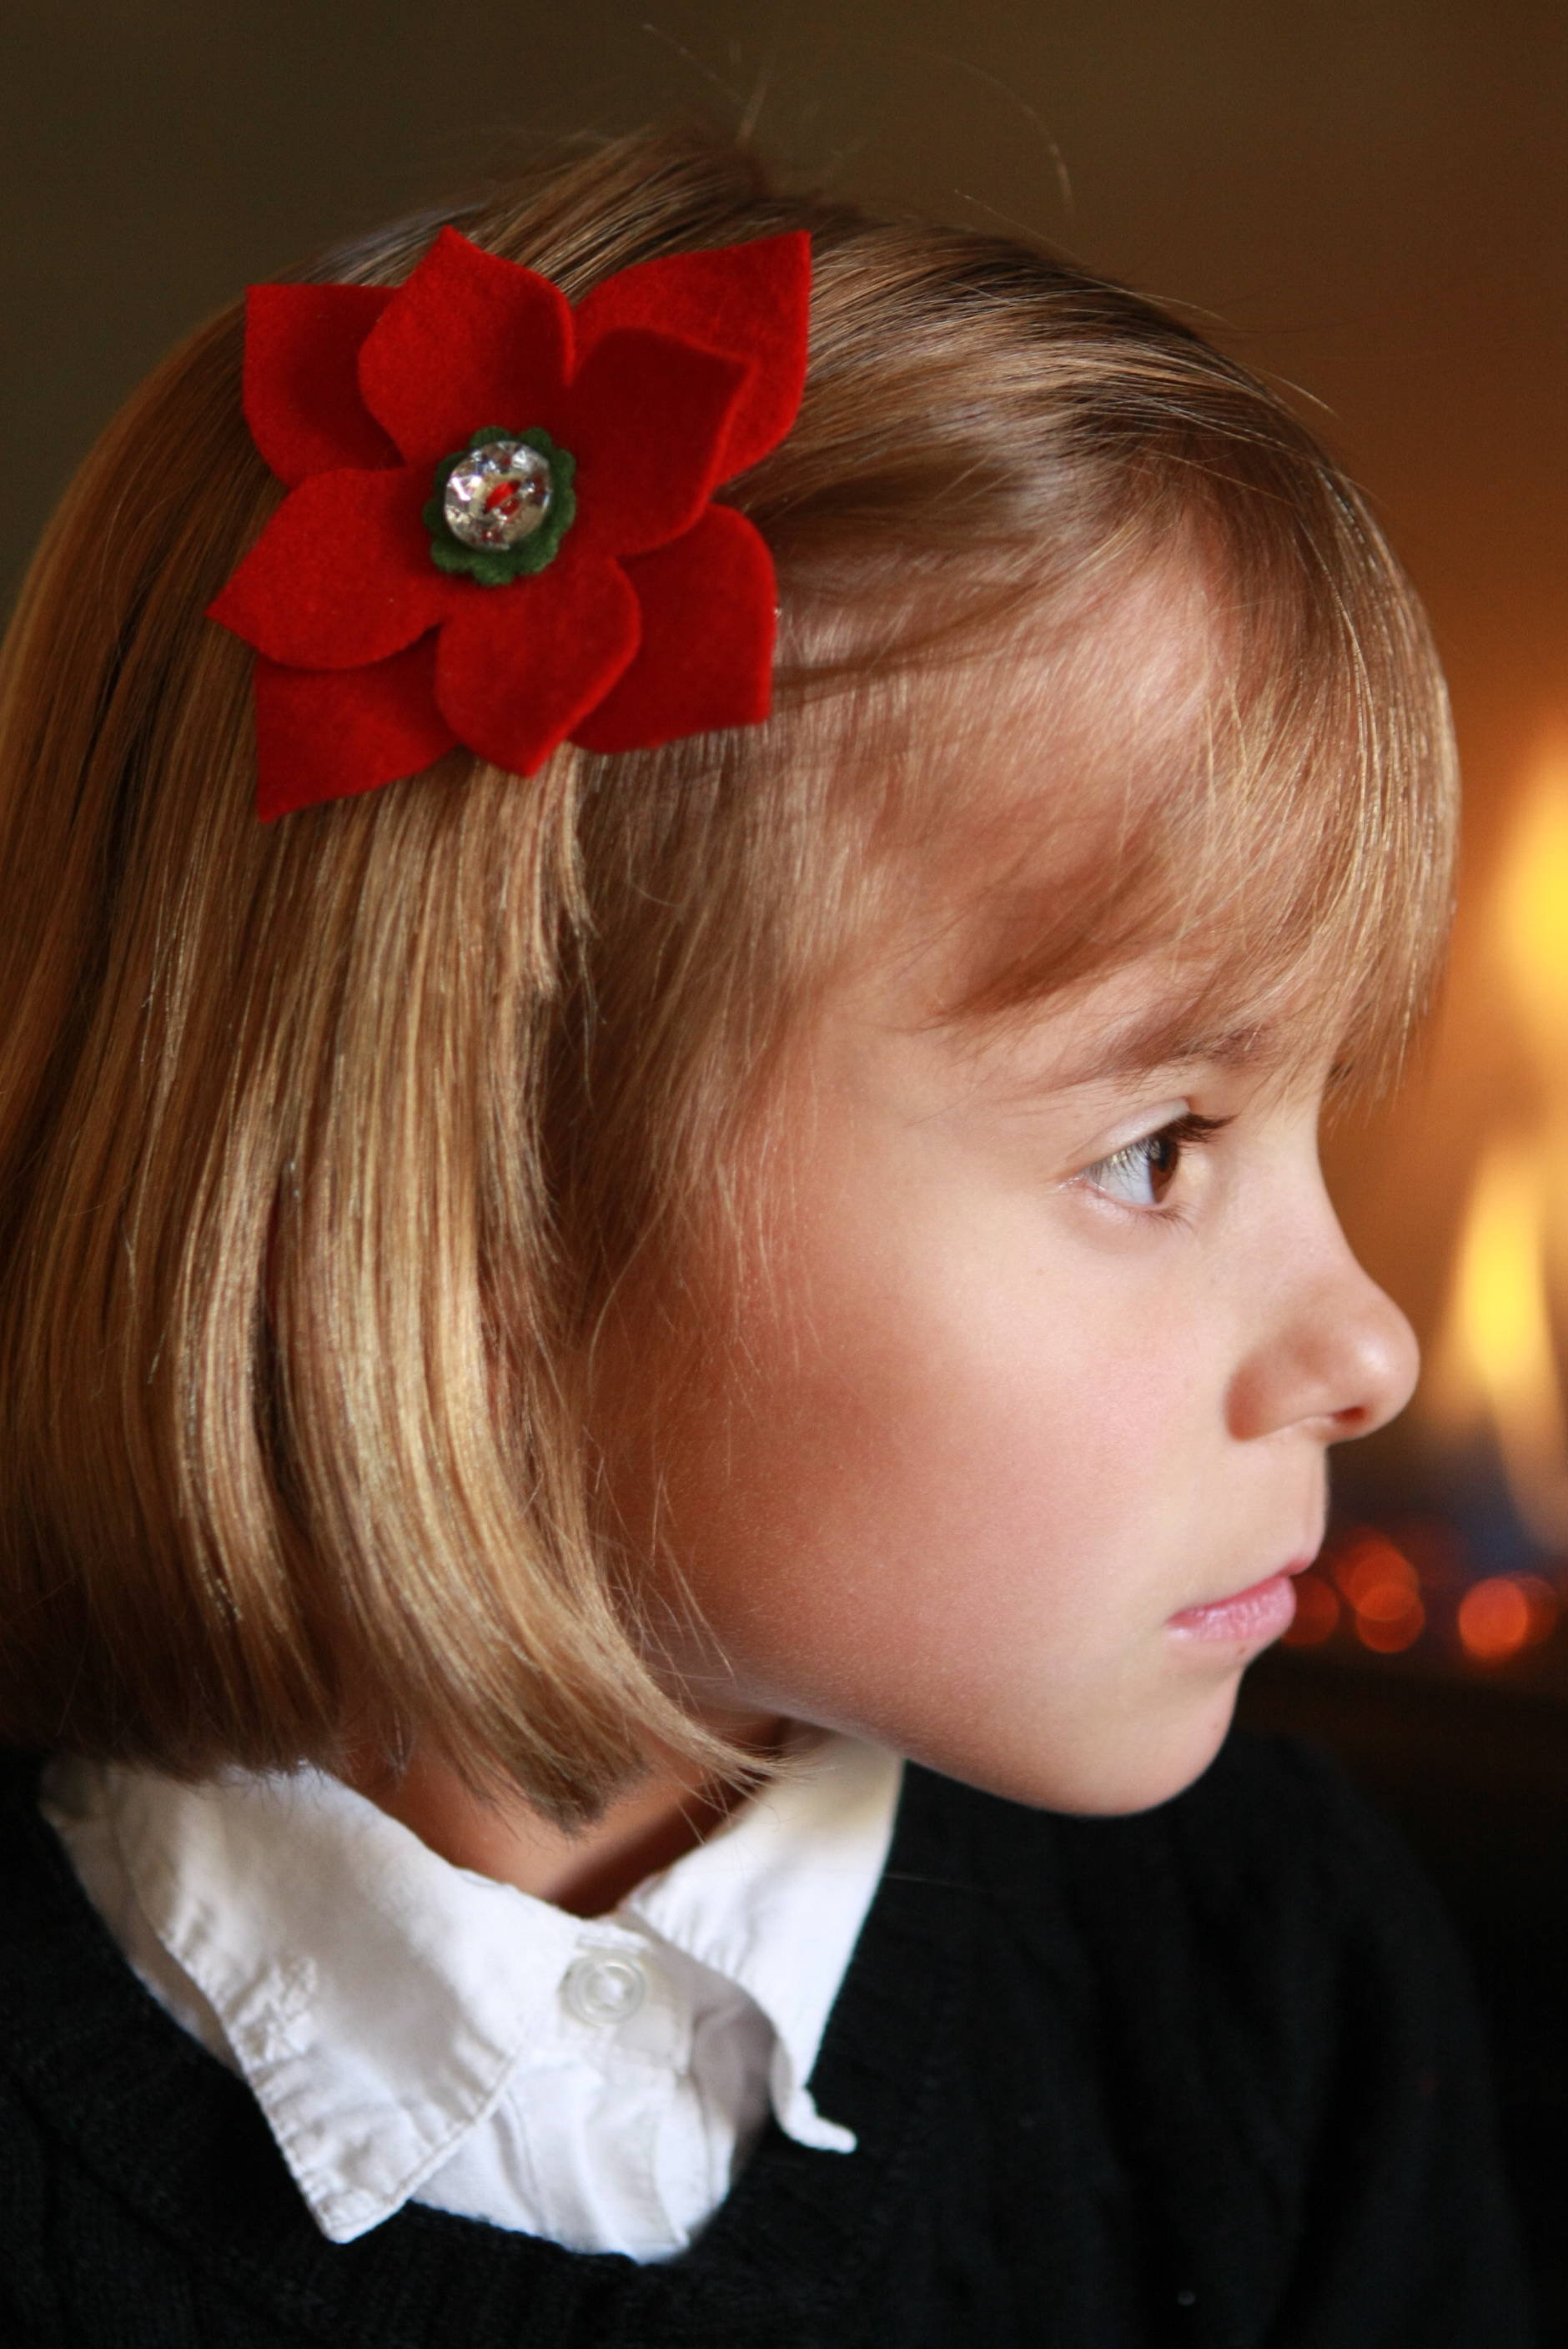
Yesterday, my girls and I were working on a few Christmas gifts for their friends. One thing led to another and I found myself making yet another flower pin. This time a Poinsettia. I loved this project and ended up making two for my girls, and plan on making more. They are perfect as a broach or as a hair clip.
Here’s what you will need:
- Small amount of red wool felt (I used scraps from another project.)
- Very small amount of green wool felt (also scraps)
- button
- pin or hair clip
- freezer paper
- template here is my simple template, but I also found this wonderful template from Kaboose. It has a few more petals than my simple flowers, but that might look even better, here’s the link: Kaboose Poinsettia Template
1. Start by tracing your pattern onto the paper side of a piece of freezer paper.
2. Cut out your template, and place it on your wool, waxy/shiny side down.
3. Using an iron set to wool, iron on the template. It will gently stick to your fabric.
4. Using good scissors, cut out around the template.
5. Peel the template away from the wool. It doesn’t leave a mark. Isn’t that cool?
6. Repeat with the smaller flower. I just set the button down to see how it would look.
7. Cut a 1 1/4 inch circle out of red or green felt. Cut two small slits in the circle, just wide enough to slip a hair clip through. This is for the back of the flower, on which to attach the clip or pin.
8. Using just the bottom flower, stitch the circle around the back of the flower. I used white thread to show the stitching better in the photo… Yah, that was it. It wasn’t because my machine was already threaded with white and I was lazy. That wasn’t the reason at all. I was just thinking of you.
9. Somehow I missed taking a picture of cutting out the green center of the flower. I cut my green with a fluted edge, which was a little tricky and requires good scissors. You can also cut it in a circle, but in that case, I would choose a button with a fluted edge. I was dying to try pinking scissors, but I don’t own any. So I just cut the fluted edge out carefully. Sometimes you just need to make it do. The finished green center was a 7/8 inch circle fluted.
10. Layer just the smaller top flower, with green center and button on top. And stitch together going through all three layers.
11. Glue the bottom and top flowers together using hot glue.
There’s a front and back view, with a hair clip attached. I like that this flower is flexible, I can easily pull out the hair clip and I can slip in a broach pin to wear on a sweater, hat or scarf.
Here it is pinned on a sweater…
Thanks to an idea a reader told me about on Craftzine, I also thought this would make a perfect topper for a gift. That way the wrapping is actually like giving another gift. (Using cheap yarn is much, much cheaper than ribbon!)