Archive for the ‘make it’ Category
Squirrel Dish Towel Tutorial
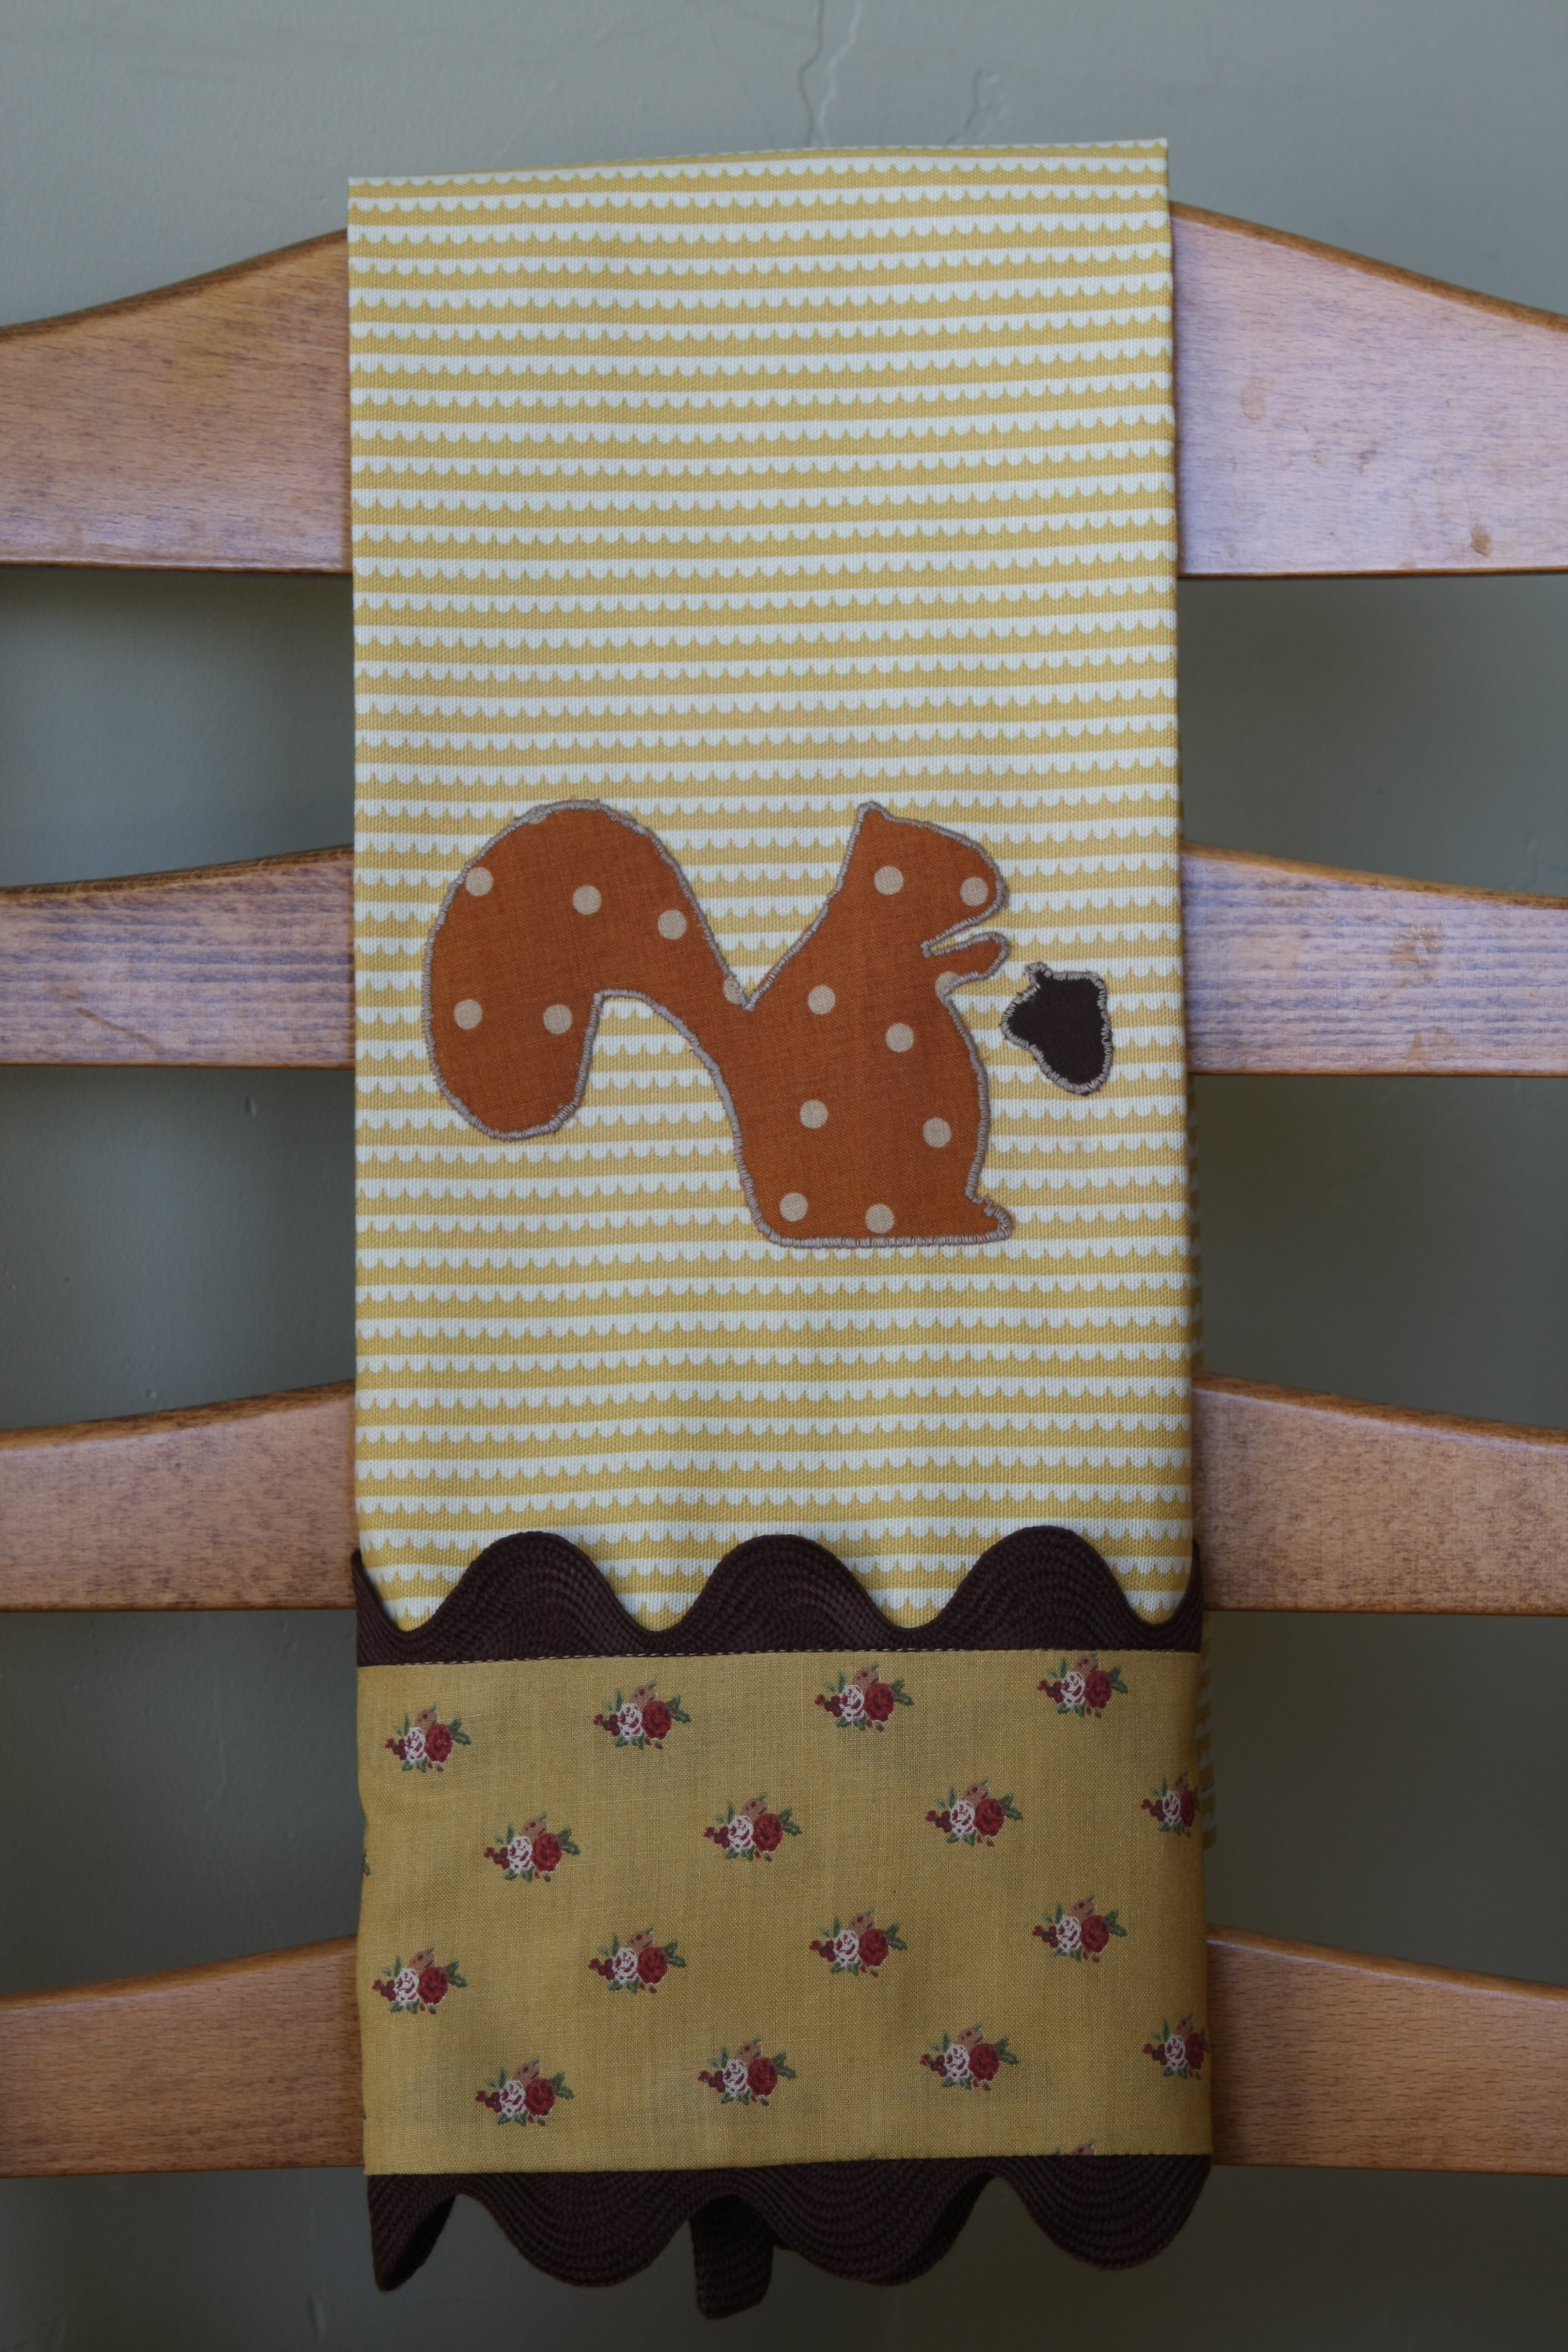
Making a decorative dish towel is really easy and a great way to decorate your kitchen on a budget. A decorative dish towel makes a wonderful gift and is easy to customize. Try one with pom poms instead of rick rack or use an owl, bird or fruit template for the design. You can even make the perfect dish towel for any holiday.
Here’s what you need for this project:
- 1/2 yard of 54″ wide home weight fabric (makes two towels)
- 1/8 of a yard decorative fabric for bottom strip
- 1 yard of rick rack
- small amount of fabric for squirrel design (I used scraps, of course)
Here’s how to make a decorative dish towel:
1. Cut your main fabric 26″ x 17″. Cut 2 fabric strips for decorative bottom border 4 1/2″ x 17″, one will be the front and the other the back (The depth of this piece can be adjusted depending on your fabric and what looks good.) Cut rick rack in half, into two pieces 18″ inch pieces.
2. Pin the rick rack along the top and bottom of the right side of a fabric strip.
3. Stitch down the middle of the rick rack. (I always err toward the outer edge.)
4. With right sides together, pin the strip to the bottom edge of the main fabric. Make sure the edges of the fabric are lined up.
5. Stitch over the previous seam.
6. Press the top rick rack toward the main fabric.
7. Pin the back of bottom strip to the front, right sides together, making sure to line up the edges of the fabric. (Make sure to pin securely, and don’t leave your pins in the path of the machine, as they are underneath as you stitch.) Turn over and stitch along the previous seam.
Your dish towel should look like this now.
8. Fold the back strip to the back and press the rick rack into place.
9. Turn your towel over and press a hem along the top of the back piece. Make sure to press the hem slightly above the seam beneath. Pin into place.
10. Turn back to right side of dish towel and stitch in the seam between bottom piece and rick rack) This should have stitched the back piece into place. The back will now have a nice finished look, with no raw edges. Trim sides of dish towel to even up your edges.
11. Now turn your dish towel over and press a 1/4 inch hem up one side of the dish towel.
12. When you get to the top edge. Press the corner in like a triangle. Continue pressing along the top edge, and press the next corner in like a triangle. Now continue pressing down the other side.
13. Turn your hem a second time, and press a 1/2″ hem, making a mitered corner. I have another tutorial showing the same process, which may be easier if you are sewing a mitered corner for the first time.
14. Trim the point of the corner, so it isn’t sticking out.
15. Pin hem and stitch into place. Remember your stitching will show from the front of the dish towel, so try to keep it even from the edge of the towel.
16. Now trace your design to the smooth side of Heat ‘n Bond Light or Wonder Under. I used the wonderful squirrel template from the Long Thread. You may recognize it as the same squirrel on Lily’s school bag. Remember that your design will be reversed on your towel.
17. Carefully cut out your design.
18. Peel the backing from your design and center on your towel. I love to place my ruler over the piece to make sure I have it centered. Using a iron, heat set your design to the towel.
19. Choosing a decorative stitch, stitch around your design. I used a small, tight zigzag for this project. I have also used a blanket stitch on other projects.
As you can see there are many creative variations to this project. You can embroider, machine or hand applique, use a fabric with a picture that you cut out. You really can use your imagination.
Happy sewing!
Well Laid Plans
Yesterday I tried to finish a few sewing projects. But my sewing machine was acting up on me. I really hope it’s alright and that it is something simple! I think I need to run it into the sewing shop and have it checked out.
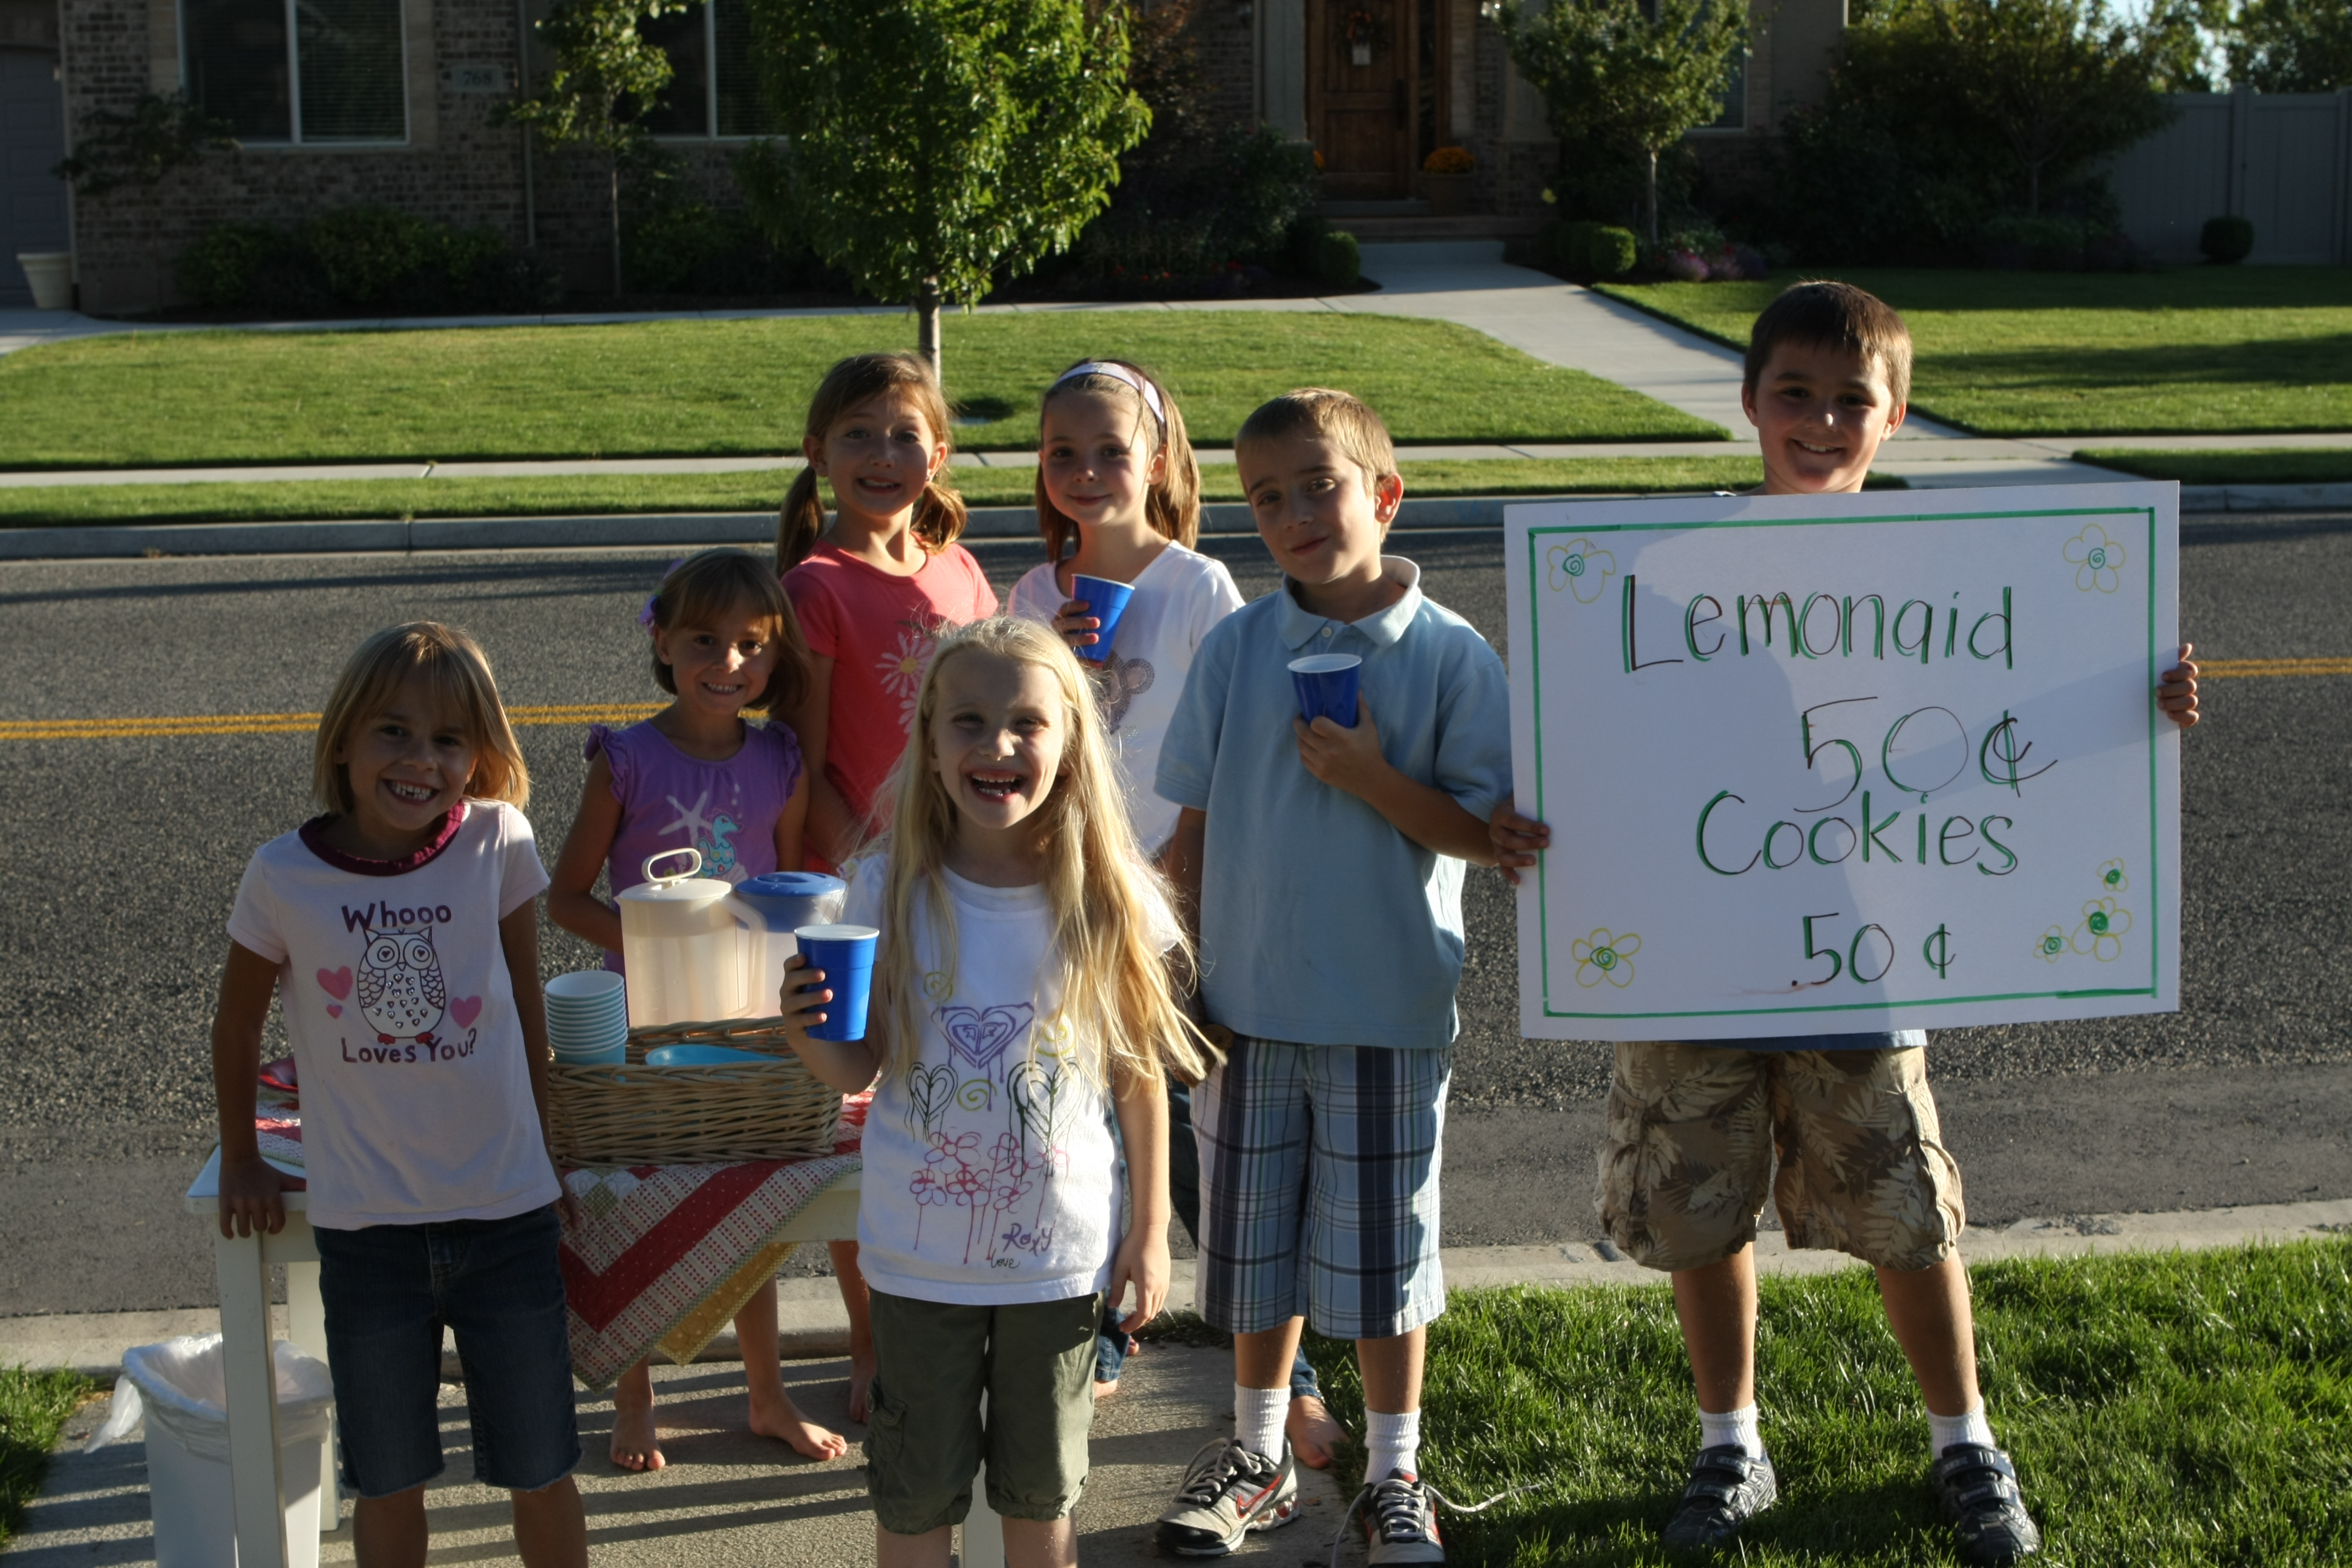
I also had a long to-do list yesterday, and I did get some of it done. But when the kids came home from school Ben had other plans. He was so animated as he told me that he had a great idea. He wanted to earn some money. If I would just bake some cookies really fast, he would make lemonade and open a lemonade stand. He wanted to make money for a new Star Wars toy.
Well, he was so enthusiastic, what could I do? To-do lists just aren’t as important as Lemonade Stands. So I threw on my apron and whipped up some chocolate chip cookies. Lily, Emma and Ben made the lemonade. They also made a sign together… but then asked me if I could write it again, because they couldn’t read what they had written and they wanted cars to be able to read it. I liked their sign better, but I wrote it for them anyway. Do you like the way I spelled Lemonade? I didn’t catch that until I uploaded the photo. I am so glad one of the our favorite teachers from 1st Grade was a customer. She might be wondering how my kids ever got 100% on a spelling test. There are no spell checkers with Crayola Markers.
The kids made great money thanks to the generosity of our neighbors. Ben can’t wait to go to the store to pick out his Star Wars figure. Lily and Emma want to go buy glitter balls. So I guess this afternoon will include a trip to the store.
Wish me luck with my sewing machine. All I have to finish on my dish towel is the machine applique. The machine went haywire half way around my squirrel. Hopefully I will have it to show on Monday. It was very quick and easy and I am happy with how it looks. Have a wonderful weekend.