Archive for the ‘make it’ Category
Spruce Up Dad’s Gift with a Custom Label
I love gifts that are personal and homemade. But making a gift for my husband is always a challenge for me. Anything too cutsy is just not him. Every once in a while I hit it just right… like the year I made him a reading/TV quilt. He uses that a lot.
This year I have been thinking for weeks about what I could make for him and I finally had an idea…
My husband loves to shoot Trap with his buddies… so I thought I could make him a ammo bag.
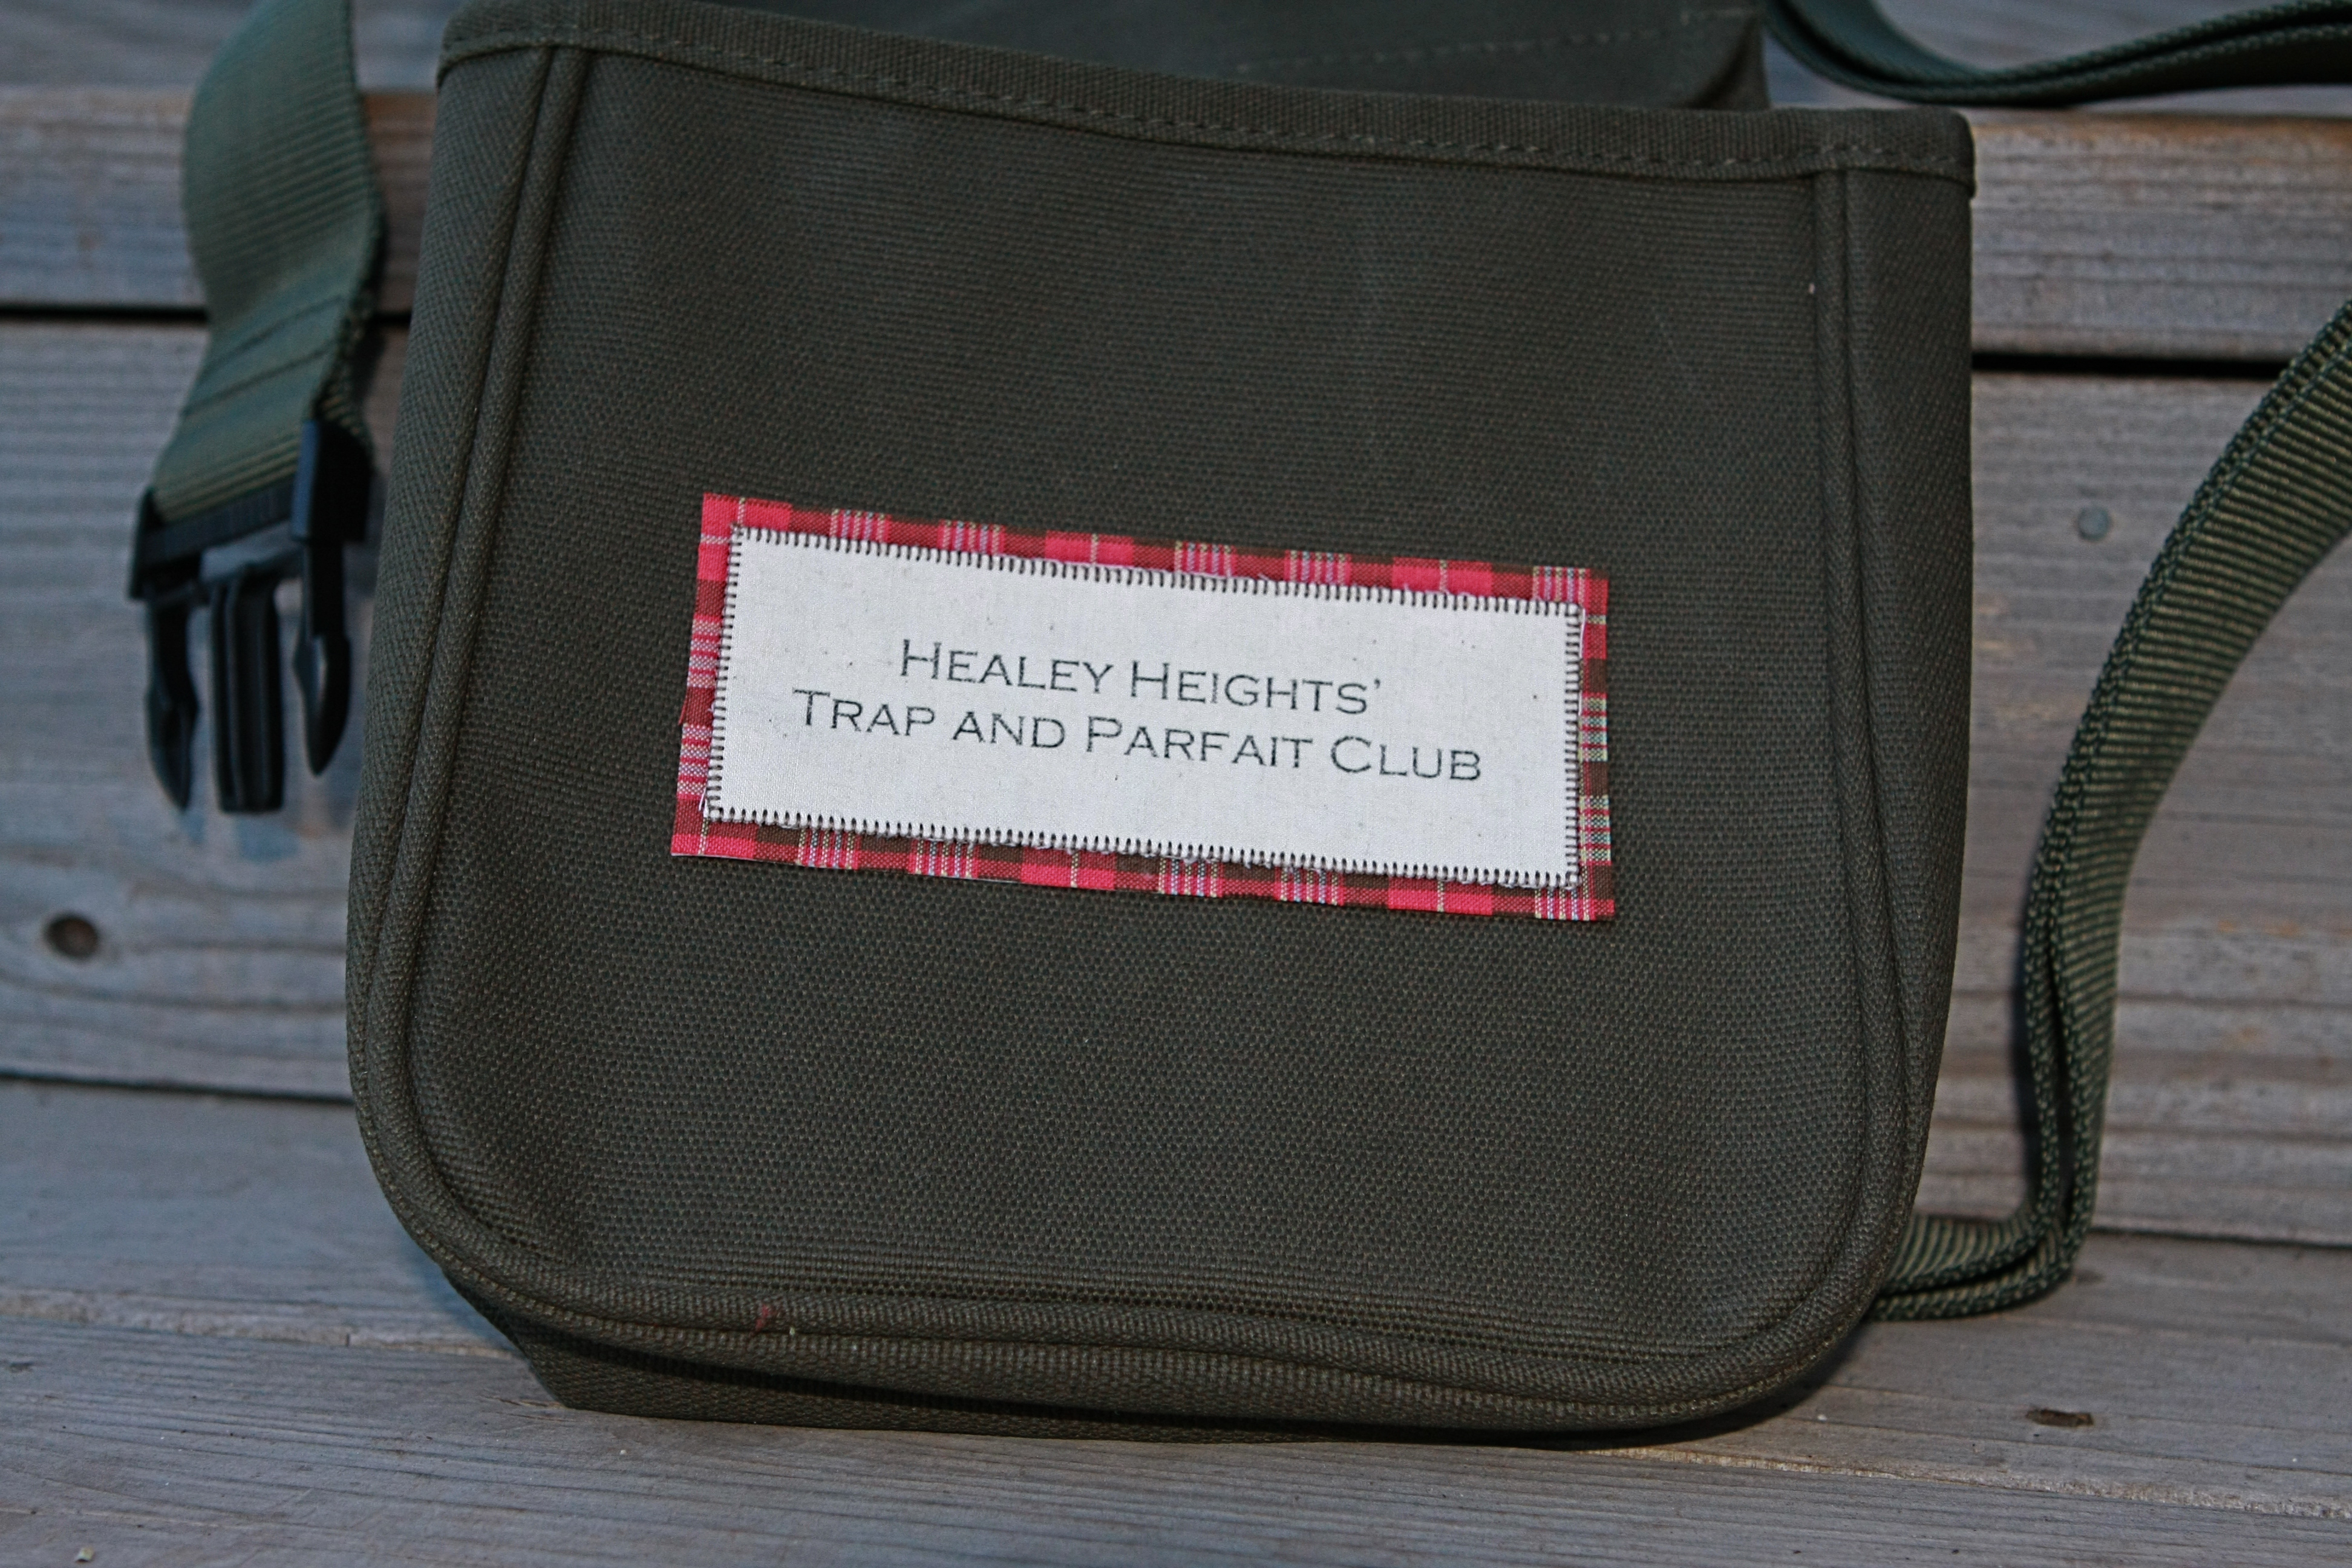
But then I found out they cost $14.99 at Cabelas and I wasn’t sure I could save a lot of money by making one… once I bought the fabric and the belt and clasp. But the Cabela’s bag isn’t that great looking. Maybe I could spruce it up with a custom label.
I’ve been wanting to try a technique for making labels for a while now. The kids and I headed to Cabelas to pick up an ammo bag. And then I set to work to make a label.
To complete this project you need:
- Muslin fabric (or similar fabric that you want to print on.)
- Freezer paper (available in the grocery store near the wax paper)
- a printer (both ink jet or laser)
- a fabric for the backing if desired
1. Cut your fabric into a rectangle approximately 9 1/2 inches by 12 inches.
2. Cut a piece of freezer paper slightly smaller… approximately 9 inches by 11 1/2 inches.
3. Place together the wrong side of fabric to the waxy side of the freezer paper. The fabric should be centered over the freezer paper.
4. With the fabric side up, iron the fabric and freezer paper together. The wax of the freezer paper will melt and fuse the fabric to the paper.
5. Cut your fabric down to 8 1/2 by 11 inches (a standard sheet of paper.) I used a piece of paper as a guide.
6. Create the document you want to print. You can get fancy and create it in Photoshop or do what I did and create something simple in word.
7. Set your printer settings to the high resolution. Feed your fabric into your printer making sure the fabric is on the side that will print. If you are not sure what side your printer prints on, make a mark on a piece of scrap paper and then feed it through. This will show you which way to feed the fabric in.
8. Once printed, I ironed the fabric on high to heat set the lettering. You can also peel the freezer paper off the back at this point. I choose to keep it on to give stability to the label.
9. Cut your label to desired size.
10. Cut your backing fabric to desired size. I ironed on some Wonder Under to the back of my backing fabric to give it stability and to make it easier to adhere to bag.
11. Stitch the label to the backing fabric. I used a small blanket stitch. You can stitch it by hand if you don’t have a sewing machine.
12. Now iron your label to the bag if you used Wonder Under. Then stitch your label to the bag with a blind stitch to secure. (If it fits on your machine, you could machine stitch it on using a decorative stitch.)
This technique can be used for all sorts of projects… making labels for luggage, for a backpack or lunch box, or any sewing project like an apron or clothing.
The ammo bag turned out great… much better than saying “Cabelas”. And I know my husband will get a kick out the label… the guys have a long running joke about whether “Real men like Parfaits.” My husband is in the loving breakfast parfaits camp…
I just heard on the news that today is “Man Day.” So you better go out and eat a parfait.
Embroidery Lessons on a Rainy Day
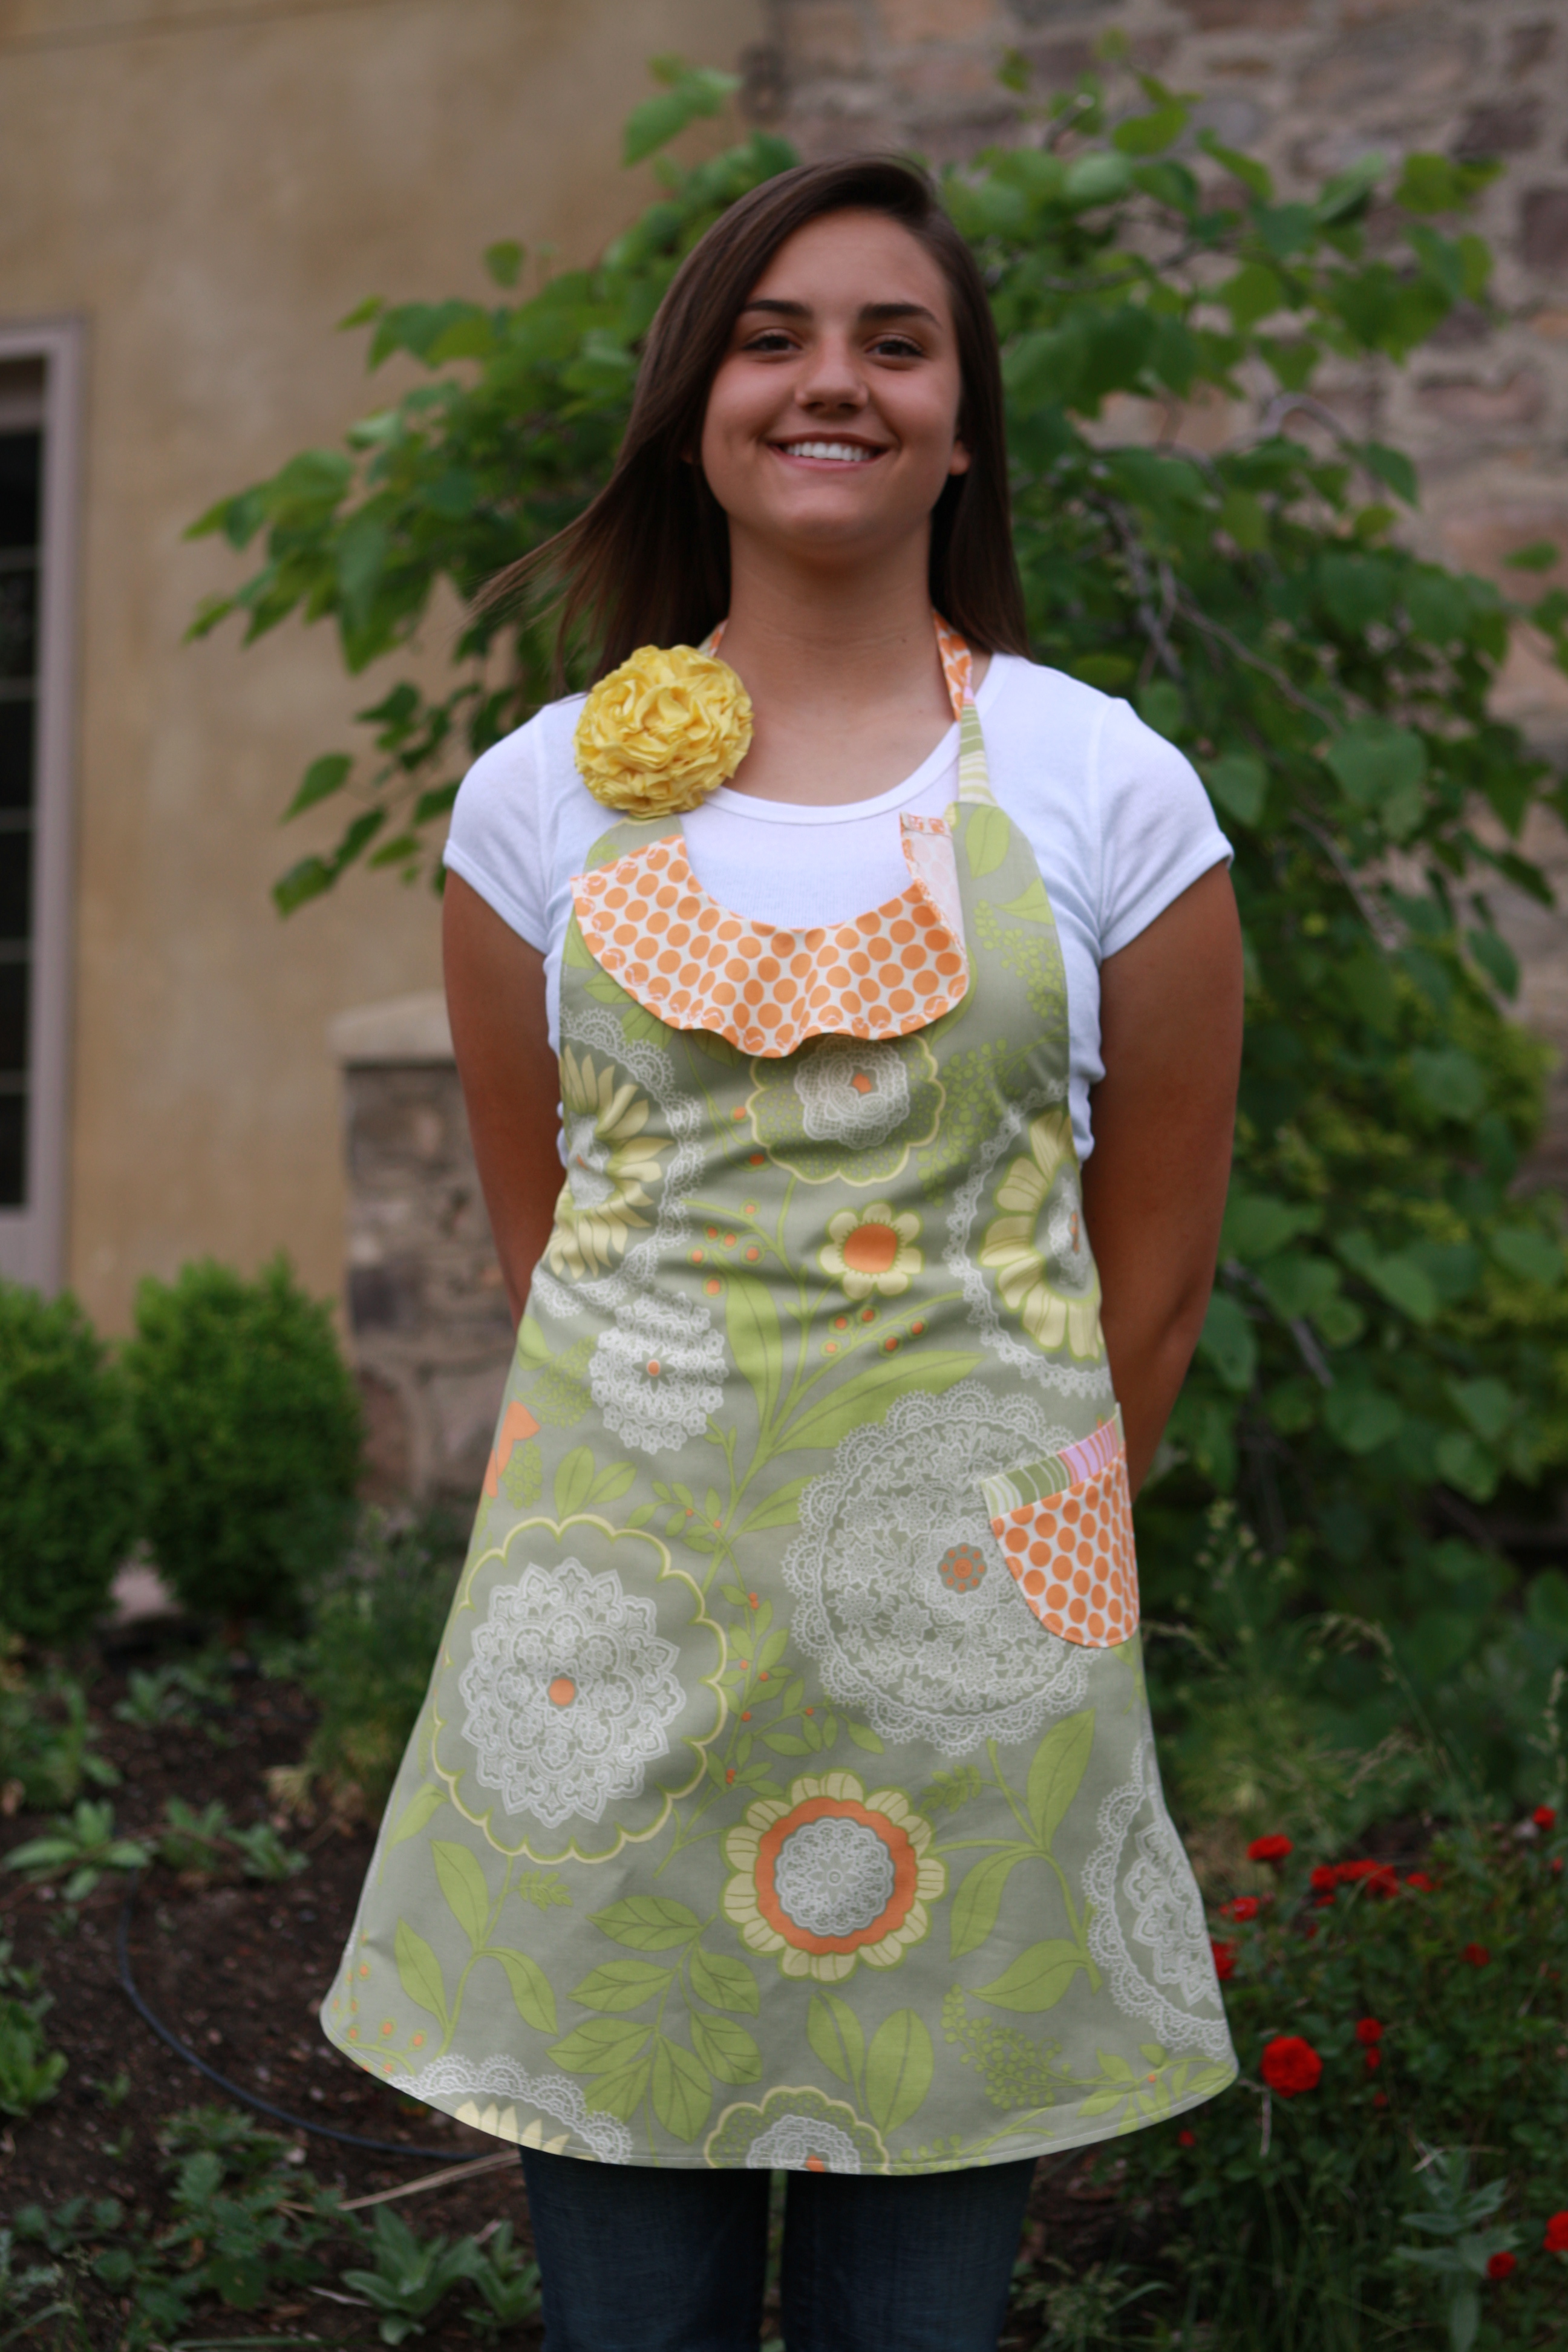
If you live in Utah or near by and get the TV station ABC4, check out Good Things Utah today at 10:00 am. I am giving away my flouncy little apron and ribbon flower pin from Give Away Today to an audience member. On Friday I will be giving away a half apron at Give Away Today… all you have to do is leave a comment to be registered to win.
Rainy days in June are usually a rare occurrence for Utah… but the last few days have been overcast and this afternoon we had a wonderful downpour. My darling neighbor girls were over to play and since we were stuck inside… we decided to try our hand at a bit of embroidery.
I’d like to tell you I had the whole project planned and I had everything I needed, but that wasn’t the case. Oh well, I am a “Make it Do” kind of gal. I scrounged around to find hoops, needles, left over embroidery floss, and some muslin… I was in business.
One Pretty Thing published some darling free patterns today that I printed off. (I love free and darling in the same sentence.) But I didn’t have a transfer paper or anything fancy like that… I simply taped the pattern to my window. Then centered the fabric and taped it to the pattern. Using a fine point Mark B-Gone Pen I traced the pattern onto the fabric. (I was wishing I had a fine point brown pigma pen, but oh well).
I taught the girls one simple stitch today… a back stitch. It’s easy to learn and since I am not an expert, it’s easy to teach. It is the same first stitch my mom taught me many years ago. Here is a wonderful “how to” resource for embroidery stitches from the Embroiderers’ Guild.
This is how we got started:
- I traced their pattern onto the fabric.
- Then I placed the fabric into an embroidery hoop.
- I cut the embroidery floss about 18 inches long. That is a good length for children to work with.
- I split the floss in half so I had three strands.
- Tie a knot at the end of the floss and thread the needle.
- I sat next to each child individually and taught them by making the first few stitches.
- Then I turned them loose. Maybe I am easily impressed but I think they took to it like ducks to water….
Here is Lily’s handiwork. It’s wonderful for a seven year old on her first try. (Did I mention that I’m her mother?)
Emma is going to keep me busy setting up new projects for her… she has about ten things planned after she finishes her owl. I think she takes after my Mom… her Nan.
Here’s my favorite old time embroidery story. A little girl sat down and dutifully stitched her embroidery…. when she stood up her lovely stitchery was completely attached to her skirt. I guess the moral of the story is stitch in pants.