Hi, I’m Calli
Welcome! If you enjoy your visit, be sure to follow me:
Oh My Stars!
Canning Day Quilt

Archive for the ‘plant it’ Category

The Early Bird Gets the Tomato
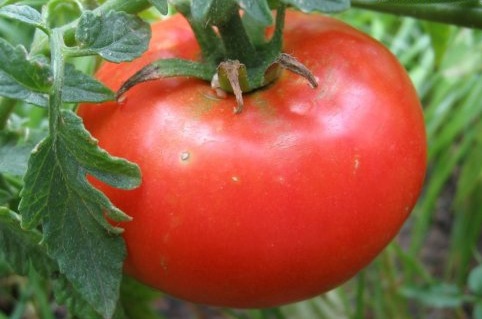
cflowers3942There are few things I look forward to more than the first tomatoes from my garden.   They are a bit of an obsession.  Drew and I love to eat them with salt and pepper and cottage cheese, or sliced on crusty Italian toast with a drizzle of olive oil and a basil leaf.  I put a bowl of the grape tomatoes on the counter and eat them like candy.  OK enough already, my mouth is watering.  Nothing tastes better than home grown tomatoes.

They say good things come to those who wait… and I say do I really have to wait so long?  Actually no.  Several years ago, we bought a pack of Wall ‘O Water.  And now we enjoy those scrumptious tomatoes up to a month early.

If you can’t afford to buy Wall “O Waters, I found a “make it do” way to create your own.  You may need to host a party to get the two liter bottles… or ask friends and neighbors to save theirs for you.  Here’s the link to make your own Wall ‘O Water.  It’s very cool.

Here’s how I plant tomatoes:

1. The first step is to pick your tomato plants at the nursery.  I chose small plants, only costing $1.  The most important thing is to choose healthy plants.  A good rule of thumb is to choose plants that are as wide as they are tall.

2.  Amend your soil with compost.  If you want good tomatoes you need to feed them.  I turned well-rotted manure into the soil on a warm day about a month ago.  Manure is one of the least expensive ways to amend your soil.  You can also make your own compost.

3. Dig a hole deep enough to accommodate all but the top three inches of your plant.

img_13794.  Next cut off all the leaves from the lower branches, until you are left with just the top canopy of leaves.  I know that sounds a bit scary, but trust me your plant will love it.

img_1381 5.  I take the plant out of the container and gently spread out the roots a bit.

img_1382 6.  Next plop it down into the hole.  It looks too deep, but it’s not.  Your tomato is going to send out roots all the way up the buried stem, making it really healthy and vigorous.  Just what it needs to produce lots of tomatoes.  Yeah!

img_1384 7.  Back fill in the soil and then water the plant well.

8.  In about 5 days it’s time to fertilize.  Since I want an organic vegetable garden, I am using fish emulsion or you can buy bat guano fertilizer.  Then fertilize every two weeks thereafter.  I put it on my calendar so I don’t forget.

img_13861 9.  Next I put the Wall ‘O Waters around my plants.  Since we had almost a foot of snow last week, I’m not taking any chances.  Just think of all the tomatoes I am going to get from those $1 tomato plants!

One last thing I have to share.  It has been so cold here with rain and snow.  But finally this last weekend it started to warm up.  I wanted to share a few pictures from my garden that make me oh so happy because it says Spring is finally on it’s way.

img_1287

It's my lettuce... growing despite the snow!

Viburnum.. I need to think about it to remember what variety.

img_1294

img_1290 It’s the little things that I love….

Use it Up on a Rainy Day

img_1127

“Making it Do” means looking at everything differently.  Instead of
just throwing something into the recycling bin or the garbage, I ask
myself… Could this be used for something else?  I am amazed how often the
answer is YES when I get creative.

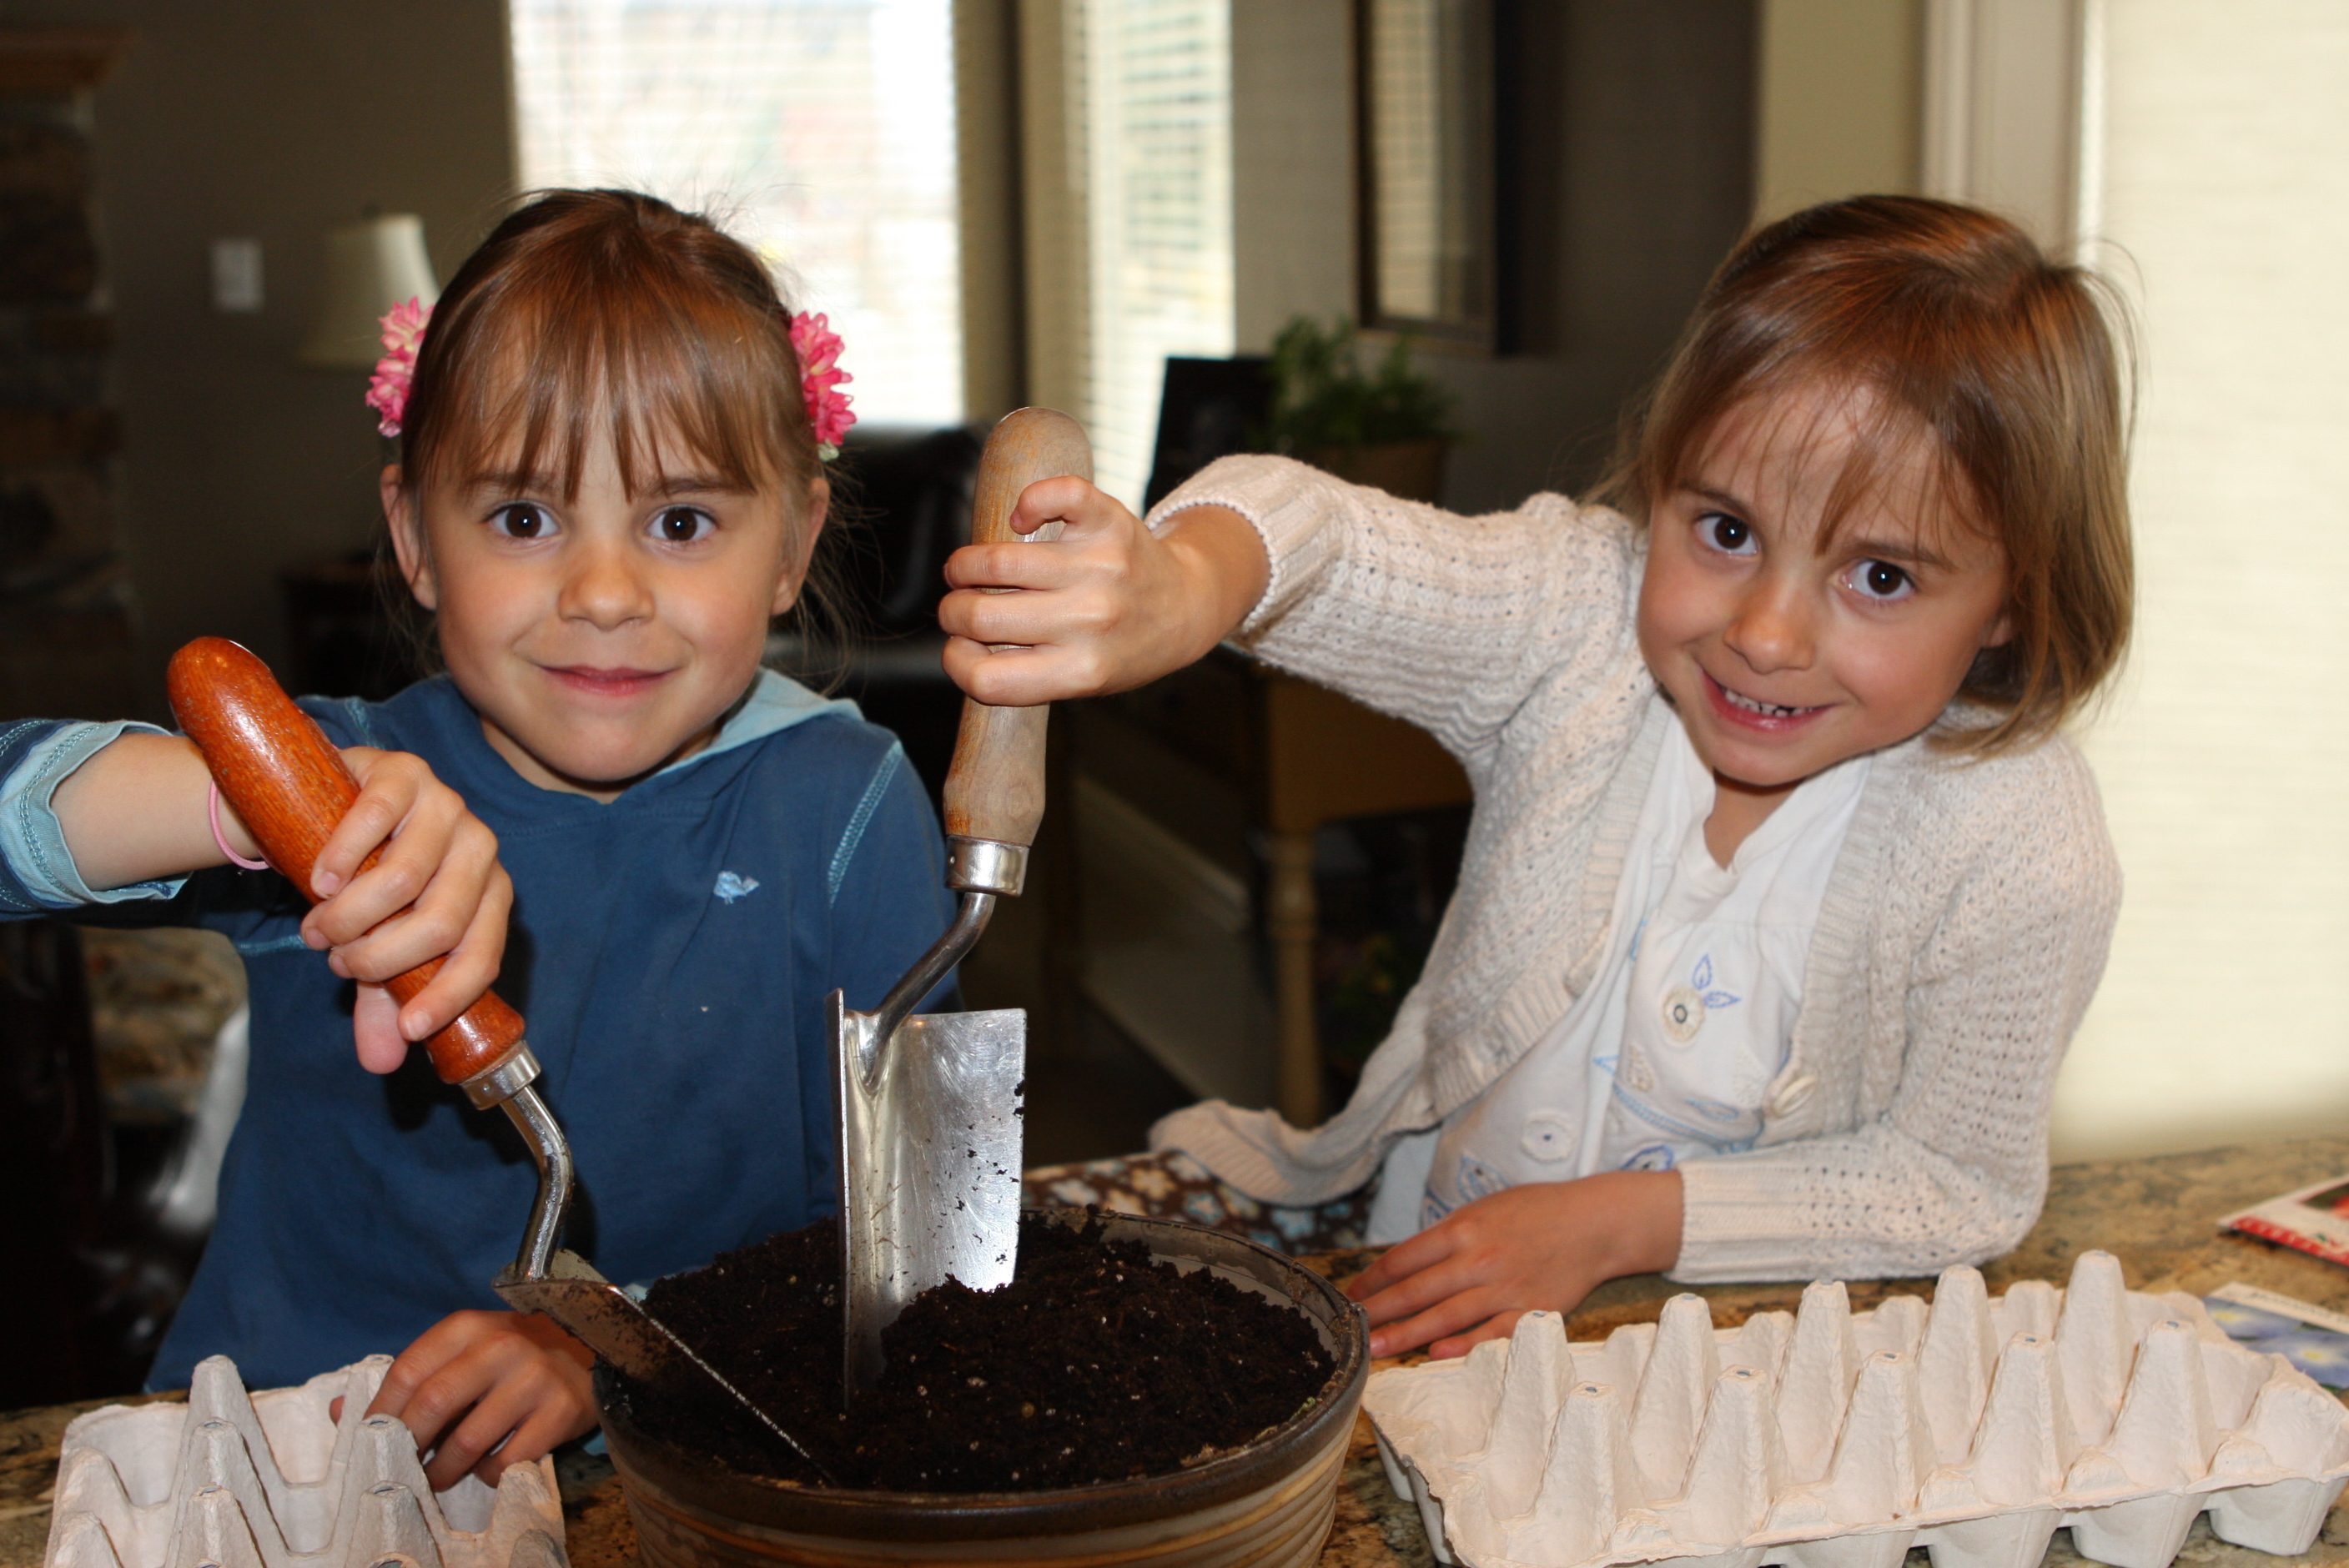
It’s Spring Break and today we were going to make kites and
go to the park for a picnic…. but Mother Nature had other plans.  It
has rained all day.  Instead we planted seeds indoors in egg
cartons that I have been saving over the past few weeks.  This is such a
great job for kids.

img_1130

1.  Punch a small hole at the bottom of each cup for drainage.  This is especially important if you are using styrofoam egg cartons.  I prefer the cardboard as you can plant the whole cup directly into the ground and not disturb the seedlings.  Plus I really hate styrofoam!

2.  Fill each cup with potting soil.  (I know, Mom.  Avert your eyes… the kids are spilling dirt on my kitchen counter.  But a little dirt never hurt anyone and it does clean up.  It’s raining, we can’t do this outside!)

img_1140

3.  Following the instructions on the seed packet for planting depth, make a small hole in the soil with your finger in the center of each cup.  Some seeds are so small that you don’t make a hole.  Just drop the seeds in and cover lightly with a little soil.

img_1146

4.  For larger seeds plant two to three seeds per cup, for really small seeds, I plant four to five.  (When the seedlings sprout, you will choose the strongest seedling in each cup to keep and cut the rest back to the soil level with scissors.)

img_1156

5.  Cover the seeds lightly with soil.

Spraying the seedlings takes a lot of concentration!

Spraying the seedlings takes a lot of concentration!

6.  Place the seeds in a water-proof tray to catch the water.  I used an extra-large disposable roasting pan (another reused item.)  Once planted, water the plants using a spray bottle.  Or if you are in a hurry, pour water in the bottom of the tray and let it soak up.  Don’t pour water directly in the cups or the seeds will float all over (not good.)

7.  Lay a sheet of plastic wrap over the seed trays to create a “greenhouse” effect.  Remove the plastic as soon as the seedling start to come up.

8.  Place the trays in a warm, bright, preferably South facing window. Make sure to keep them evenly moist, but not soggy.  (Seedlings hate standing in a lot of water.)

9.  When you are ready to plant your seedlings outside, just cut the cups apart and plant directly into the ground.  The cardboard will break down and become fertilizer.  It’s a win/win.

Here are some things to think about:

  • WHEN to plant your seedlings depends on the date of the last frost in your hometown.  I live in Zone 5 and it’s typically safe to plant tender plants around Mother’s Day.  Just follow the instructions on the seed packet.  It will say something like: start indoors 4 weeks before last frost.  You can call your local nursery and ask when it’s safe to plant outdoors and then work backward.
  • I am not too fussy about when to plant seeds indoors, but I mostly plant them a little on the late side.  The times I’ve failed planting indoors has been when I plant them too early and they grow too tall and leggy before it’s safe to plant outdoors.
  • Some of the plants I have had great luck with from seed are:  basil, pumpkins, squash, cucumber, lettuce, spinach, cosmos, marigolds, sunflowers, morning glory (not the weed also known as bind weed, aka my arch enemy,) and moon flowers.
  • If your plants are getting too leggy it usually means they are not getting enough light.  Move them to a brighter window or if the days are warm, set them outside in a sheltered location during the day, especially just before planting.  It can help to harden them off.  If you do this, remember things dry out a lot faster outside, so don’t let your hard work shrivel up!
  • If you don’t use your whole seed packet, consider sharing the extra seeds with a friend.  You can also save seeds until the next year, just be sure to store them in a cool spot.  I save them with my food storage in my basement.

Planting from seed is such a “feel good” kind of thing to do. There is nothing like seeing that little bit of green poking it’s head out of the dirt.  And because seeds are so inexpensive, it is a great way to “Make it Do.”

Archives


Virtual Quilting Bee