Archive for the ‘plant it’ Category
Making Lavender Bottles
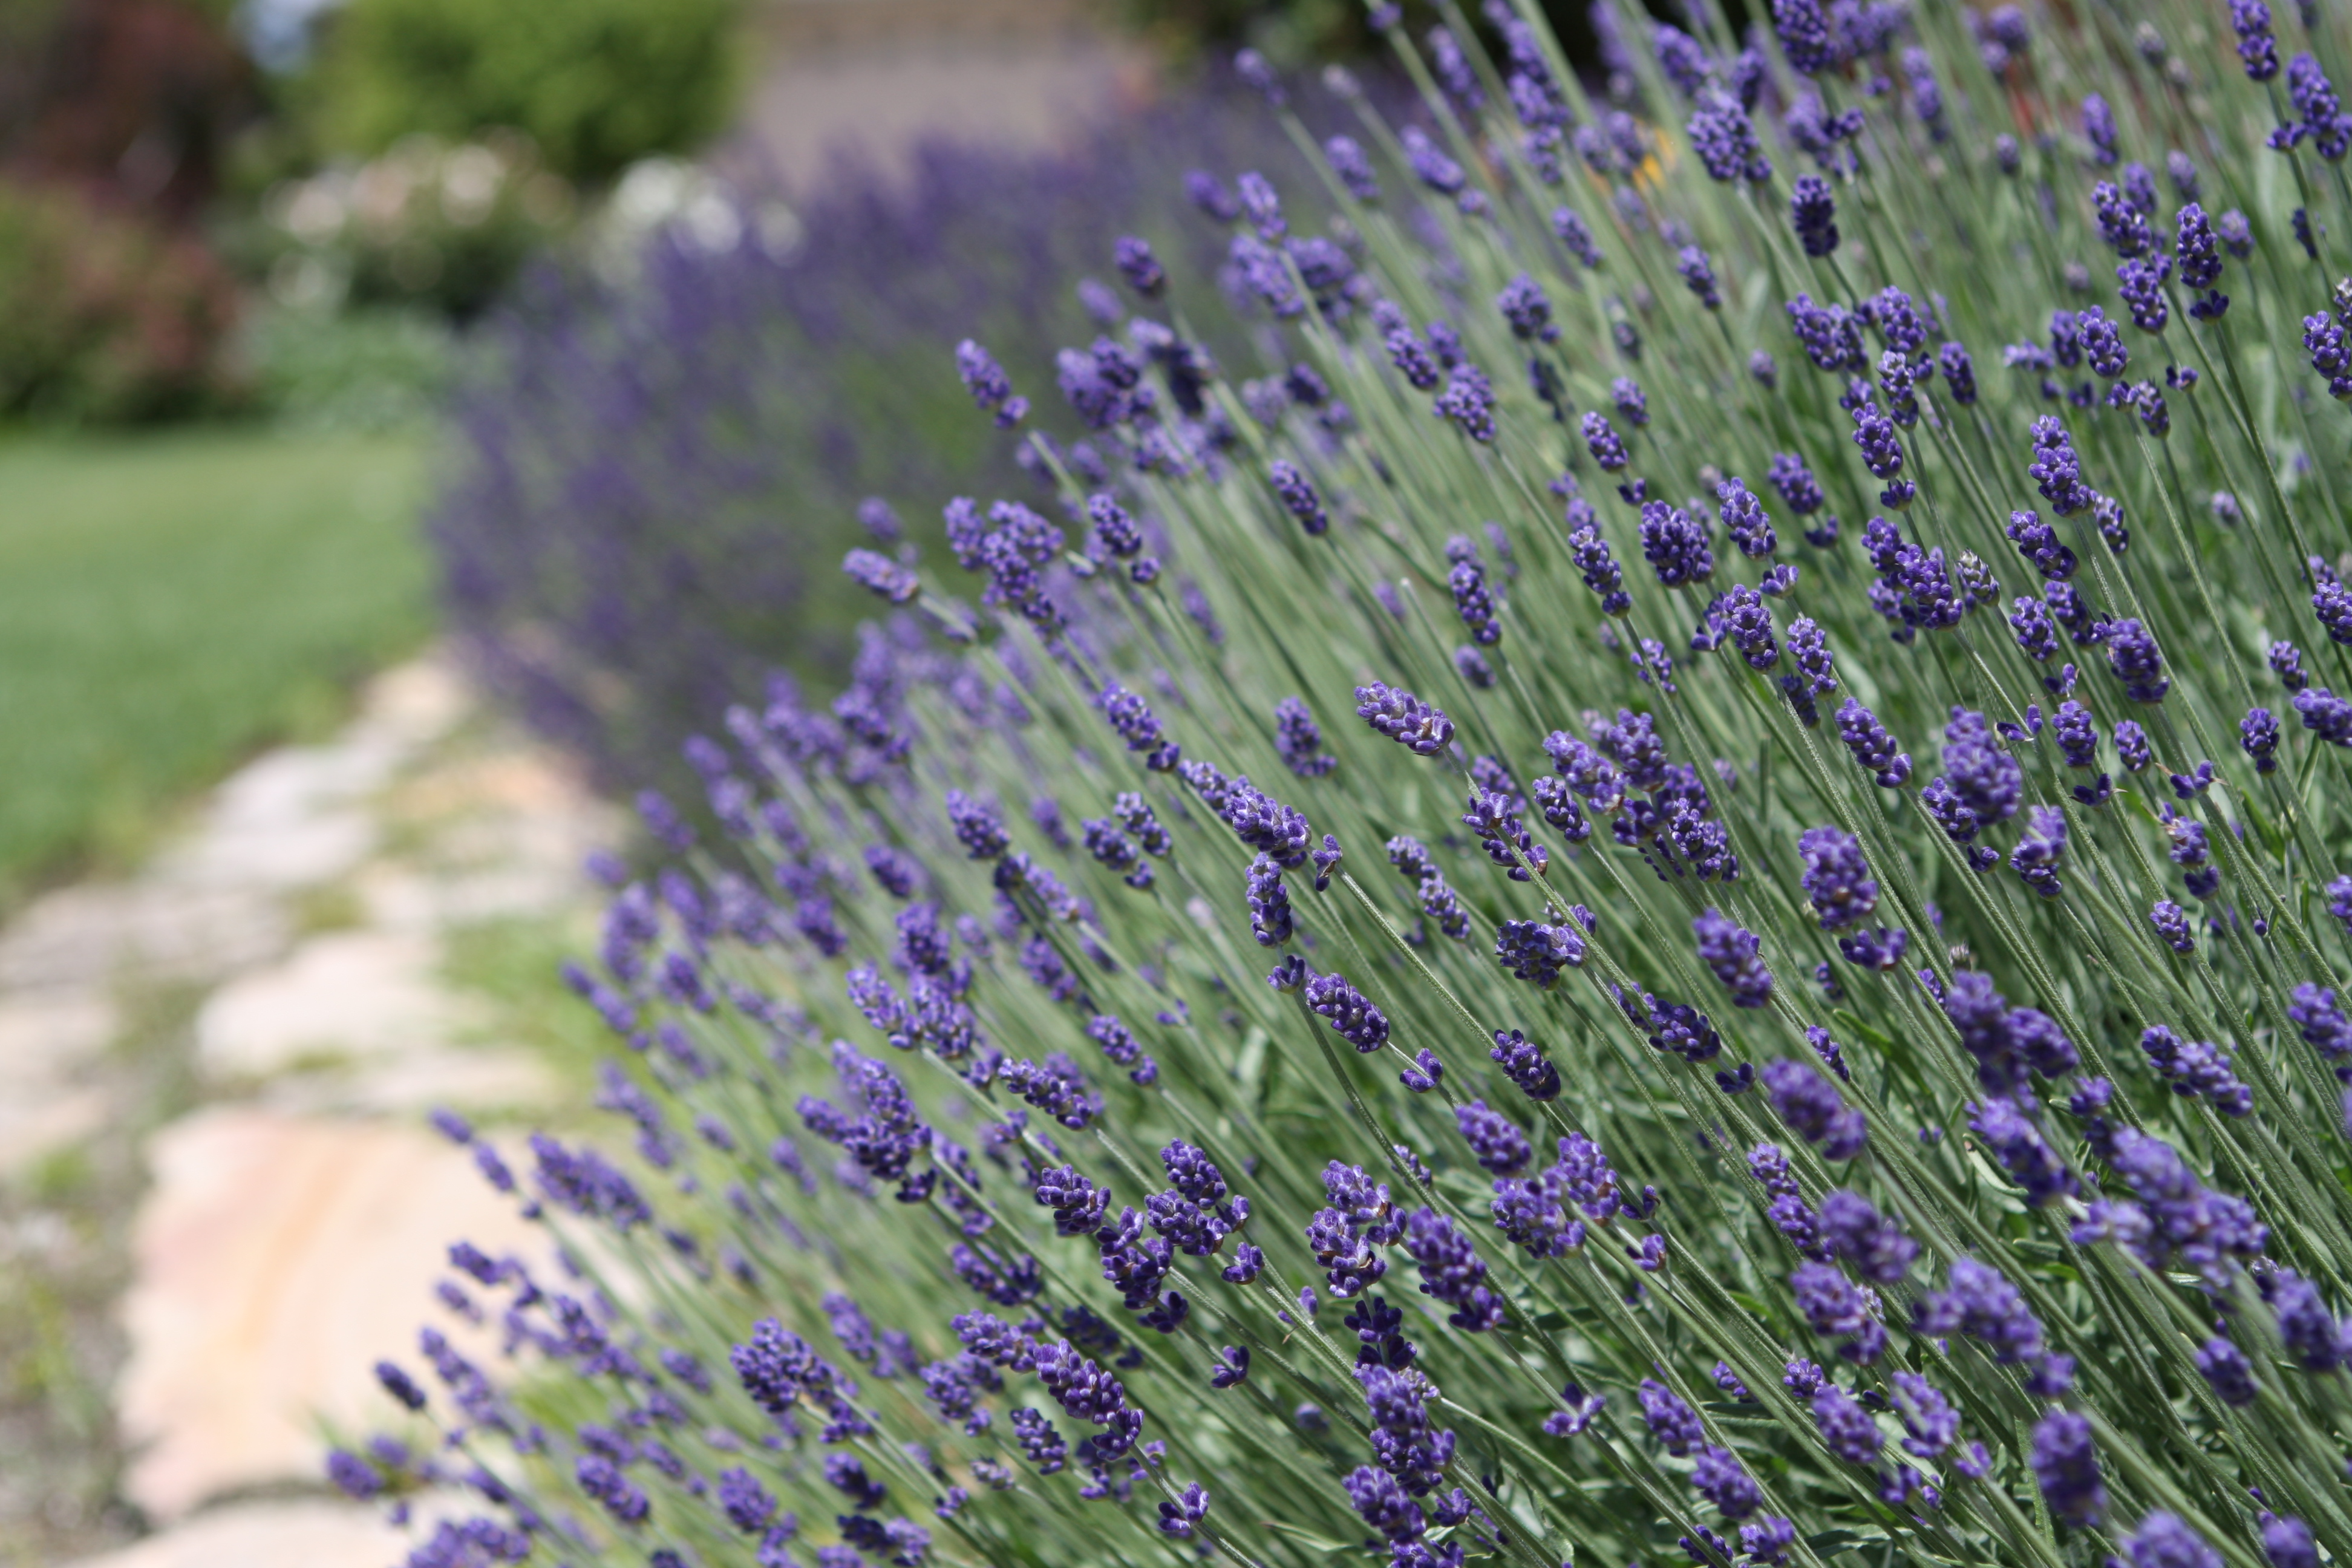
Lavender is one of my favorite “Make it Do” flowers… as useful as it is pretty. This hardy, easy to grow herb that has been valued for centuries for it’s wonderful scent. I grow mostly Munstead and Hidcote varieties of lavender in my garden. And I love the Blue Cushion lavender I have planted in a hedge around my vegetable garden. Lavender has great color almost the whole summer… and I use it for a variety of projects.
The lavender flower has two parts… the calyx and the corolla. The calyx colors up first and that’s when I like to harvest lavender for making wreaths and bouquets. After that the corollas begin to bloom. You can still harvest your lavender but the open blooms aren’t as pretty when they are dry. (It is still perfect for making potpourri and sachets.)
One quick project I make every year out of lavender is lavender bottles. They are so easy even children can make them (with a little help.) Lavender bottles smell wonderful tucked in drawer or in a closet.
Here’s how to make them: You will need fresh lavender, about a yard of 3/8 inch ribbon and a hot glue gun.
1. Start with about 25 stems of fresh cut lavender. Cut the stems as long as possible.
2. Starting at the top, just below the buds, run your fingers down each stem to remove any leaves.
3. Tie the end of 3/8 inch ribbon just below the blooms. (I just work from the spool so I don’t waste any ribbon in the end.)
4. Fold the stems back over the buds. (Try to keep them evenly dispersed around the bottle.)
5. Pull the long end of the ribbon out from between the stems. (Make sure the short end stays neatly tucked inside.)
6. Now weave the ribbon in and out like a basket. I usually weave two or three stems at time. You can weave in an out every stem if you like.
7. When you get to the bottom of the buds, make sure to pull the ribbon taut. Then dab the ribbon with hot glue to secure the end and trim.
8. Trim the stems to make them even.
9. Tie a ribbon in a bow to cover the end of the ribbon.
Lavender bottles are so fragrant and sweet. I love keeping them in my drawers. They also make a wonderful homemade gift for a friend.
Share and Share Alike
What do all these plants in my garden have in common?
Answer: They were all free. That’s right, they cost zero, zilch, nada.
How, you might ask?
Because they were all transplants from my Mother-in-Law, Kit’s garden.
The hostas above is particularly special to me… it is a descendant from Kit’s Mother’s garden in Tennessee. When her mother moved to Utah during the 1940’s, she brought a start of this hostas with her. It’s blooms are so fragrant, just one flower will scent a room. Drew and I have lived in three homes over the past 18 years, and we have had this hostas in all three gardens. I always look forward to late summer, when it starts to bloom and I can put a small vase with it’s long white flower on my night table. I love how it smells and I love this hostas all the more because of it’s history.
Transplanting and sharing plants is a great way to “Make it Do.” If you have a friend who loves to garden… chances are he or she will have plants they want to share. Transplants come from perennial plants that have grown too large and need to be divided. Or from annuals or perennials that send off seedlings (called hardy volunteers.)
After transplanting many plants over the years, both coming and going from my garden, here are a few tips I have learned.
- It is best to transplant in the spring or fall. (I have done it in the summer but my success rate is lower.)
- Always transplant early in the morning or in the evening. Avoid the heat of the day which is hard on the transplants.
- Dig all the way around the plant with a shovel, being careful to get the entire root. Keep a nice clump of soil around the plant to disturb the roots as little as possible.
- If moving plants from one garden to another, carefully place each plant into a pot for transporting. Add a little more soil around it if needed. I always save a few black nursery pots for transplanting.
- The smaller the plant the easier it is to move.
- Once planted in the new location, water it in well.
- I think it increases success to water it in with Super Thrive, a concentrate of vitamins and hormones. You can also use a root stimulator or fertilizer.
- Keep the plant well watered until it is established.
To help fill in my large flower beds, I have done a lot of transplanting within my own yard. Slowly but surely I am filling in all the empty spots. I love to share with friends as well.
Ask your friends if they want to exchange plants with you. And give them some in return.