Archive for the ‘tutorials’ Category
Baby Car Seat Cover Tutorial
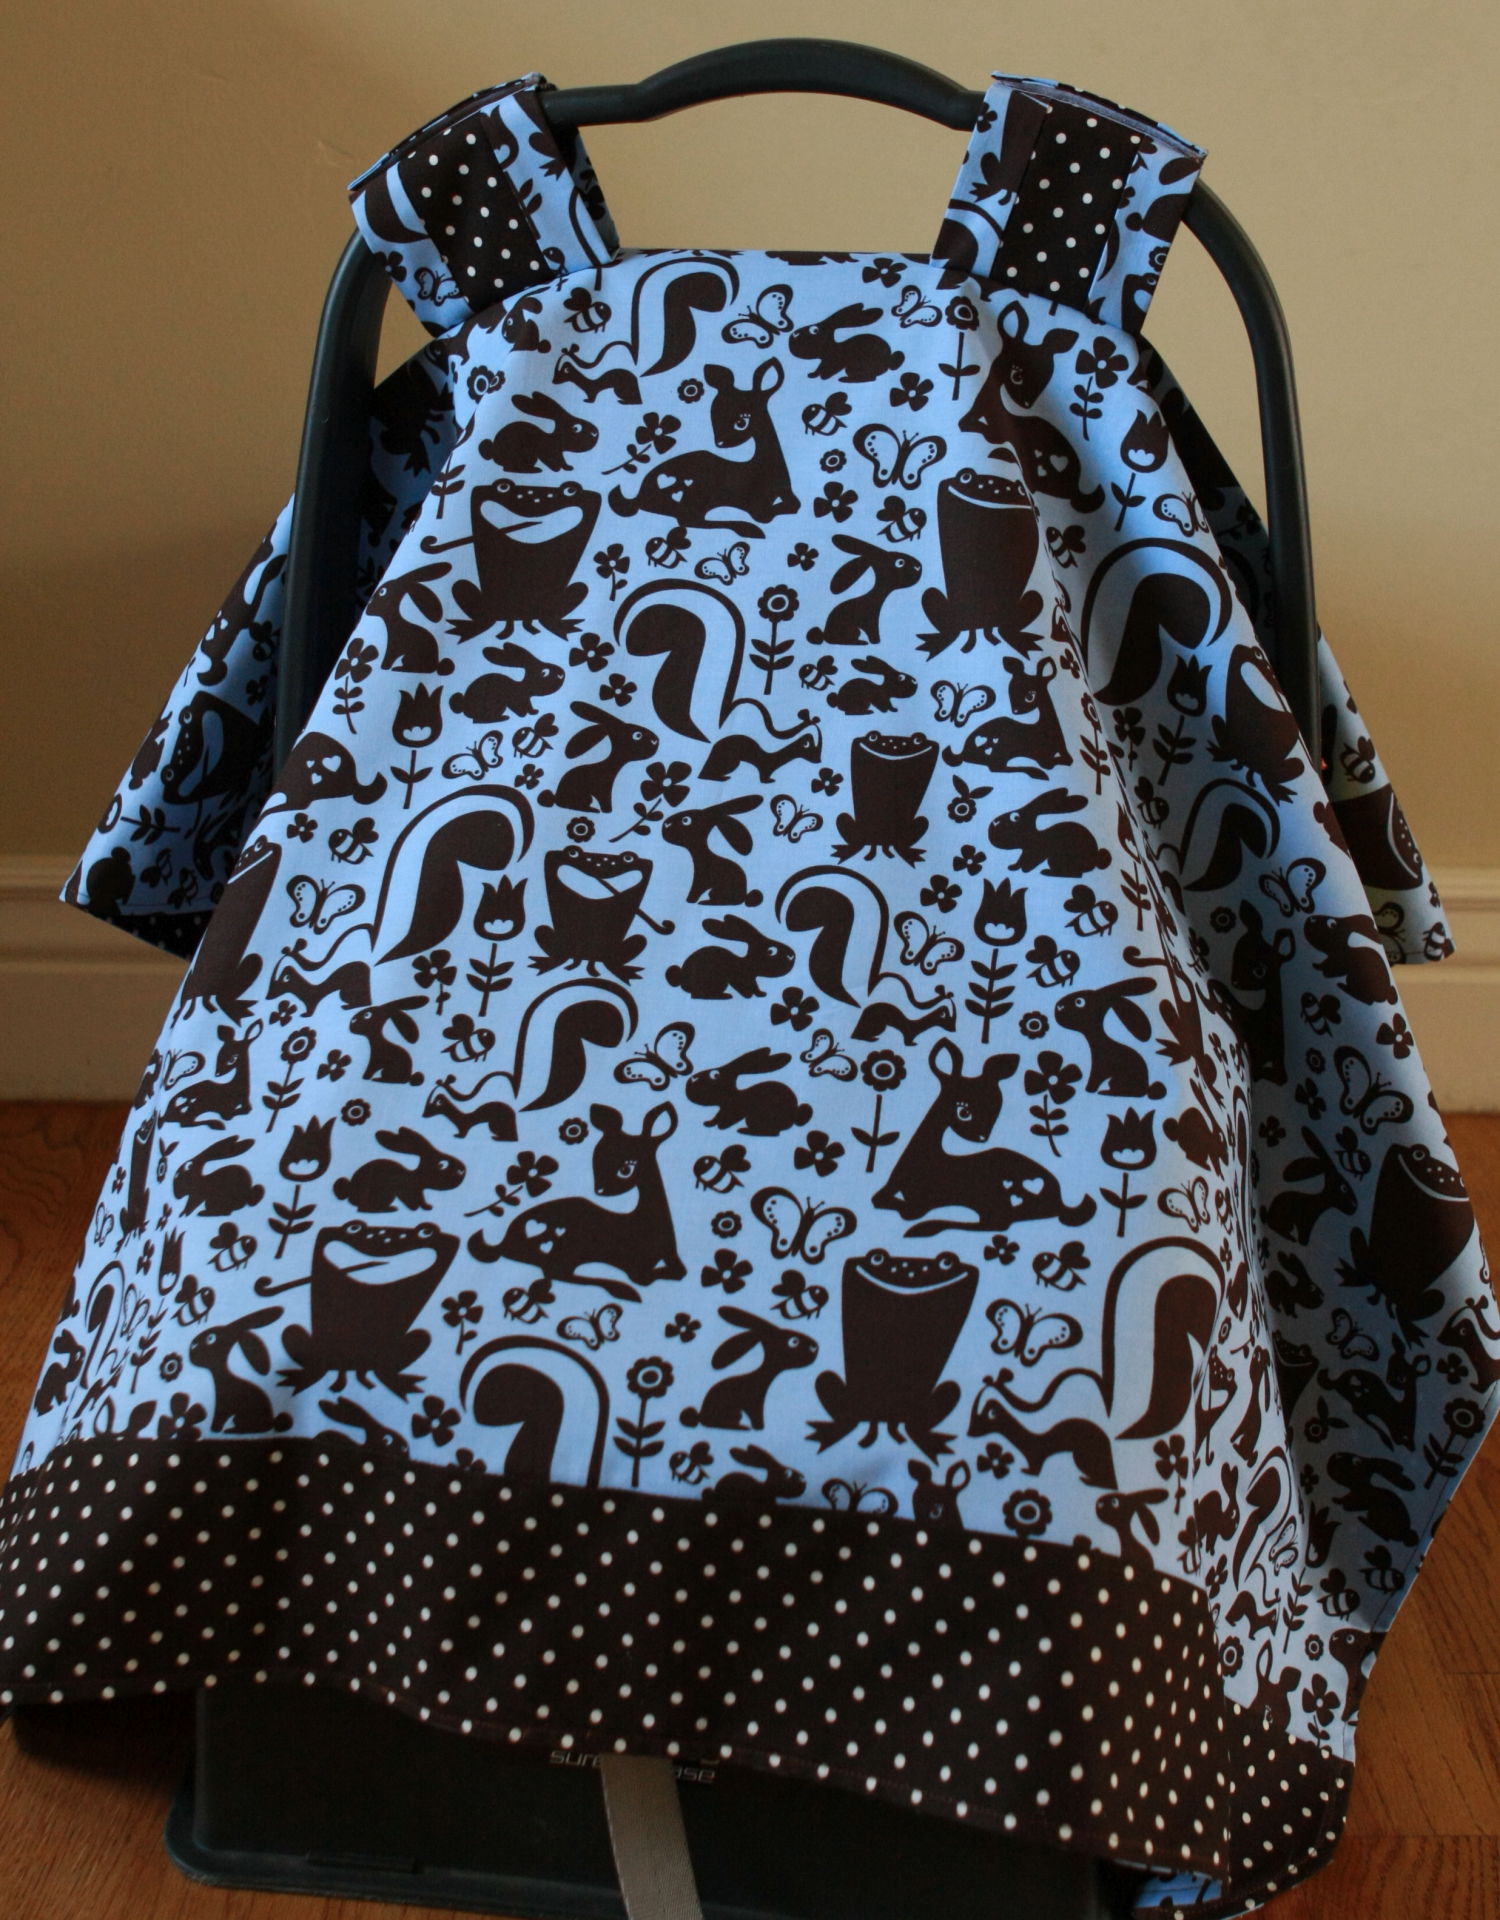
This car seat cover was a quick, fun project for me. It makes a perfect gift for a new baby. Mine is for my new baby nephew, Isaac. A cover is wonderful for keeping a baby asleep, warm and safe from germs when out in public.
This is a project where you can definitely employ your imagination to embellish it as much or as little as you want. I chose to piece a strip of my back polka dot fabric on the front top and bottom. I also pieced the straps… but that was out of necessity. I only bought 1 yard of the backing fabric, and didn’t have enough fabric complete the straps like I wanted, with backing fabric on one side and front on the other… so I pieced them, and in the end I liked them better than the way I had planned. I love when this happens. I make a mistake or run out of fabric, and the fix ends up being my favorite part of the project. I think it’s because I’m forced to think out of the box and get more creative.
Here is what you need to complete this project:
- 1 1/3 yards 100% cotton fabric or flannel for top
- 1 1/3 yards 100% cotton fabric or flannel for backing
- Sew on Velcro (I prefer not to use Velcro with adhesive, as it gums up my needle.)
- fabric marking pen (either water erasable or disappearing) or fabric marking pencil
And here’s how:
1. Cut top and backing fabrics 35″ wide x 42″ long. If fabric has a directional pattern like my top fabric, make sure to cut it so it goes in the right direction. If you are piecing either the top (like I did) or backing, make sure the finished dimensions are still 35″ wide x 42″ long.
2. Create curved corners by placing a bowl in the corner and tracing with fabric marking pen or pencil, as shown. Cut along tracing line. (This curved corner is more than just decorative, it serves to keep the cover off the ground on the corners. Next time around, I would use a larger bowl and take more off for the curve, as the corners in the front of the car seat touch slightly.)
3. Cut straps 2 from backing and 2 from top 4″ x 9 1/2″. (I was piecing the straps, so my “back” polka dot fabric was 2″, and the “top” fabric was cut 6″ thereby making my finished strap the same dimensions.)
4. If you want to do any piecing (like I’ve done), make sure finished dimensions are same as above.
5. For the main body of the cover, place right sides of front and backing together, stitch together using a 1/4″ seam, leaving a small opening. Note: all seams are 1/4″ unless otherwise noted.
6. Clip curved corners and turn right side out. I like using a chopstick all the way around the seam, as it makes for a nice edge. Press well.
7. Using a scant 1/4 seam, stitch all the way around the outside edge to give it a finished look, and to close the opening.
8. To make the straps place right sides of front and back fabric together. Stitch around, leaving one end open. (There are few added steps if you are making the straps pieced on top, like mine. I stitch down the length, leaving both ends open, I pressed the seams out, turned it right side out, and pressed so the straps looked even. Then I turned it wrong sides together again and closed one end. Then continue to step 9)
9. Clip corners and turn right side out. (Again I use chopstick) Press well.
10. Close opening. Repeat steps 8-10 for second strap.
11. Fold straps to check placement of Velcro, pin and stitch into place. I made sure the end which I closed the opening was on the inside and therefore hidden.
12. Press straps in half, to act as a guide. For placement of stitching on the straps (to adhere the straps to the body), measure 4 1/4″ inches in from both sides and draw a line with fabric marking pen as shown below.
13. For placement of straps measure 19″ inches from the top and 11 1/2″ from each side. There should be about 5 1/2″ between each strap and about 21″ from the strap to the bottom. If you are visual like me, see Illustration for strap placement. Pin straps into place. Stitch and then reinforce stitching. (The stitching will be one inch apart, and I stitched in a box shape.)
And it’s done! Remember, you really can use your imagination to embellish this cover. You can add buttons, rickrack, or ribbon. As usual, I like simplicity, and the piecing was enough embellishment for me.
Here’s a quick glimpse of the inside.
Now it’s time to wrap it up and deliver it to my dear sweet nephew.
How to Make Hand Cut Snowflakes
When my parents-in-law were newly married and both in school, they faced decorating their Christmas tree with no money to buy ornaments.
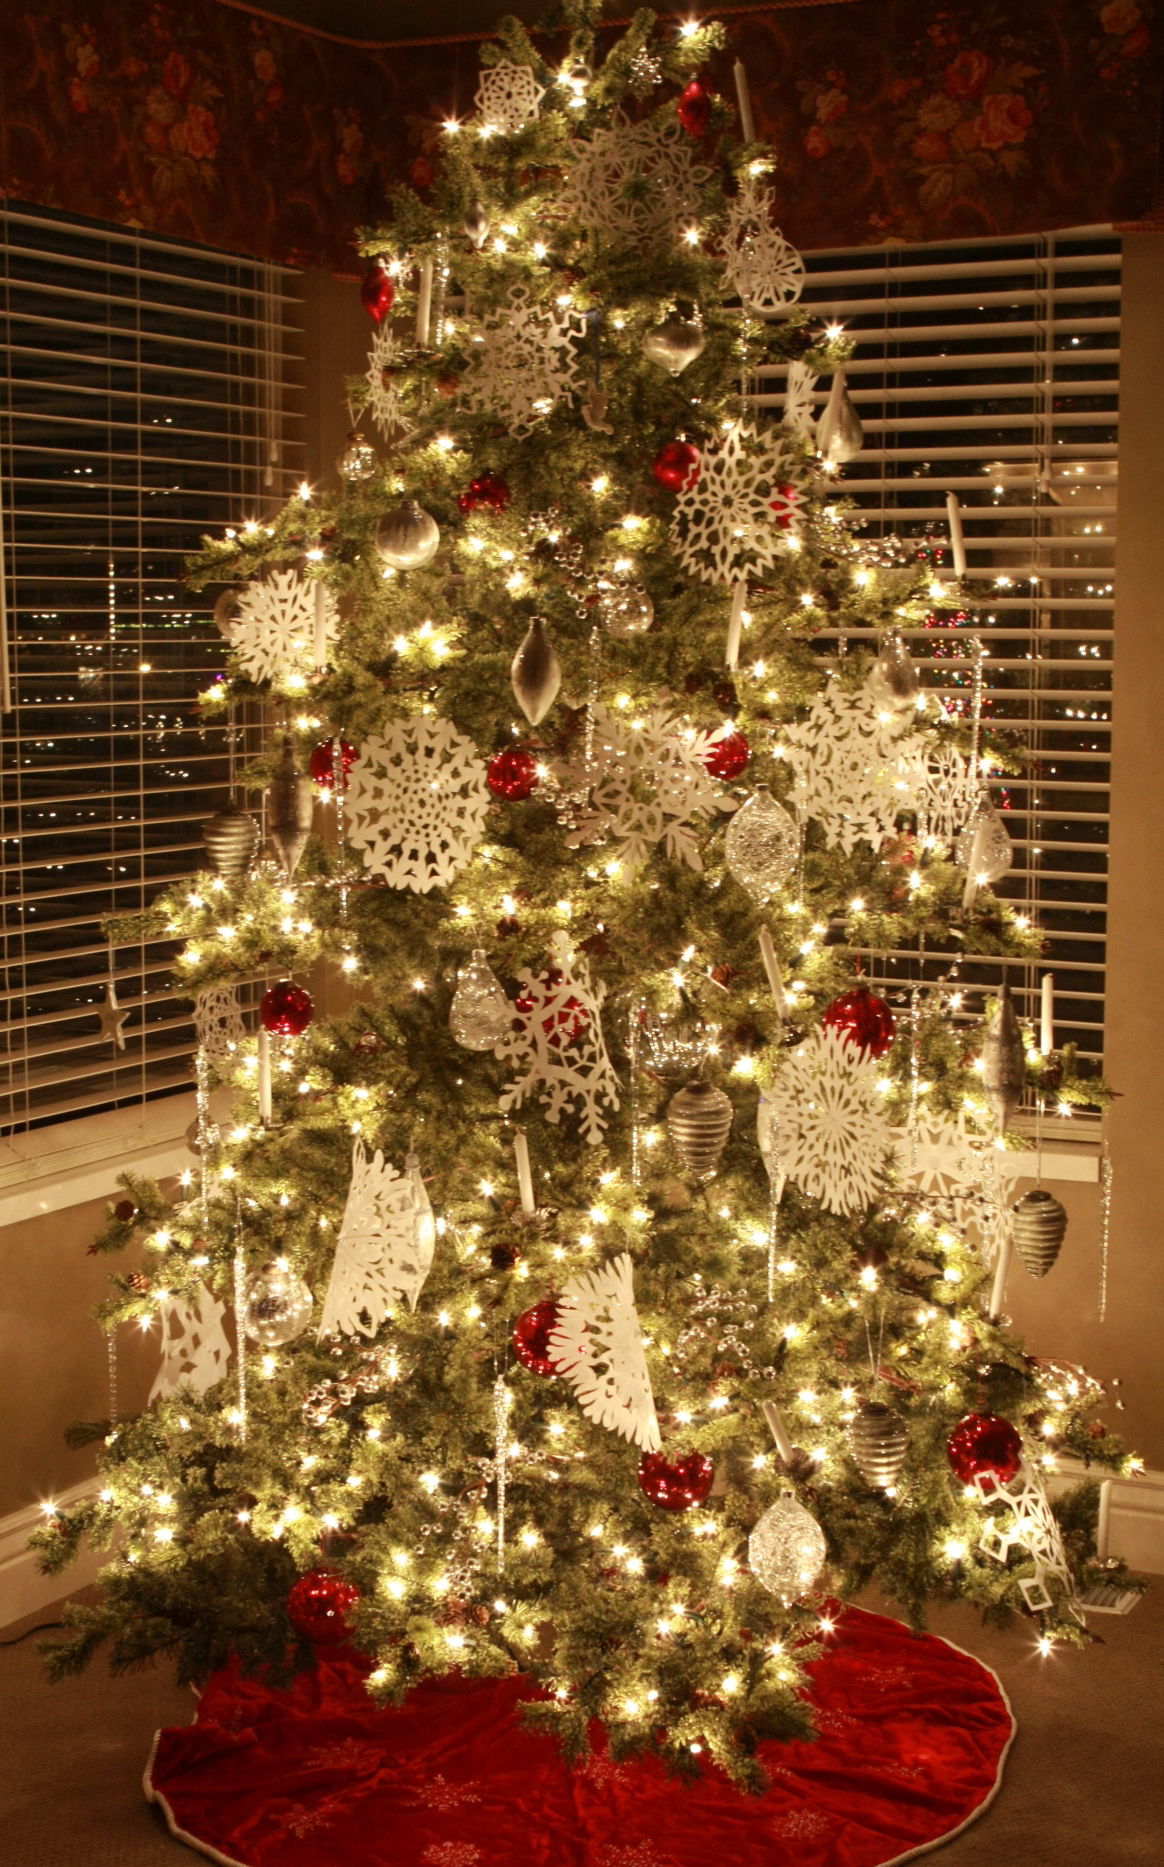
The solution came from what they, as young students had in abundance… white typewriter paper. They folded and cut and soon their tree was blanketed in beautiful, elegant snowflakes.
As the years passed and they had the money to buy more expensive ornaments, they found they could not give up their beautiful handmade snowflakes. After nearly 45 years of marriage, they still decorate their tree with paper snowflakes along with their favorite ornaments. Some of the snowflakes are many years old, some were even cut by loved ones who have passed away. Each year the best snowflakes are carefully saved between sheets of cardstock.
Most of my husband’s siblings, our family included, have carried on the tradition of hand cut snowflakes. It started for us, just as it did for my in-laws… out of necessity, but has continued out of choice.
I know we all did this in grade school, but in case you can’t remember, here’s how we cut our snowflakes:
Start by cutting an 8 1/2″ x 11″ sheet of printer paper into a square- 8 1/2″ x 8 1/2″. Cheaper, thinner (light weight) paper is actually best for this project.
Fold your sheet in half.
And then half again, so you have a small square.
Now fold your square into a triangle, in thirds.
Like so.
Here’s is where small, good quality scissors are worth their weight in gold. Don’t try to make an intricate snowflake with your kid’s snub nose kindergarten scissors…
Once cut, I open them up gently and press them with my iron on the lowest setting. Be very careful not to catch and rip the snowflakes when pressing.
Tie a length of string onto the snowflake and hang them on the tree… or from the ceiling or wall. I love this tradition, because every member of our family can contribute and each snowflake is unique, lovely and festive. But, best of all each year we create wonderful new memories.