Hi, I’m Calli
Welcome! If you enjoy your visit, be sure to follow me:
Oh My Stars!
Canning Day Quilt

Archive for the ‘tutorials’ Category

Picnic Basket Part 2: Weighting a Picnic Tablecloth
“Never eat more than you can lift.” -Miss Piggy

Very good advice for a picnic Miss Piggy.  I’ll try to remember that.

But sometimes a little weight at a picnic comes in handy…. like on a breezy day for instance.

Here’s what I did to solve the windy-day-fly-away tablecloth dilemma:  This tutorial can be used to modify any cloth picnic tablecloth.

It all starts with a trip to the hardware store to pick up some 2″ heavy duty washers.  Look around for the heaviest 2″ washer in the store.
But let’s face, these washers aren’t exactly attractive.  I needed to spruce them up a bit.
I found a piece of scrapbook paper in my stash, that was a good match to my tablecloth.  And using a 2″ circle cutter, I cut out a circle.  You can also do it the old fashioned way, and trace the washer, then cut it out by hand.  Be sure to trace the outer and inner circle and cut out both.
Next I made a dot in the center of my circle.
That helped me center my 7/8″ circle punch in the middle of my 2″ circle of paper.
I had some fun cutting out my circles.  I even used my scalloped punch for a few.  Be sure to cut out a circle for both the front and back of each washer.
Now it’s time for some Outdoor Mod Podge.
And paint the Mod Podge evenly on the washer using a foam brush.
Add the paper and paint more Mod Podge evenly over the paper, making sure to paint away any bubbles in the paper.
Set it aside to dry.
Repeat the process on the other side of the washer.
Now it’s time to modify the tablecloth to hold the weight.  Cut a 4 x 20″ sections of ribbon.  I used 3/8″ grosgrain.  Fold each piece in half and pin one to each corner of your tablecloth about 1 1/2″ in from the corner.  I made a narrow upside down “V”.
And stitch it into place.  Make sure to back stitch several times.  This will be holding weight.  You can do it the old fashioned way with needle and thread too.
Next add a decorative button to cover up the ugly stitching.
Make sure to use a match or Fray Check to keep your ribbon from fraying.
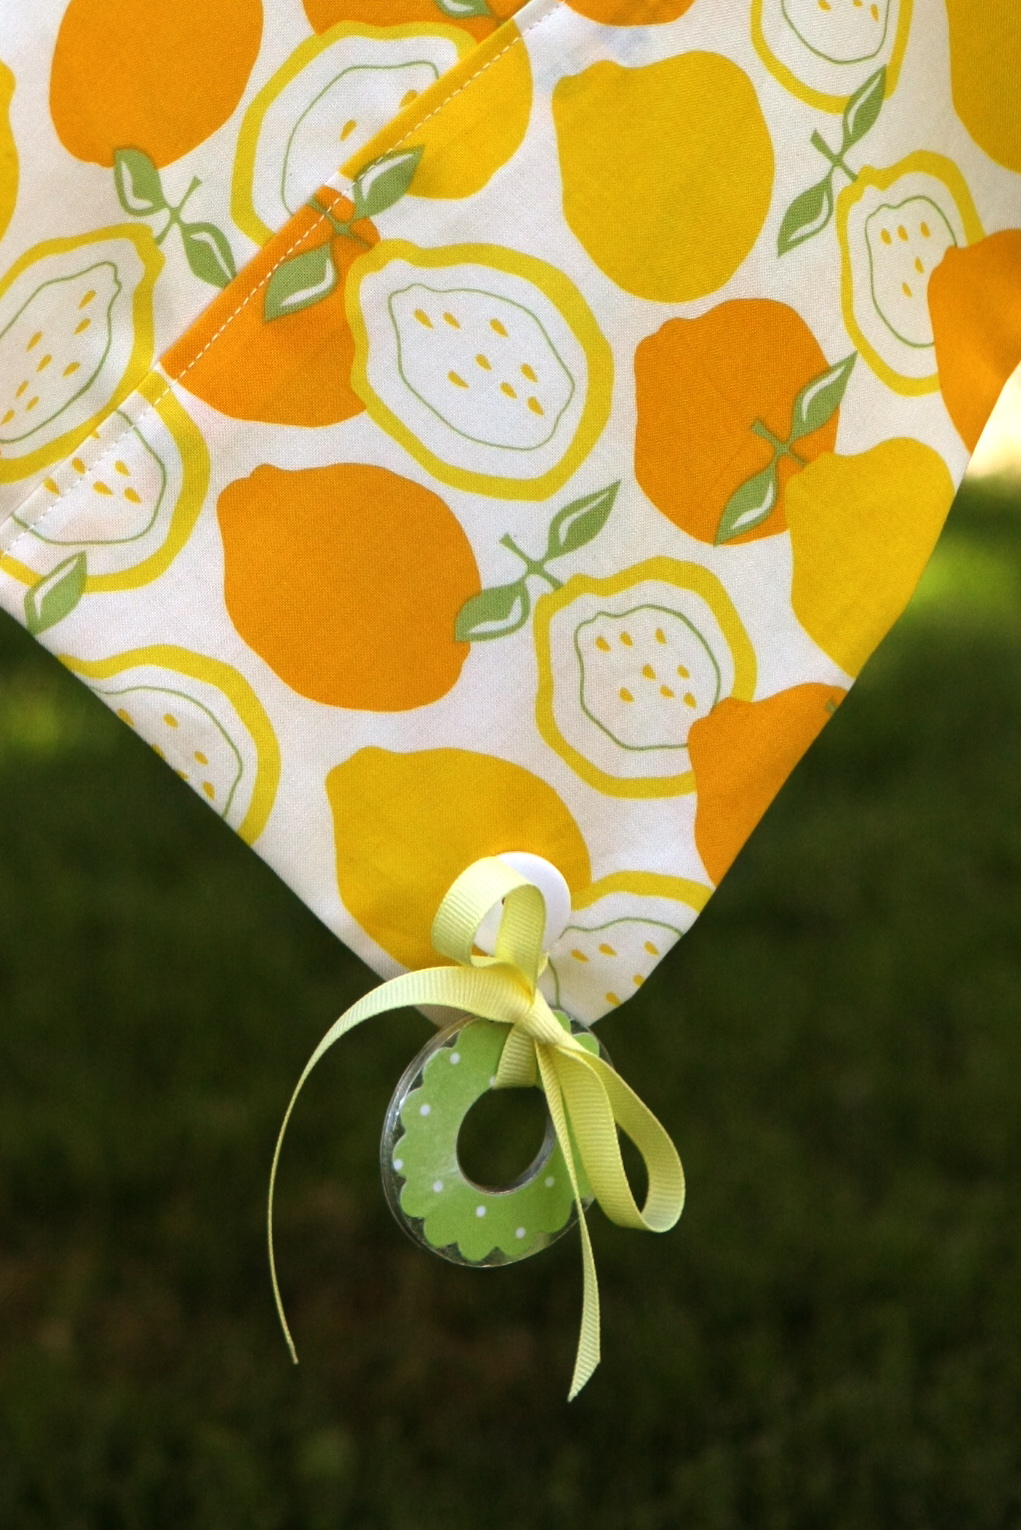
Repeat the process until all 4 corners are done.  They should look like this.  I think it looks pretty, even without a washer.  And on a calm day, you can leave them just as they are.
But if the wind picks up….
It’s not going to bother your picnic.  Just tie a washer to each corner and you are good to go…
If you live a very windy area, you might want to make a few extra washers for each corner.
Happy Picnicking!


Picnic Basket Part 1: Napkin Flatware Rolls

It’s Picnic Week at Make it Do.  I’ve got some fun projects and recipes I can’t wait to share.

Our family loves going on a picnic.  So this year, I decided it was time to invest in a set of Melamine plates, instead of continuing to use wasteful disposable plates.  At only $2 per plate from Target, I’ll recoup my cost fairly quickly this Summer and save money and resources in the long run.

One of the things I love about melamine is how well it lasts.  My mom received melamine plates from Target several years ago, and despite frequent use, they still look wonderful.  And unlike some plastics, melamine is considered safe as long as it’s not heated.  It’s best to hand wash, and never put it in the microwave.

To go along with my new plates, I decided to sew napkins for “on the go”.

To give the napkins more function, I created a napkin roll, perfect for carrying an individual set of flatware.

Here’s what you need to make 6 napkin rolls:

  • 1 1/2 yards of top fabric
  • 1 1/2 yards of back fabric
  • 12′ of grosgrain ribbon of choice
  • disappearing fabric marking pen

Start by cutting your top and backing fabrics into 18″ x 16″ rectangles.  I got 6 rectangles of each fabric from 1 1/2 yards of fabric.

Cut two lengths of ribbon 12″.   Take the two cut ribbon and lay one on top of the other, then center them on the back fabric (right side up) along the left long (18″) edge of fabric.  Though it’s hard to tell from the picture, there are 2 pieces of ribbon above.  Pin into place.

Lay the top fabric into place on top, right sides together, and pin into place.

Using a 1/4″ seam, stitch all the way around, leaving a small opening to turn.

Clip the corners.

And turn right side out.

I love using a chopstick to give it nice, crisp seams.

Once turned, press well.

Stitch all the way around the napkin, using a scant 1/4″ seam.  This gives it a finished look and closes the opening.

With backing fabric facing up and the ribbon on the left side.  Fold the bottom of the fabric up about half way.  If you have your flatware handy, test to make sure it’s a good fit.  Pin into place.  Stitching on top of previous the seam, stitch into place.  Be sure to back stitch at the top.

1 1/2″ from the seam, mark a line for the first flatware pocket with your fabric marking pen.  Measuring from that line, mark again 1 1/2″ over.  And 1 1/2″ over again.  You should have three lines.

Stitch down the marked lines.  Be sure to back stitch each time at the top.

A little spray and press, and the Mark B Gone is gone.

Cut the ends of your ribbon at a diagonal.  Seal the ends of your ribbon with a flame or use Fray Check.

And you are done.  Just add your flatware.

Fold the top down over the flatware.

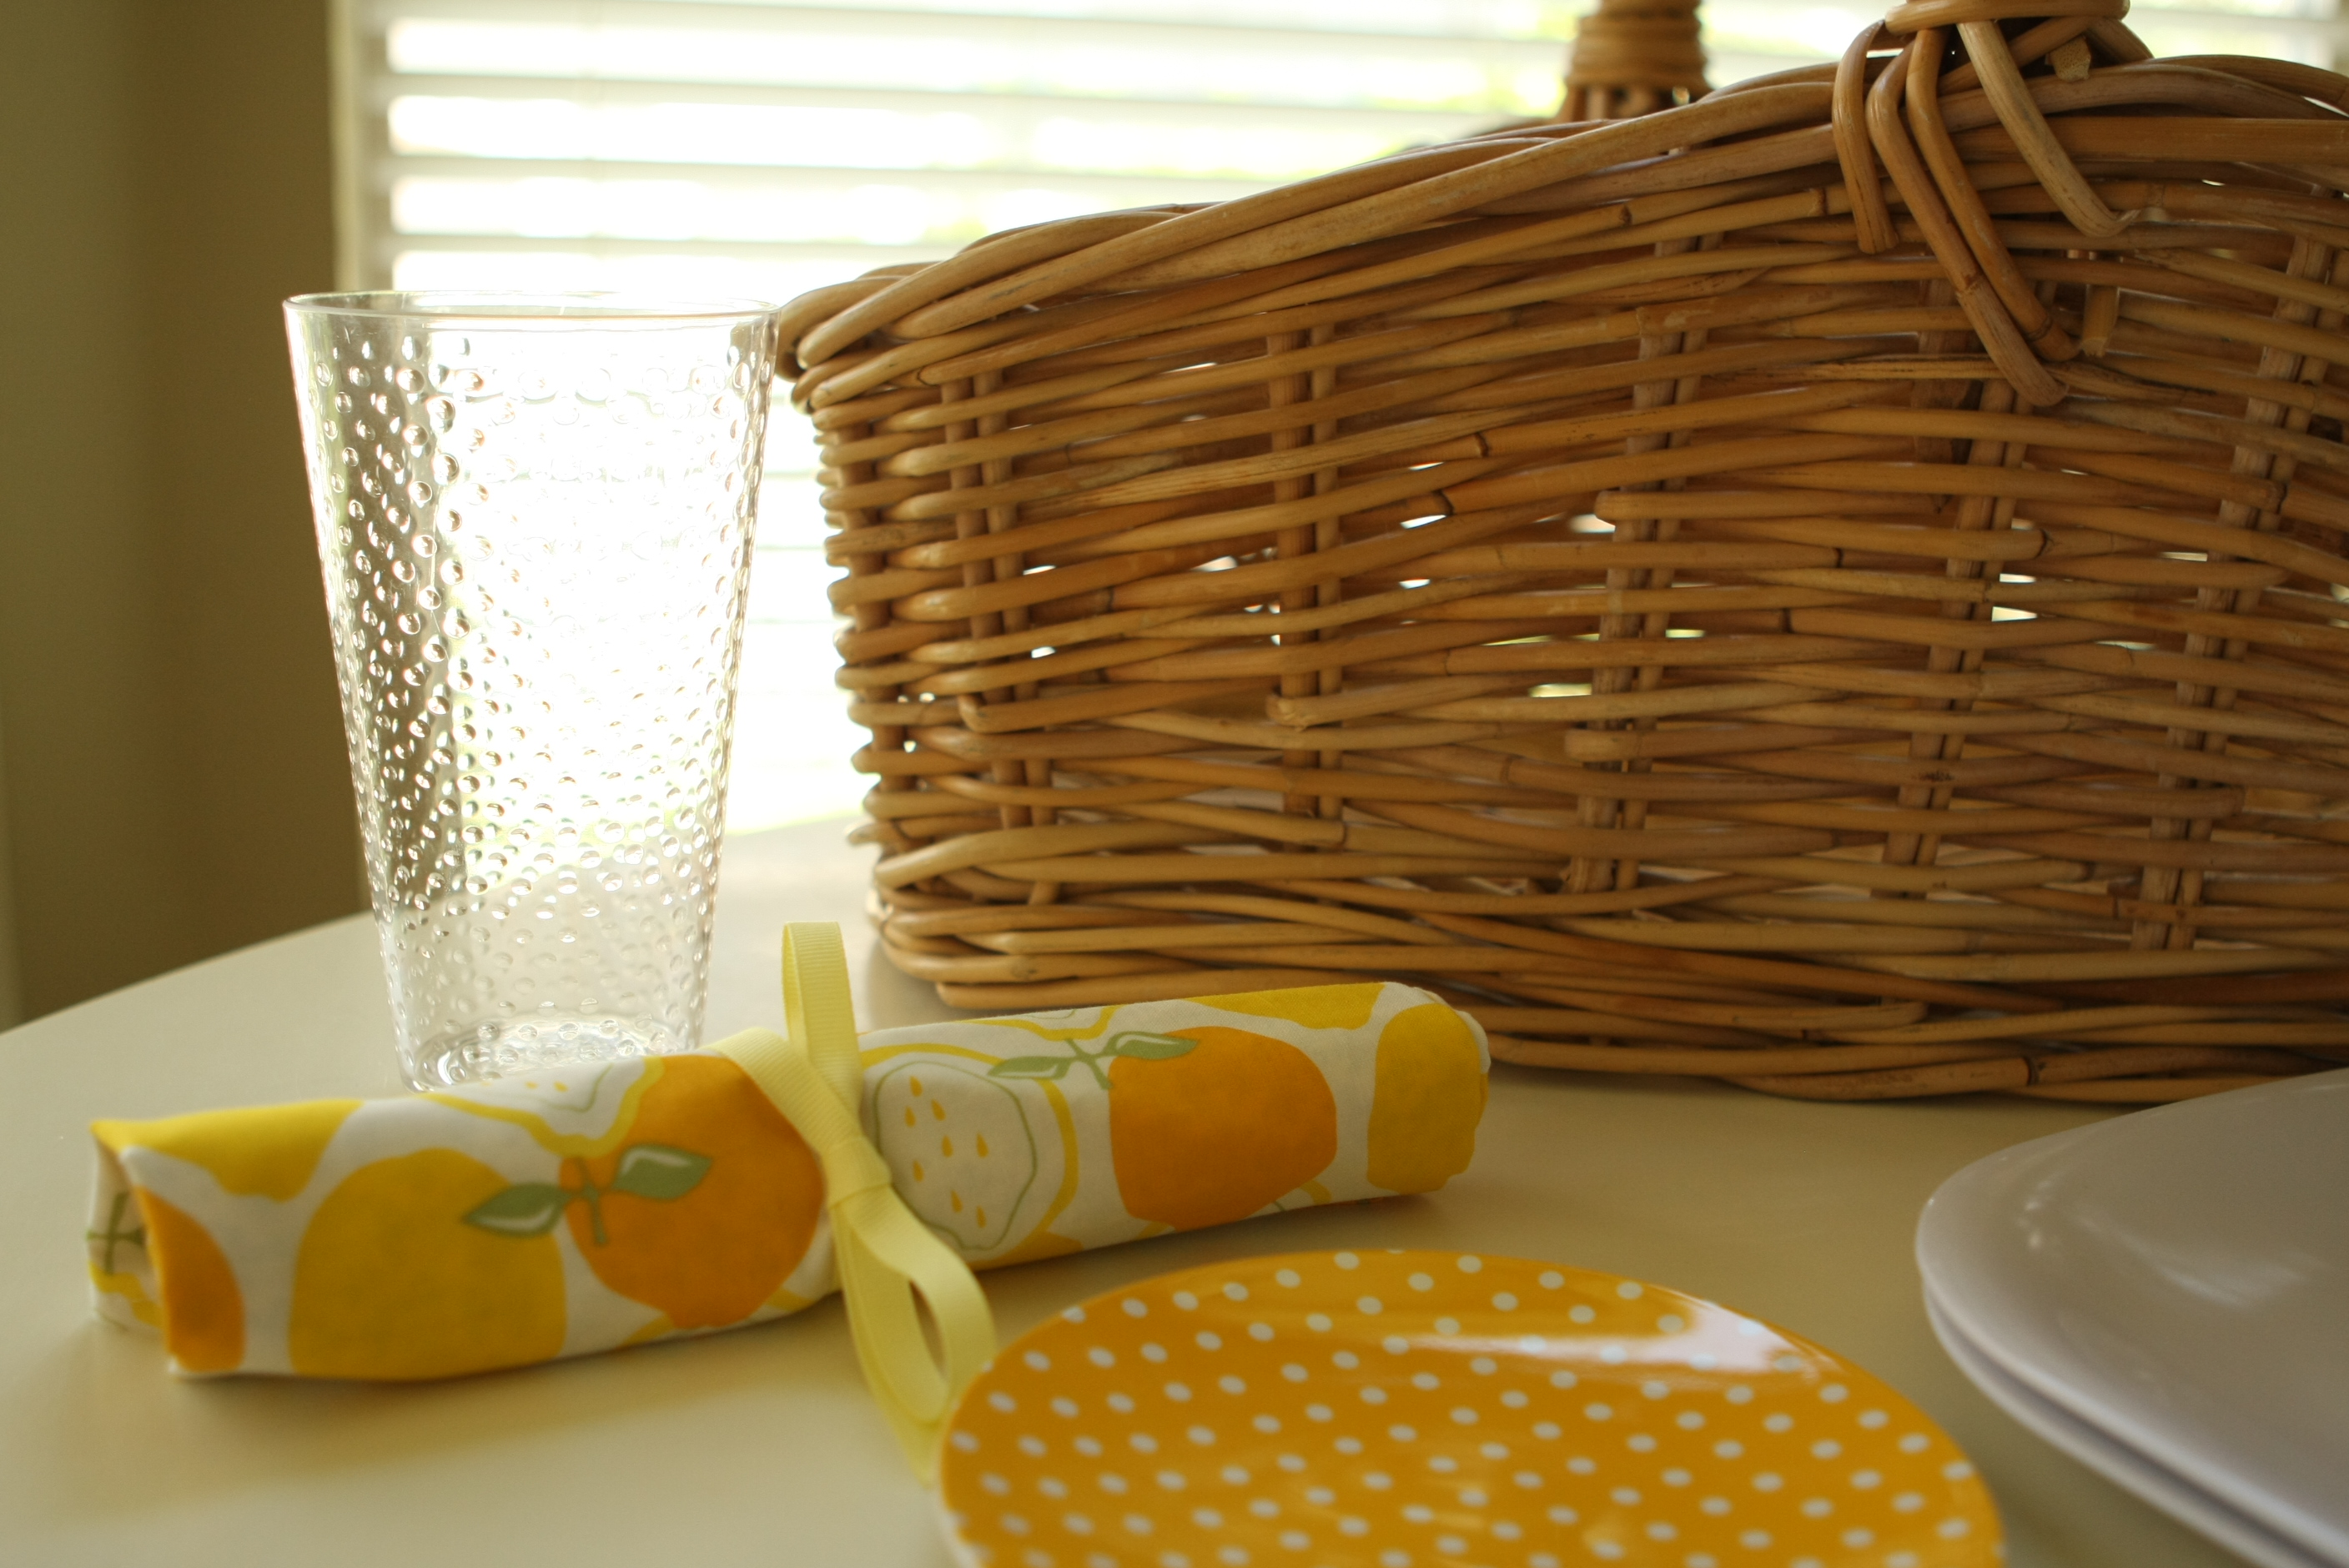
And roll ’em on up.

This project can be easily made out of an existing napkin or even a dishcloth, simply add the ribbon and the fold with pockets.

Now if the sun would cooperate and shine… we’re almost ready for a picnic.

Be sure to check back this week for more picnic fun… without the ants.


Archives


Virtual Quilting Bee