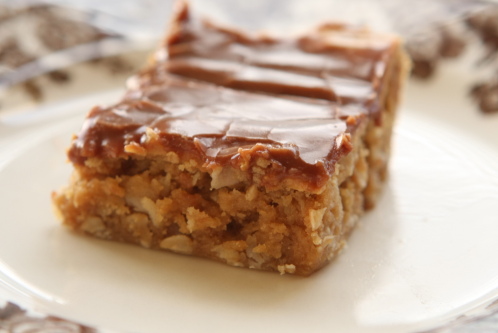
Peanut butter bars are the perfect thing to serve at a party or picnic. Or if you are like me… just because on a Thursday night. They are easy to make and a little addicting.
Lip Smackin’ Peanut Butter Bars 3/4 cup butter 3/4 cup brown sugar 3/4 cup sugar 3/4 cup peanut butter 2 eggs 1 tsp. vanilla 3/4 tsp. soda 1/2 tsp. salt 1 -1/2 cups flour 1 -1/2 cups oatmeal ————————- FOR THE TOPPING: ¾ cups Peanut Butter 1 cup Granulated Sugar ½ cups Evaporated Milk 5 Tablespoons Butter 1 cup Milk Chocolate Chips Preheat oven to 350 degrees.In a large mixing bowl, cream together butter, brown sugar, granulated sugar and peanut butter. Add eggs and vanilla. Add soda and salt and mix until well blended. Add flour slowly, making sure it’s incorporated, but do not overmix. Stir in oatmeal by hand.
Spray a 15 x 10 jelly roll pan with nonstick cooking spray. Spread mixture in a pan. (I wet my hand slightly and press the mixture evenly.) Cook at 350 degrees for 12 – 15 minutes until golden brown.
Remove from oven and immediately drop peanut butter (from the topping ingredient list) by teaspoonfuls evenly around the top. Allow to melt and spread smooth with a spatula.
Allow to cool thoroughly.
In a small saucepan, bring sugar, evaporated milk, and butter to a full boil for 45 seconds. Remove from the heat and add the milk chocolate chips. Whisk until chocolate sauce is smooth. Pour evenly over bars and allow to set before cutting and serving.
Click over to my Tasty Kitchen Recipe box for the printable recipe.
Here’s a step by step:
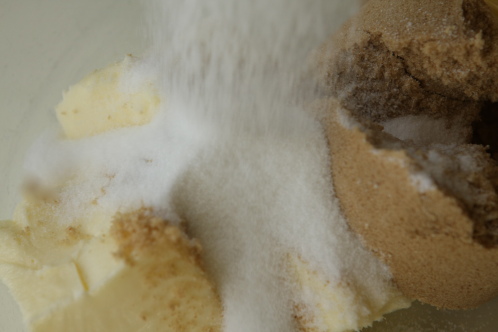 Preheat your oven to 350 degrees. In a large mixing bowl, add room temperature butter, brown sugar, and granulated sugar.
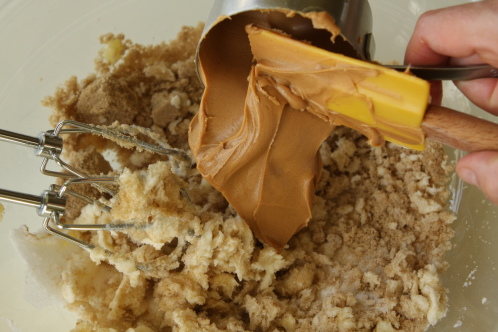 And peanut butter. Right there is the only thing I don’t like about making this recipe. Measuring and then getting the peanut butter out of the measure cup… it’s kinda messy.
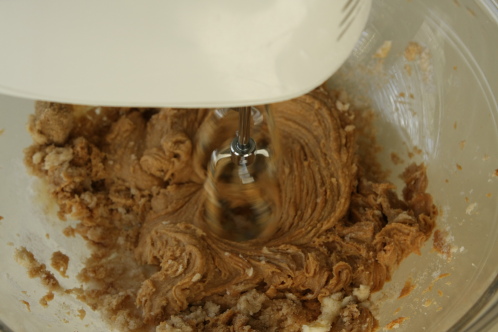 Cream them all together until smooth.
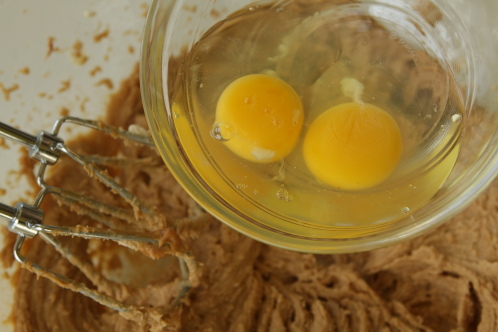
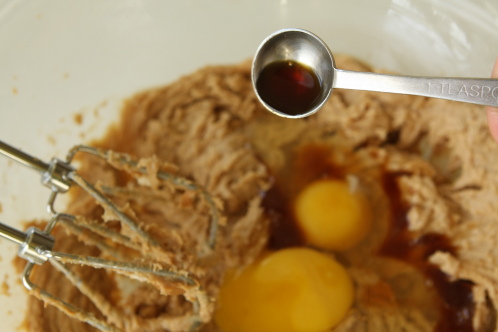 And vanilla. And thoroughly mix.
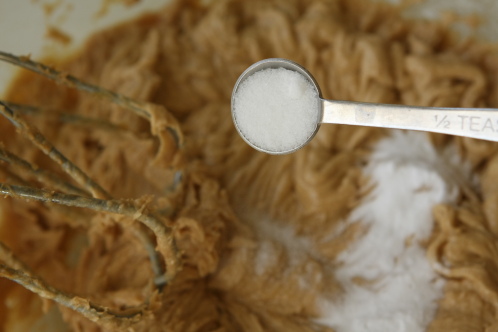 Add the soda and salt and makes sure they are thoroughly blended in.
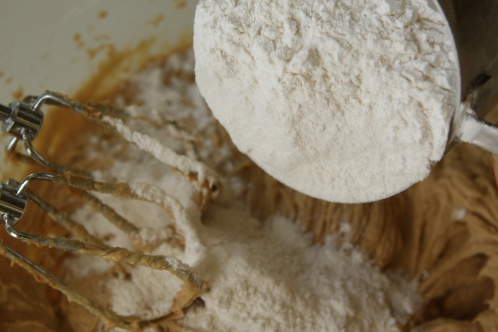 Add the flour in a little at a time, making sure to incorporate the flour each time. Just be sure not to over mix. Over mixed flour will make your bars tough.
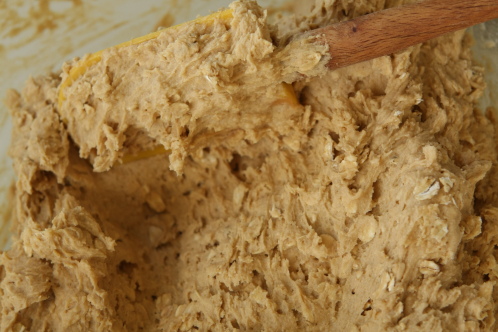 To be double sure I don’t over mix, I stir the oatmeal in by hand.
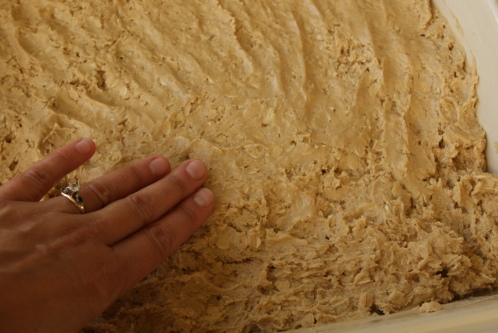 Spray a 15 x 10 inch jelly roll pan with cooking spray. I wet my hand slightly and press the batter into the pan so it’s pretty smooth. Bake in a 350 degree oven until golden brown, about 12-15 minutes.
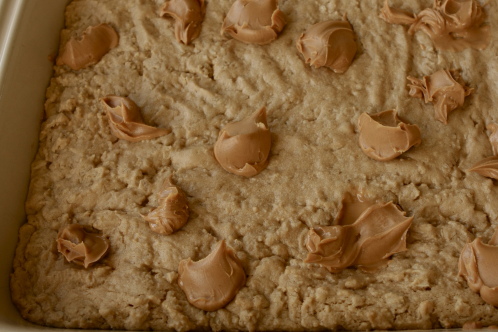 Right out of the oven, dab about 3/4 cup peanut butter evenly on the bars.
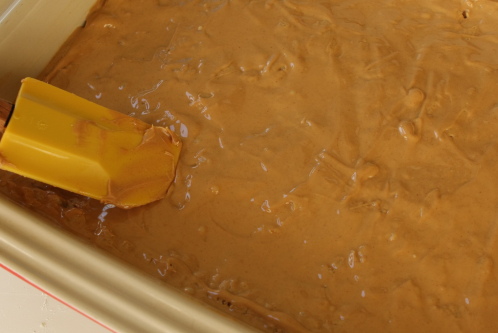 That peanut butter is going to get soft and melted… then you can smooth it out with a spatula. Set the whole thing aside until it cools thoroughly.
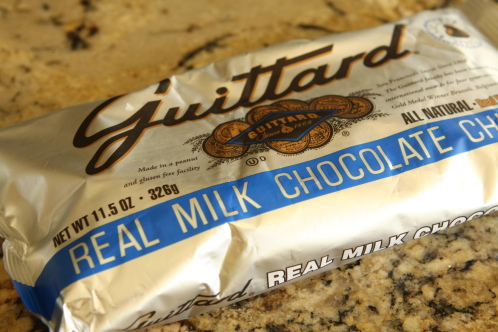 Once it’s cool, these babies are going to need some chocolate. You can use semi sweet if you want… but milk chocolate tastes the very best.
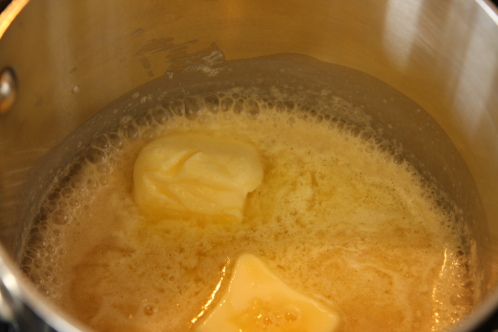 In a small sauce pan, bring the evaporated milk, sugar and butter to a boil. Keep at a full boil for about 45 seconds.
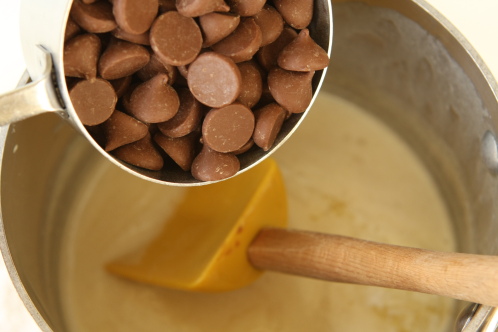
Remove from the heat and immediately add the chocolate chips.
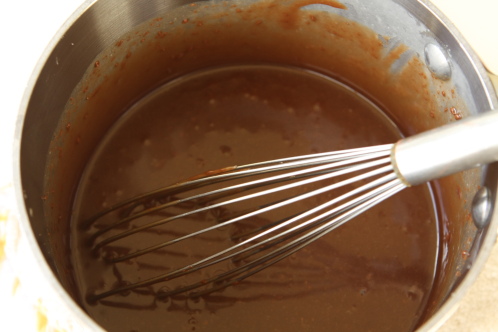
Whisk until smooth.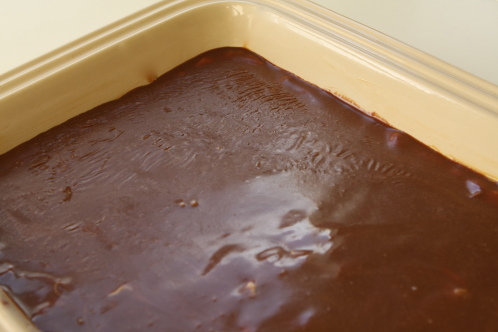 And pour over the top of the bars.
Set aside until set up.
Don’t expect them to hang around long. They disappear just about as fast as you can make them…
Make It Do tip concerning messy pb in recipes: Spray Pam in measuring cup first, the pb slides right out!!!
Or weigh it, if you have a scale – 3/4 c pb is about 6.5 ounces. You can put your bowl of stuff on the scale and spoon the PB straight on (carefully, so as not to go over). Love weighing stuff in – it makes it so much easier.
And this is a recipe that has to happen at my house…
Do you suppose this could be made with a peanut butter substitute, like almond or cashew butter? It looks like something my grandkids would really enjoy, but our boy is allergic to peanuts.
Stephanie, I don’t have any personal experience with making a substitution, but a friend of mine whose children have peanut allergies uses soy nut butter in her peanut butter cookies. It would certainly be worth giving it a try. My sense is this is a fairly forgiving recipe and the substitution would probably work nicely. Good luck to you, Calli
Probably, I know almond butter has the same texture and melting ability. And they do pair well together, but I don’t know about cashews. I’m allergic to those >.<
I am LOVING your site I stumbled upon this morning from Craft:Daily. I can’t wait to dive in further. Cooking, sewing, crafts at it’s finest! Thank you for making my day.
Oh my! I can feel my hips expanding just by looking at those!!!
They look soooooooo delicious! salivating like crazy!
Pampered Chef makes a great measuring cup that pushes out the solid stuff….peanut butter, crisco, etc.
By the way…I’m not a consultant, just a happy customer…LOL
http://www.pamperedchef.com/ordering/prod_details.tpc?prodId=210&catId=123&parentCatId=123&outletSubCat=&viewAllOutlet=
Thanks Calli and Ani; I’m gonna try it w/ a peanut butter substitute (not sure which one yet) and will let you know the results.
Gosh, that looks yummy! And the step-by-step pictures are so beautiful! I must try this recipe!
Just made these tonight. So dangerously yummy! Hunter made them with me to pass off a Bear Scout requirement(9f). His favorite part was boiling the topping – he said it looked like the earth’s crust covered in lava. He also said Ben’s mom has the coolest website. I agree!
Those look amazing! I will be making them soon, thank you! What pan did you bake them in though, as the one in the photos is not a jelly roll pan.
As always Calli these look delish!
Those look SO good!
Not sure if you’ve ever tried PB2 but it’s replaced a lot of my peanut butter in cooking, (it’s powdered, but super awesome!)
I made these the other night for my family and they are amaaaaazing! They make a ton too! I love how the chocolate hardens just a little on the top. It makes them look fancy. Making them again for a fancy dinner at church we have coming up. Thanks for sharing the recipe!
So, is the chocolate supposed to be firm all the way through? Mine seems to have never set up aside from the top. Hmmmm.
It does firm up. The only thing I can think of is did you let it boil at a full boil for 45 seconds?
Looks very rich and tasty. Can we use anything else in place of peanut butter?
This.Looks.Awesome! And the perfect foil for my recent peanuts & raisins addiction. Mmmm wonder how it would taste with some added raisins in the batter…
Hey Calli, what do you do with the leftover evaporated milk? Do you have a way that you save it for future recipes? (I hate to waste it…)
Hi Jen, You are right, I hate to waste food either! If I have something open like evaporated milk, I go on the lookout for a recipe to use it in. You can substitute evaporated milk for some of the milk in recipes for soups like Barefoot Contessa’s Corn Chowder, Smashed Potato Soup (my mom has a great recipe), or Broccoli Cheese Soup. The Cafe Du Monde Eat Your Heart Out Beignets on Tasty Kitchen also uses some evaporated milk, watch the Princess and the Frog with your girls and make them this weekend. I hope that helps. It so fun to hear from you! I hope all is well. cheers, Calli
These look so good! I am just dying to try them!
Here is something I do, to save on clean up: I line my measuring cup with some Saran or other plastic wrap, put in the peanut butter, making sure that it is compressed in there really well. Then, pull out the whole thing, and let the peanut butter fall off into the bowl! This also works for butter and shortening, too!
Unfortunately mine didn’t look like the picture and didn’t turned out that great (though edible). I’m thinking because I didn’t have enough butter to add. I took your advice not to over mix the flour but the cake part still turned out hard. Maybe I’ll try it again, but next time I use all the ingredients in the recipe.