I hope there are a few other beginning quilters out there who can benefit from the lessons I’m learning from my mom as I make a quilt for my son. Choosing fabrics was the first in my series of posts on beginning quilting.
My next step is to cut all my fabrics and get them ready for piecing.
Now I cut fabrics all the time for various projects, but cutting for a quilt requires precision. So I dropped by my Mom’s house the other day for a dust up lesson on how to accurately cut my stack of fabrics. My mom has taught quilting classes for many years, and I feel so lucky to have her as a resource.
First off, she said it’s important to have a good mat, ruler and sharp blade. She recommends before buying a ruler, really looking at them carefully and find one you are comfortable with, one that is easy to read.
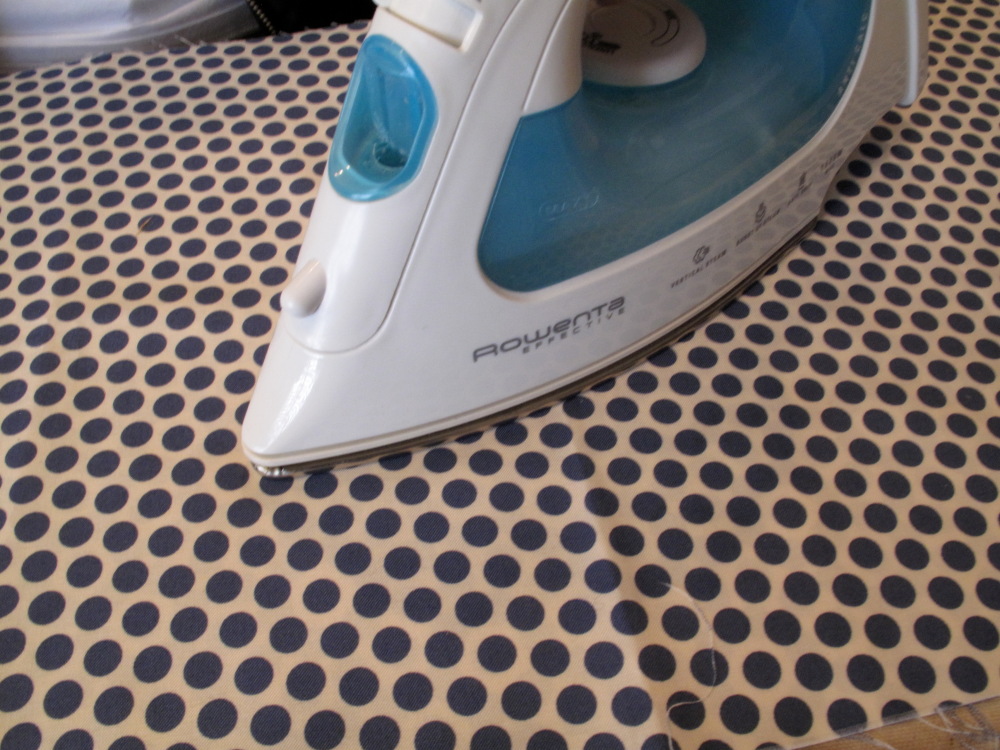
The next key to accurate cutting is to carefully press all your fabrics first.
Now it’s time to square up the fabric before cutting. Always use the folded edge of the fabric to square up the ruler.
This next advice saved me many a slipped ruler and subsequent crooked fabric when I learned it. As you cut, carefully “walk” your hand down the ruler. That way you never take you hand off the ruler and the ruler won’t slip.
The rule of thumb is you can cut up to 4 layers of fabric accurately…. my mom admits she sometimes breaks that rule and cuts up to 6 layers with a sharp blade. But she is a pro and I’m sticking to 4 layers.
She also stressed the old adage: “Measure twice, cut once.”
Organization is another important part of cutting. She folds each piece and stacks them as she cuts to keep them in order. She also folds up any worthwhile scraps and sets them aside so they don’t get mixed back up with fabrics for the quilt.
Thanks Mom for the lesson… I can’t wait to move on to the next step, piecing my quilt together. That’s where the fun really starts.


Callie, you look like you’re off to a fantastic start. My only one *very* big suggestion is that you cut away from yourself. It looks like your mat is deep enough that you could turn your fabric so that your ruler is running away from you (rather than laying side-ways in front of you) .. then you begin cutting at the bottom, folded edge closest to your body and cut away towards the wall and the selvage of your fabric. Hope this makes since .. someday I’ll get tutorials up on my site .. but I see spring in the distance and wonder if I’ll be able to contain myself in my studio … Have fun – I can’t wait to see more of your quilt! Jovita
Your mom is great. I didn’t really get much time to talk to her at Bryce. :-(
Hi,
I’m Jessica, and I’m an editor for the new quilting website, FaveQuilts.com. You may be familiar with some of our sister sites, FaveCrafts and AllFreeSewing. I have just begun building a database of quilting patterns and tutorials, and this fabric cutting tutorial was one of the first projects I linked to. You can see the project link on FaveQuilts here (but know that the site is still under construction!):
http://www.favequilts.com/Rotary-Cutting/Moms-Fabric-Cutting-Guide
I really liked your blog, and I would like to include more of your tutorials on FaveQuilts. Do we have permission to post full projects and tutorials from your site on FaveQuilts? Also, once FaveQuilts is fully launched later this summer, we plan to send out a free e-mail newsletter featuring links to projects on FaveQuilts and accompanying pictures. Please let us know if we have permission to feature your projects and photos in newsletters. You will of course receive credit for all projects and photos. I look forward to hearing from you!
Thanks,
Jessica
Thank you for the great tips. Sharp cutting tool, ironing the fabric makes our lives so much easier…
I saw this on Pinterest, good information.