Posts Tagged ‘alexander henry farmdale’
Rise and Shine Dishtowel Tutorial
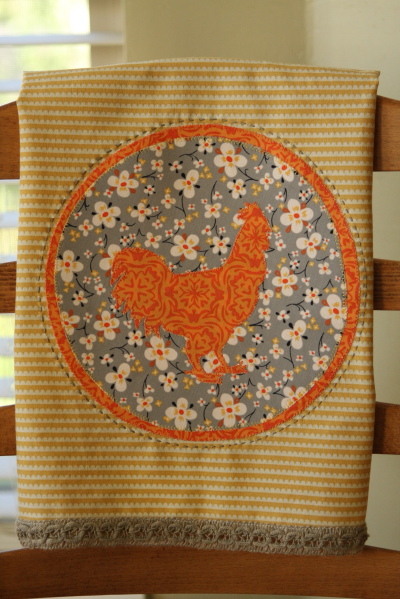 Whenever a new season rolls around, I love to give my kitchen a lift by hanging up a new dishtowel. It’s a small thing, but it’s always a welcome change.
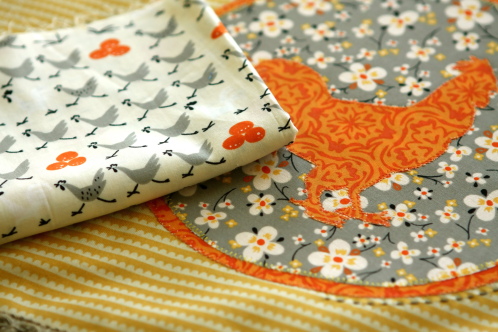 When I spotted the Farmdale fabrics from Alexander Henry at a local quilt shop it spoke autumn to me.
I just had to bring a few pieces home with me. I’ve yet to make my oven mitt, from the chicken and eggs fabric… hopefully it will happen this week.
Here’s how I created my “Rise and Shine” Dishtowel:
You can start with a pre-made dishtowel or you can make your own:
 I used a home-weight cotton fabric from Denyse Schmidt. I love this yellow fabric… I want to track down more of it to cover my ironing board, since my current cover in falling to pieces.
But this small piece is my new dishtowel, I cut my fabric 18″ x 26″.
In each corner of the fabric, mark a 2″ square, using a disappearing fabric marking pen.
 Fold the corner of the square to make a triangle and press. Press a 1/4″ and then a 1/2″ hem, as shown. Repeat all the way around, so that each corner comes together to create a mitered corner.
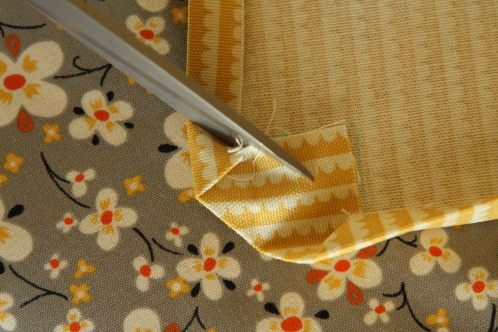 Clip the corners that stick out from the hem.
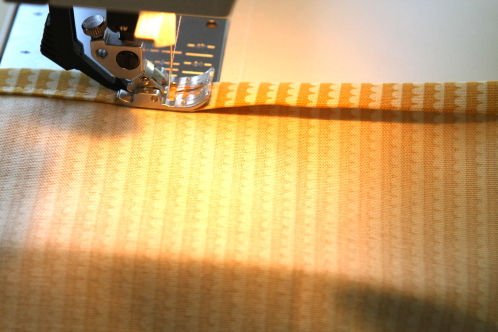 Stitch all the way around, except the bottom, leave that so that you can add your trim.
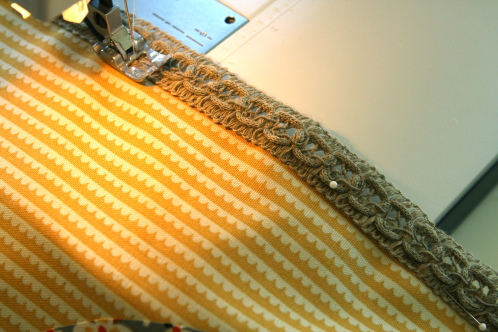 I pinned my trim into place, carefully tucking and pinning either end under the hem on the back. Stitch into place. Depending on your trim, you may want to match the tread… especially if you are using rick rack.
Don’t you just love this trim? It’s the color of driftwood… quite lovely.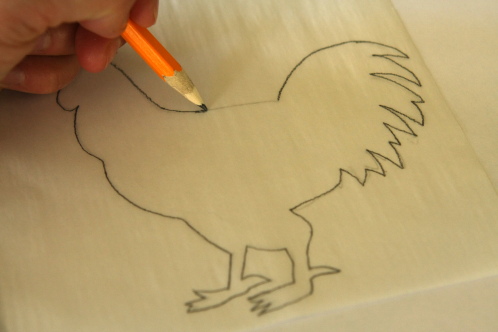 Next I traced my rooster onto Heat ‘n Bond. You can also use Wonder Under. If you like the rooster I used, here is my simple pencil drawn template. Remember that whichever direction you trace your template it will be reversed on your towel.
 Press the template to the BACK side of your fabric. Just a friendly reminder, since more than once I’ve pressed Heat ‘n Bond to the front of something. Ick, my fabric looks pink from the back. Good thing it’s not.
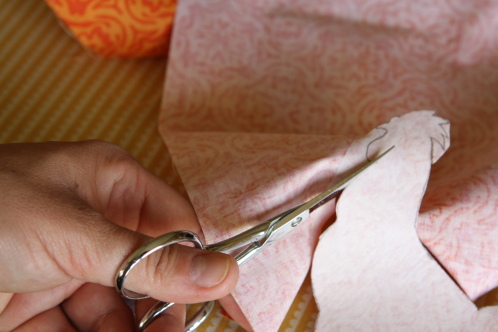 Carefully cut out your rooster.
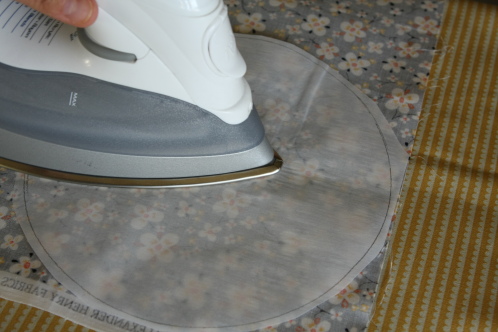 I used a bowl to trace the 8 inch circle for my gray medallion. I also used the Heat ‘n Bond.
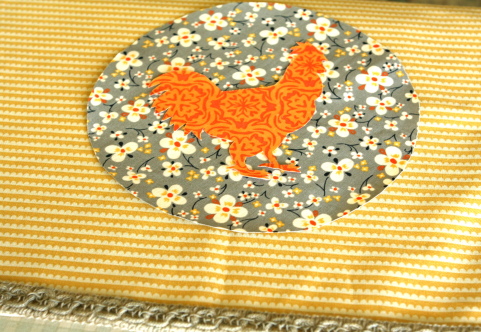 Remove the backing from the rooster, center it on the gray medallion and press into place. I had planned on stopping right here with my design, but it was pretty bland.
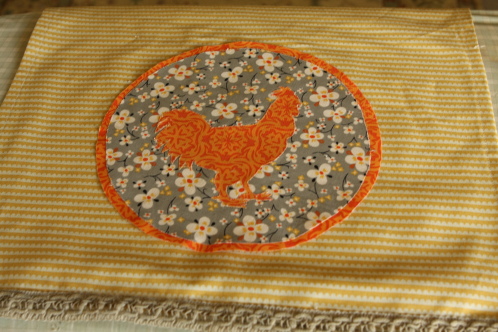 So I added a second orange circle with the fabric I had left over, also using Heat ‘n Bond. I centered the medallions 2- 1/4″ up from the trim. Press into place. Using matching thread, I machine blanket stitched around the rooster and medallions.
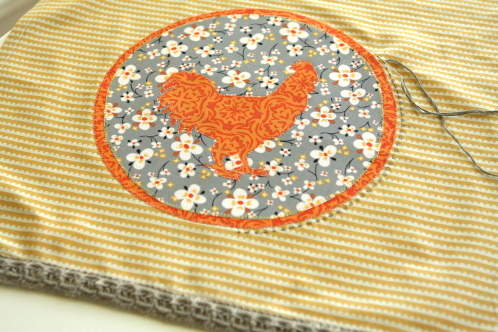 But it still didn’t feel quite zippy enough. So I embellished around the medallion using gray embroidery thread in a running stitch.
Bingo. That was just what it needed.
 And it looks so lovely in my kitchen. I love projects that are so quick and easy.

