Posts Tagged ‘easy kite tutorial’
Easy Kite Tutorial – How to Make a Kite
A day to fly kites might just be the perfect sort of spring day. This week I am focusing on the little moments. The ones that happen when you stop and smell the flowers. Flying kites is just that kind of activity.
On any given day, there are any number of more important things to do rather than flying kites.
But I have a funny feeling our family will always remember our kite flying days… and I will never remember the important things I didn’t get done.
Here’s a tutorial for how to make the most simple of kites. One that is perfect for the kids because it flies best when running with it. Come to think of it, running with a kite might not be so bad for me either.
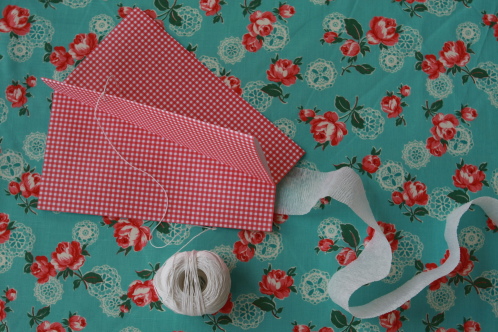
You will need:
- 8.5 x 11 sheet of paper – I love something patterned and pretty, or start with white and let your kids decorate it with markers or crayons. You can use cardstock, but it’s a little trickier to fold.
- Tape
- A hole punch
- A coffee stirrer or bamboo skewer
- A tail – crepe paper works well
- String
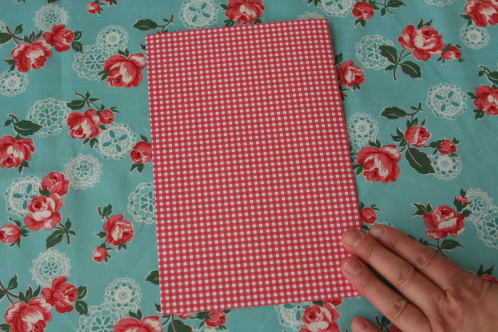
Start by folding your paper in half widthwise. If you paper has a pattern like mine, you’ll want the pattern on the outside… just like I’ve done.
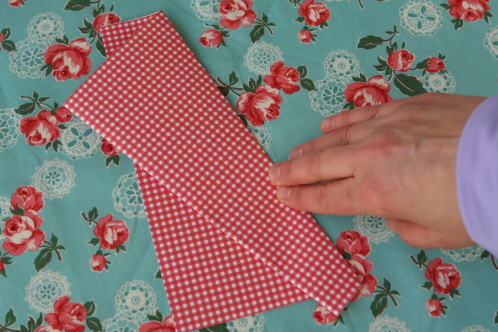
From the center fold mark about one inch. From the outside edge measure about 1-1/2 inches. Fold the paper diagonally being sure to fold at those two marks.
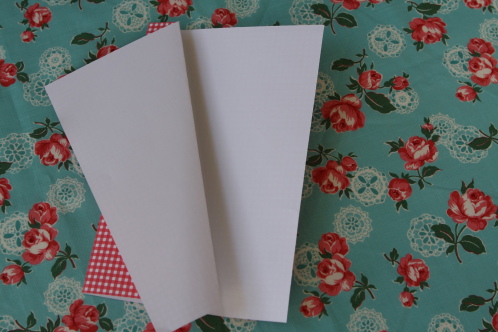 Fold back one side open. This is the back of the kite.
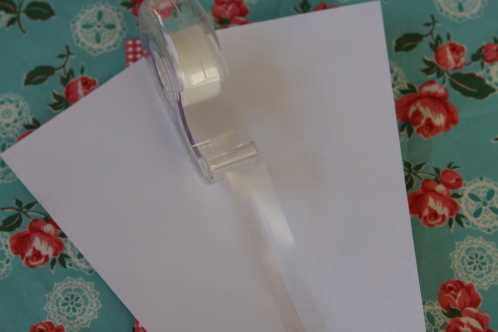
And tape them together at the spine as shown. If you really want your kite to last, use a stronger tape, like masking tape. Somehow my roll of masking tape has walked off. I’m not blaming the artists in my home. I’m sure somethings do have legs of their own.
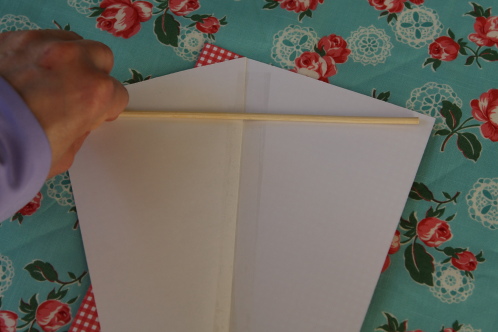
Next tape your coffee stirrer or bamboo skewer (cut off the sharp point to length) to the back of your kite, like so.
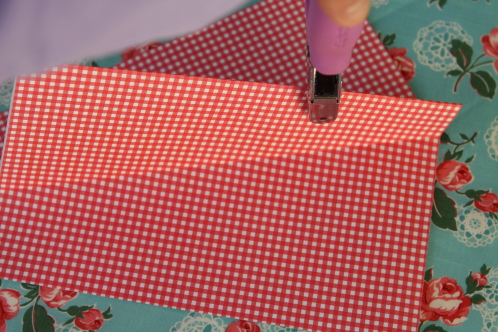
Flip it over and punch a hole for the string about 2 inches from the top (which is the side where the wings are slightly larger.)
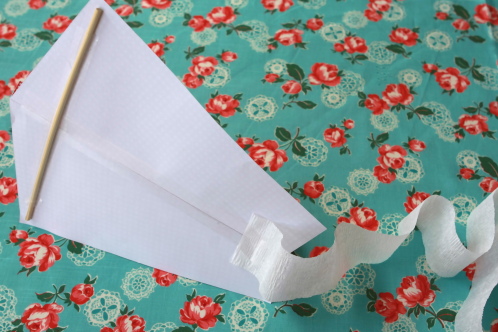
Add a tail.
Tie on some string.

