Hi, I’m Calli
Welcome! If you enjoy your visit, be sure to follow me:
Oh My Stars!
Canning Day Quilt

Posts Tagged ‘make it do’

Chokecherries for Free
IMG_6023

I had my first chokecherry pie while visiting friends at their ranch in Swan Valley, Idaho several years ago.  I have to admit, I am not a big fan of cherry pie, so I was a bit skeptical.  But to my delight and surprise, it was an absolutely delicious pie… tart and flavorful.

The next morning our friends served us delicious stacks of Buttermilk Huckleberry Pancakes with homemade Chokecherry Syrup.  I was hooked.  I asked Marilyn (our hostess) where she got her fruit to preserve and she told me it grew wild all around their ranch.  Every year she goes out with her daughters to pick and then preserve the fruit.

IMG_6020

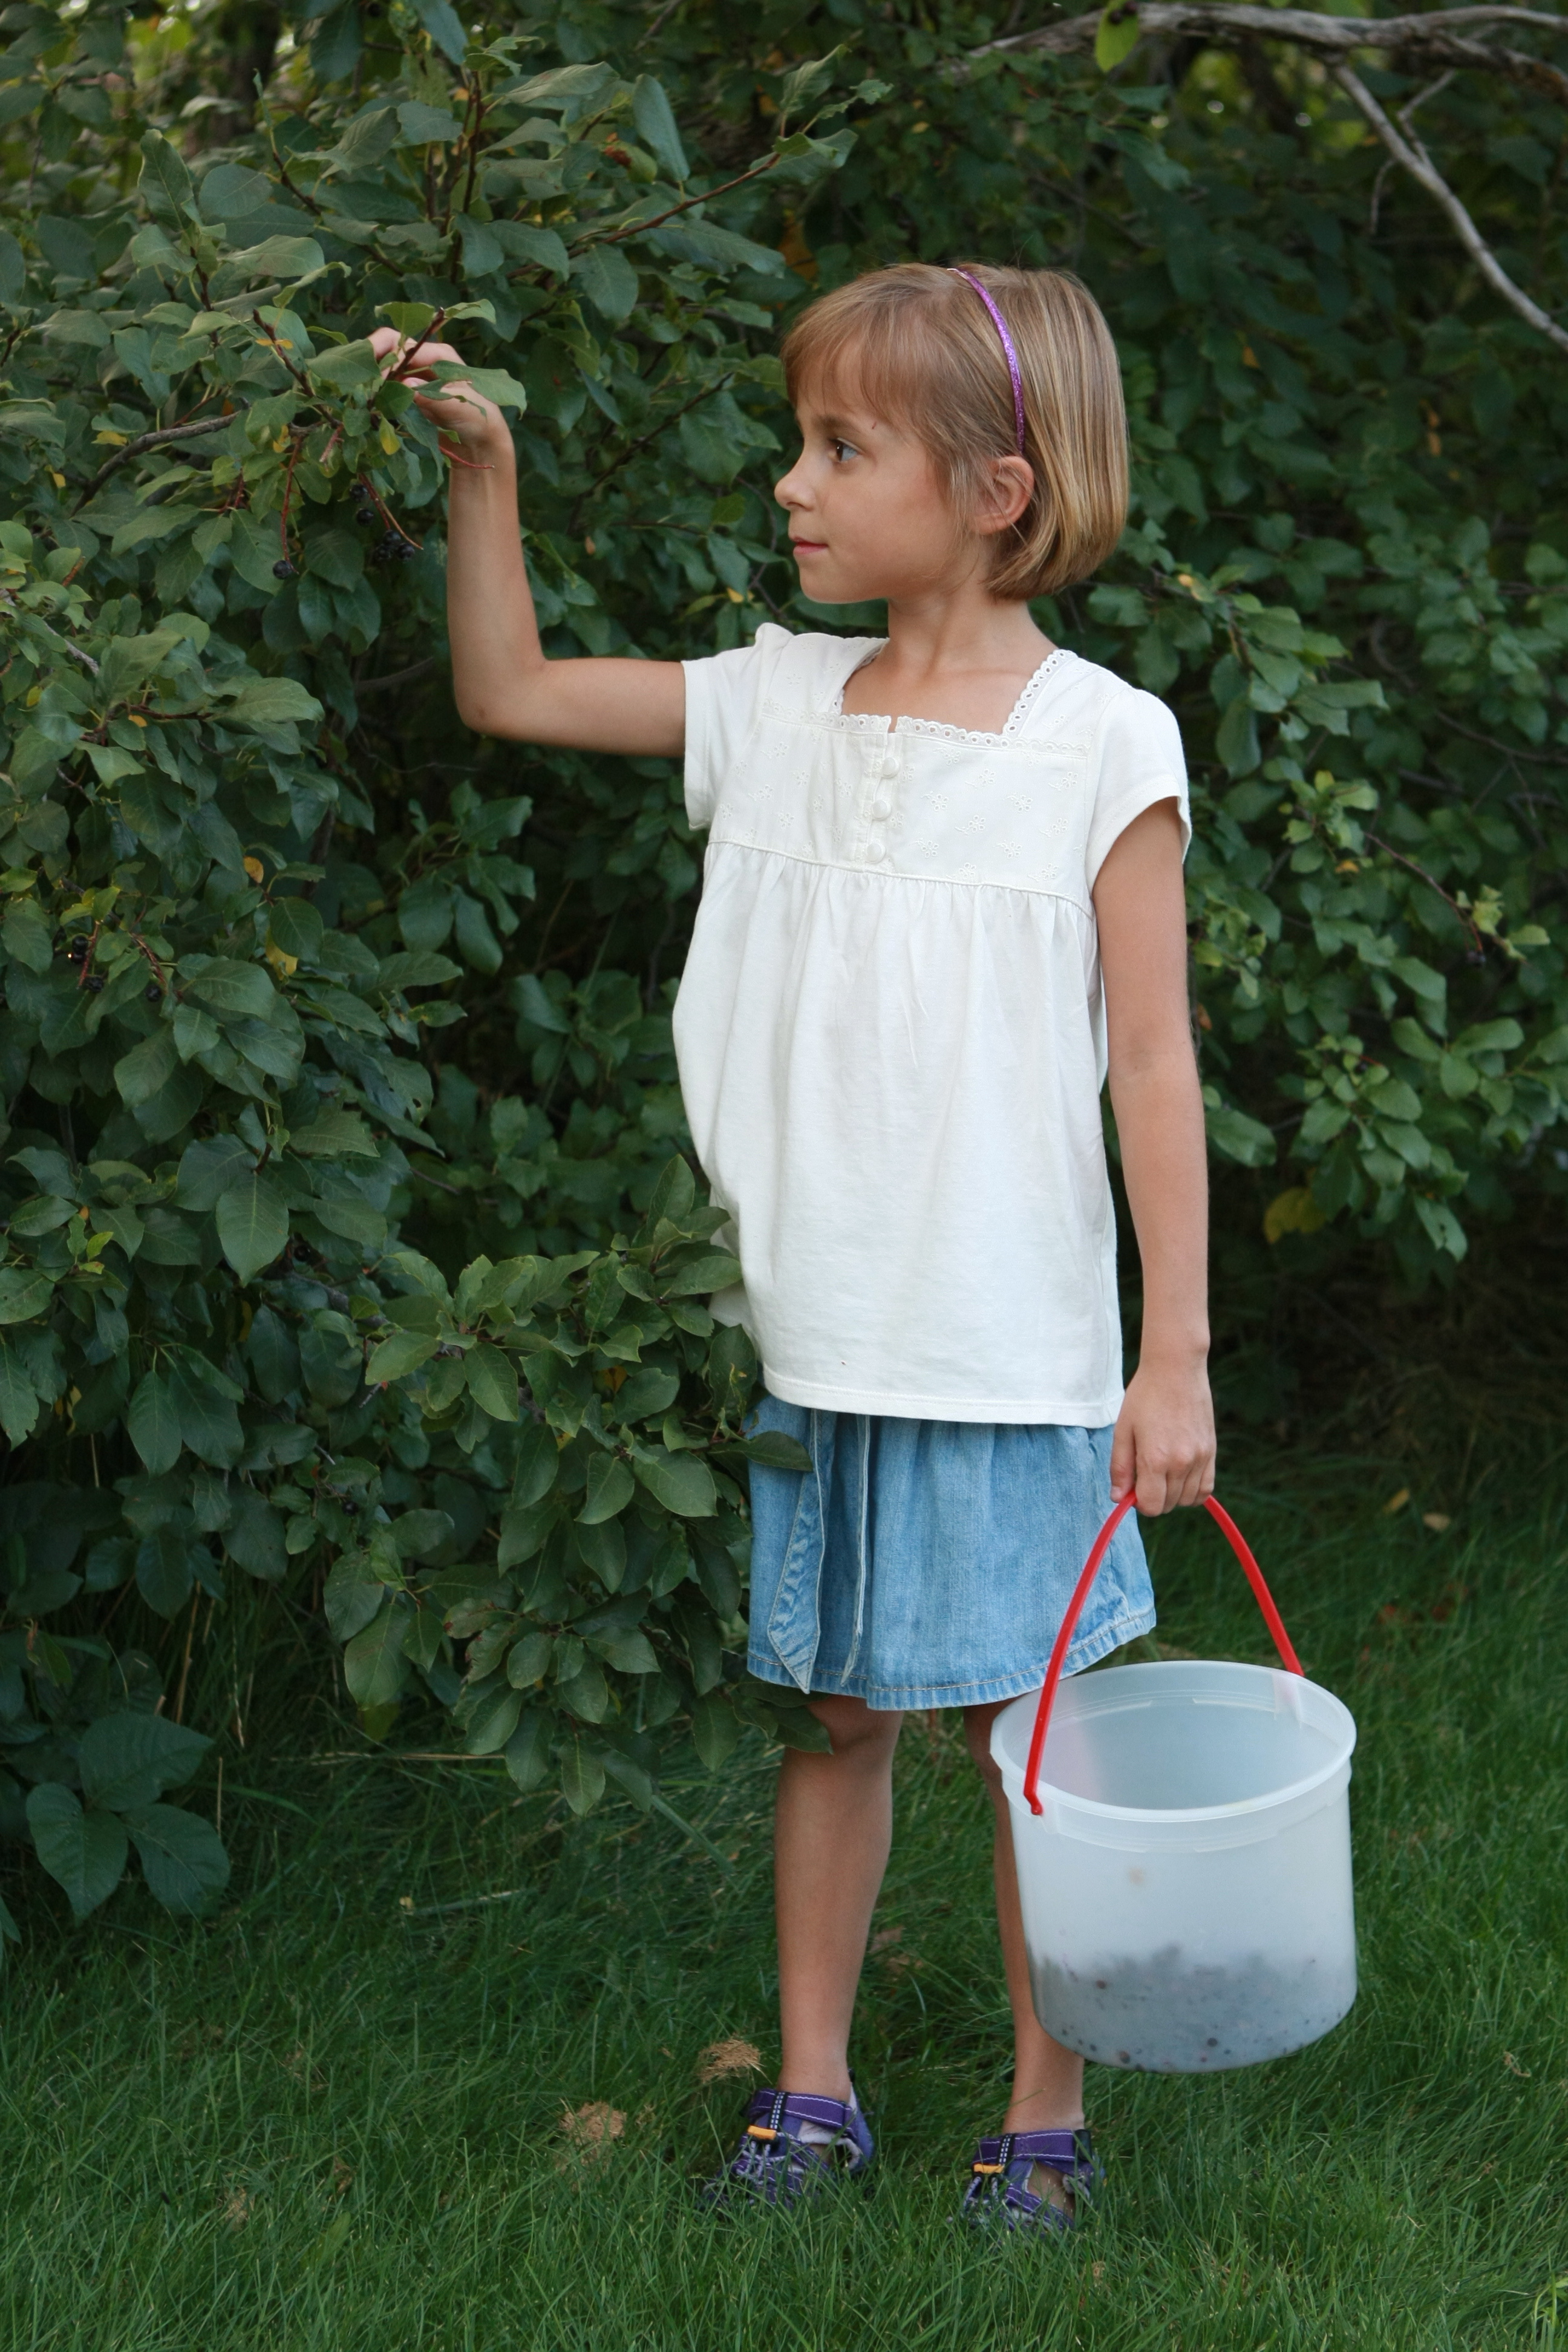
Just a few months ago, I discovered Chokecherries grow wild in Alpine too!  So last night our family went out in search of the ripe cherries.

Thanks to a tip from a friend, we found some close by on a small stretch of public land.  The crop wasn’t big… or someone else beat us there…  but we were able to pick about a gallon of Chokecherries.

This should be enough for a start.  Today I’ll use a Steam Juicer to extract the juice.  Then I can make either the syrup or jelly… or a little of both.  If I find a little more fruit I may try preserving some pie filling.

This weekend I am looking forward to making Buttermilk Pancakes to go with my Chokecherry syrup.

Picking Chokecherries is definitely “Make it Do.”  But is was also a lot of fun for our family.  It felt sort of like a treasure hunt.

Just be sure to remind your kids not to eat a berry until you’ve had a quick look and know it’s something safe… and to make sure I knew what I was looking for, I looked at pictures of Chokecherries online.  Then to be extra sure, I took a sample to my neighbor to verify I had the right plant before we took the kids out.  Sending the whole family to the emergency room from eating poisoned berry syrup over pancakes would not be making it do!

What grows wild in your neck of the world?   Don’t make me jealous and say Huckleberries or Blueberries.  I might just invite myself over… especially if you live in Australia.  I’ve always wanted to visit there.

Sewing School Bags

IMG_5993

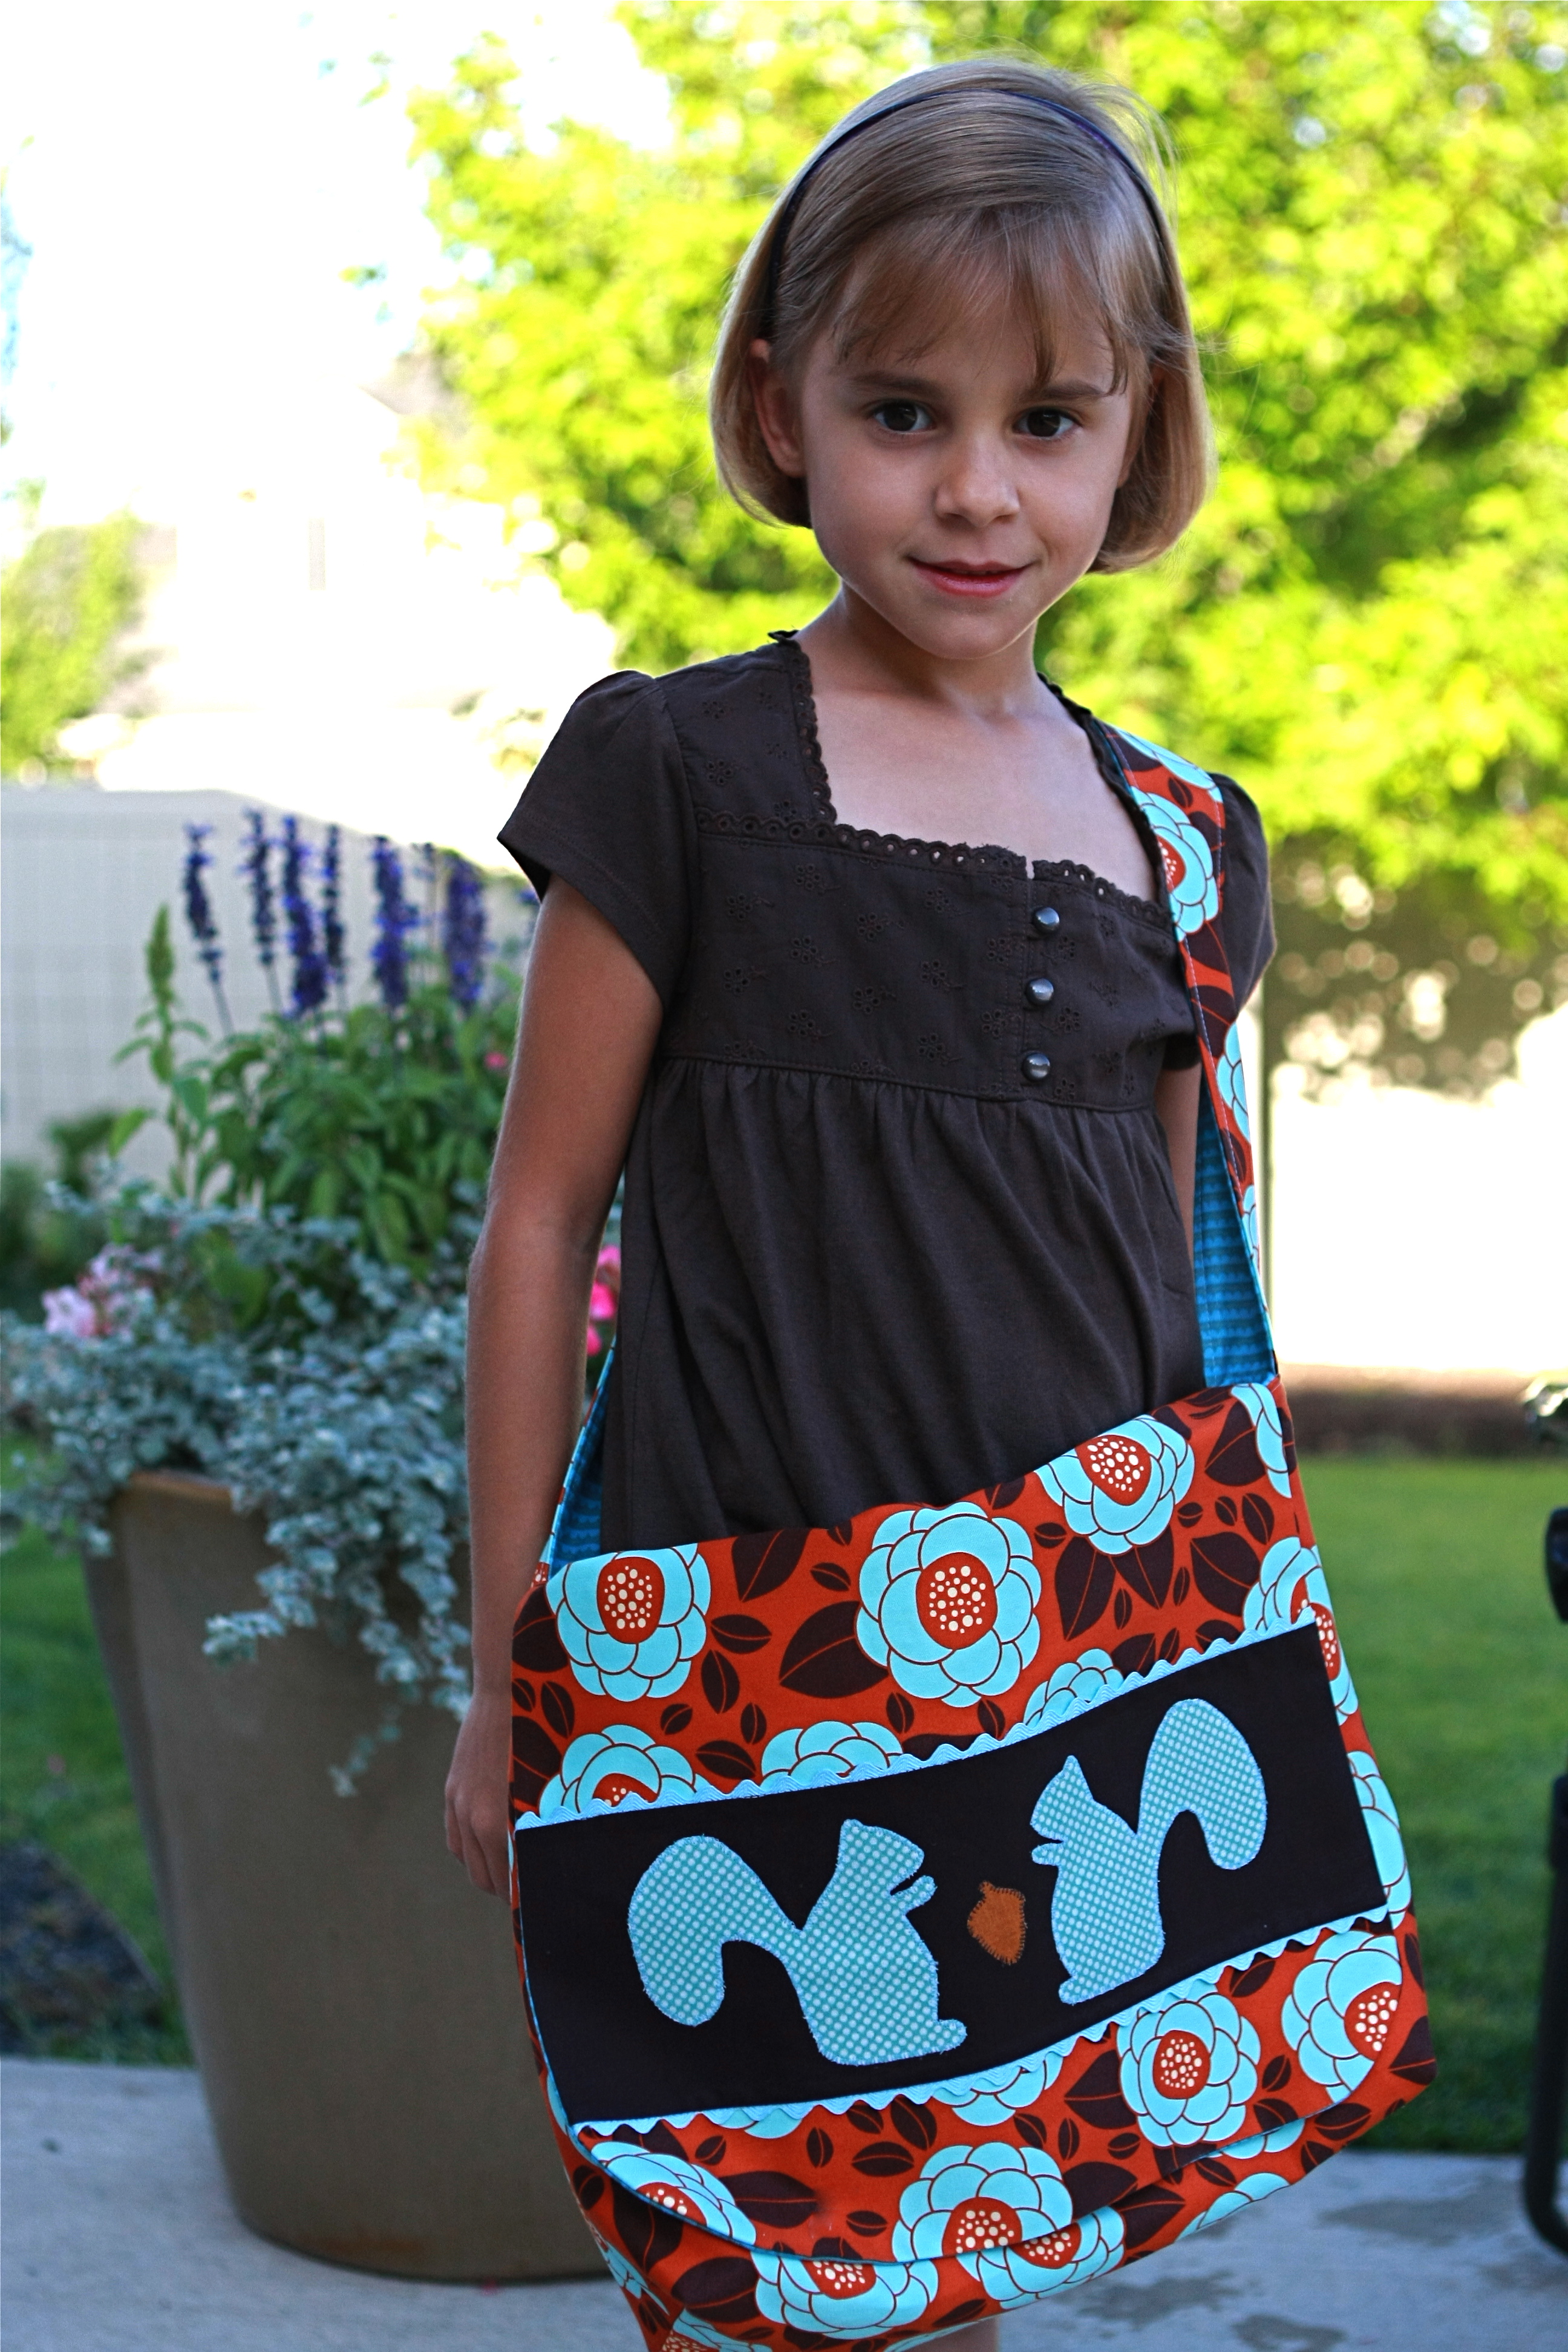
My kids started school last Thursday.  I started sewing school bags for them on Wednesday and optimistically thought I might be able to finish their bags that day.  But I didn’t.  It took me until Sunday to get them finished.  And it wasn’t because they were hard…  they weren’t.  In fact they were really fun and easy to make.

It was the design that had me stumped.  Emma wanted an owl on her bag.  Lily wanted first a butterfly, then a hedgehog and finally a squirrel.  Lily’s fabric (above) had a lot going on, so the design really competed with the fabric.  Emma and I disagreed on the owl.  She liked one with feet and sort of a side view… I liked a front view design.  It was her bag… so I did what she wanted (and we are both pleased with the result.)

The bag pattern I started with was from a totally wonderful and well illustrated free Messenger Bag pattern from Larissa at mmmcrafts.

The bag wasn’t perfectly suited for a school bag however, so I made a few minor modifications.  Larissa’s finished bag is 12″ x 12″, not quite wide enough to hold school books.  So, I added an extra 2 inches to the width, and an additional 2″ width to the inside and outside pockets.  I added two pencil holders to the inside pocket, and because the girls will be toting around books in their bags I used a Pellon Fusible Fleece to give the bag more weight and stability.  Some other minor changes was to add a small loop near the side handle because my girls love to hang key chains or small toys from their bag.  I also made the strap two colored, but that was because I was a little short on fabric. I had 3 inches to cut the long 45″ strips and I did not want narrow straps!   So I used the lining fabric on the reverse, and I love how it looks.

Here’s what you need for this project:

  • 3/4 yard of  home weight fabrics (54″ wide) for the body
  • 3/4  yard of  home weight fabrics (54″ wide)  for the lining
  • Pellon fusible fleece (16″ x 25″ piece)
  • a small amount of fabric for decorating plus rick rack, and buttons
  • HeatnBond lite for the design

Here are the dimensions of the pieces for the bags I made:

  • strap, cut 2-  3″ x 45″  (For Lily and Emma I had to cut the strap down a lot…  You customize the length when the bag is nearly done.)
  • body and lining, cut 1 each- 16″ x 25″
  • Pellon fusible fleece, cut 1 – 16″ x 25″

IMG_5902

  • flap and flap lining, cut 1 each- 14″ x 13.5″  (I used a cereal bowl to round my corners, Larissa recommends a 6.5″ circle.  I placed my fabrics right sides together, traced the rounded edge of the bowl and cut out the rounded corner of both the flap and the lining at the same time.)
  • outside pocket, cut 2 – 11″ x 7.5″  (again I cut one from the body fabric and one from the lining fabric)
  • inside pocket, cut 2 – 11″ x 5.5″ (ditto)
  • key chain loop, cut 1 – 1.5″ x 3″ (press in half, wrong sides together, then press a hem on both sides evenly.  Stitch close the the edge)

IMG_5919

For the design of the bags I stumbled upon a wonderful template for the squirrels at The Long Thread.  The owl was a bit more tricky.  I had trouble finding a nice template.  With the popularity of owls I was really surprised.  I found this one from Martha Stewart.  But Emma didn’t love it.  I ended up drawing the owl free-hand based off an owl stamp Emma liked… and drawing the branch and leaves as well.  (If anyone is interested in the design, I can make a template.)

IMG_5924

Start by tracing your design onto the smooth side of a piece of HeatnBond light or Wonder Under.  Iron the design to the back of your fabric.  Keep in mind that your design will be reversed when you cut it out.  IMG_5896

Using good scissors carefully cut around your design.

For the squirrel bag, I used a strip of brown fabric to offset the design.  I also used rick rack on the top and bottom of the strip.  Here is the technique for sewing on the rick rack.

IMG_5913

Line your rick rack along the top edge of your fabric and stitch down the middle of the rick rack.  I sew to the right of center, but still in the middle section.

IMG_5917

Press the outer edge of the rick rack under.  This flips the inside edge to the outside.

IMG_5927

Now lay out your design and fuse your design pieces to the front flap.  Using a decorative stitch, stitch around your design pieces.  I used a machine blanket stitch.  You can also blanket stitch by hand.  Or use a machine zigzag… whatever you fancy.

IMG_5919

For the owl bag, I used buttons for the eyes.  You’ll want to finish stitching and embellishing all your design elements before you assemble your bag.

Once you have had fun creating your design… and sweating over it like me… it’s time to assemble your bag.  Larissa at mmmcrafts has done an amazing job diagramming each step.

The only major change I made to her instructions (other than the changes to size) was adding the fusible fleece.  I did this by fusing the fleece to the liner of my bag after the inside pocket had been added.  Then when I was sewing the liner together in step 7, I changed my seem allowance to 3/8″ to give a little extra room with the added padding.  I squared the corners according to her instructions, but I had to trim the corner piece off after sewing about a 1/4″ from the seam.

IMG_5996

The last small changes I made were adding in the little loop for a keychain (slightly out of focus above,) and sewing two seams in the inside pocket for pencils.  I made the pencil holders by measuring in 7/8″ line and stitching along from the outside seam of the pocket.  Then I measured one more.  Stitch down the line, making sure to back stitch at the top of each seam.  You could add a loop with a snap.  But for the girls I just added a small loop.

IMG_6000

The girls can’t wait to fill the nice big pocket on the outside of the bag.

IMG_6014

Emma’s off to school.  The girls love their new bags… now I want to make one for me.  Wait, wait… did I mention the fabric cost me $4 a bag?  Isn’t that the coolest?

Archives


Virtual Quilting Bee