Posts Tagged ‘make it do’
Summer Lovin' Raspberry Icecream
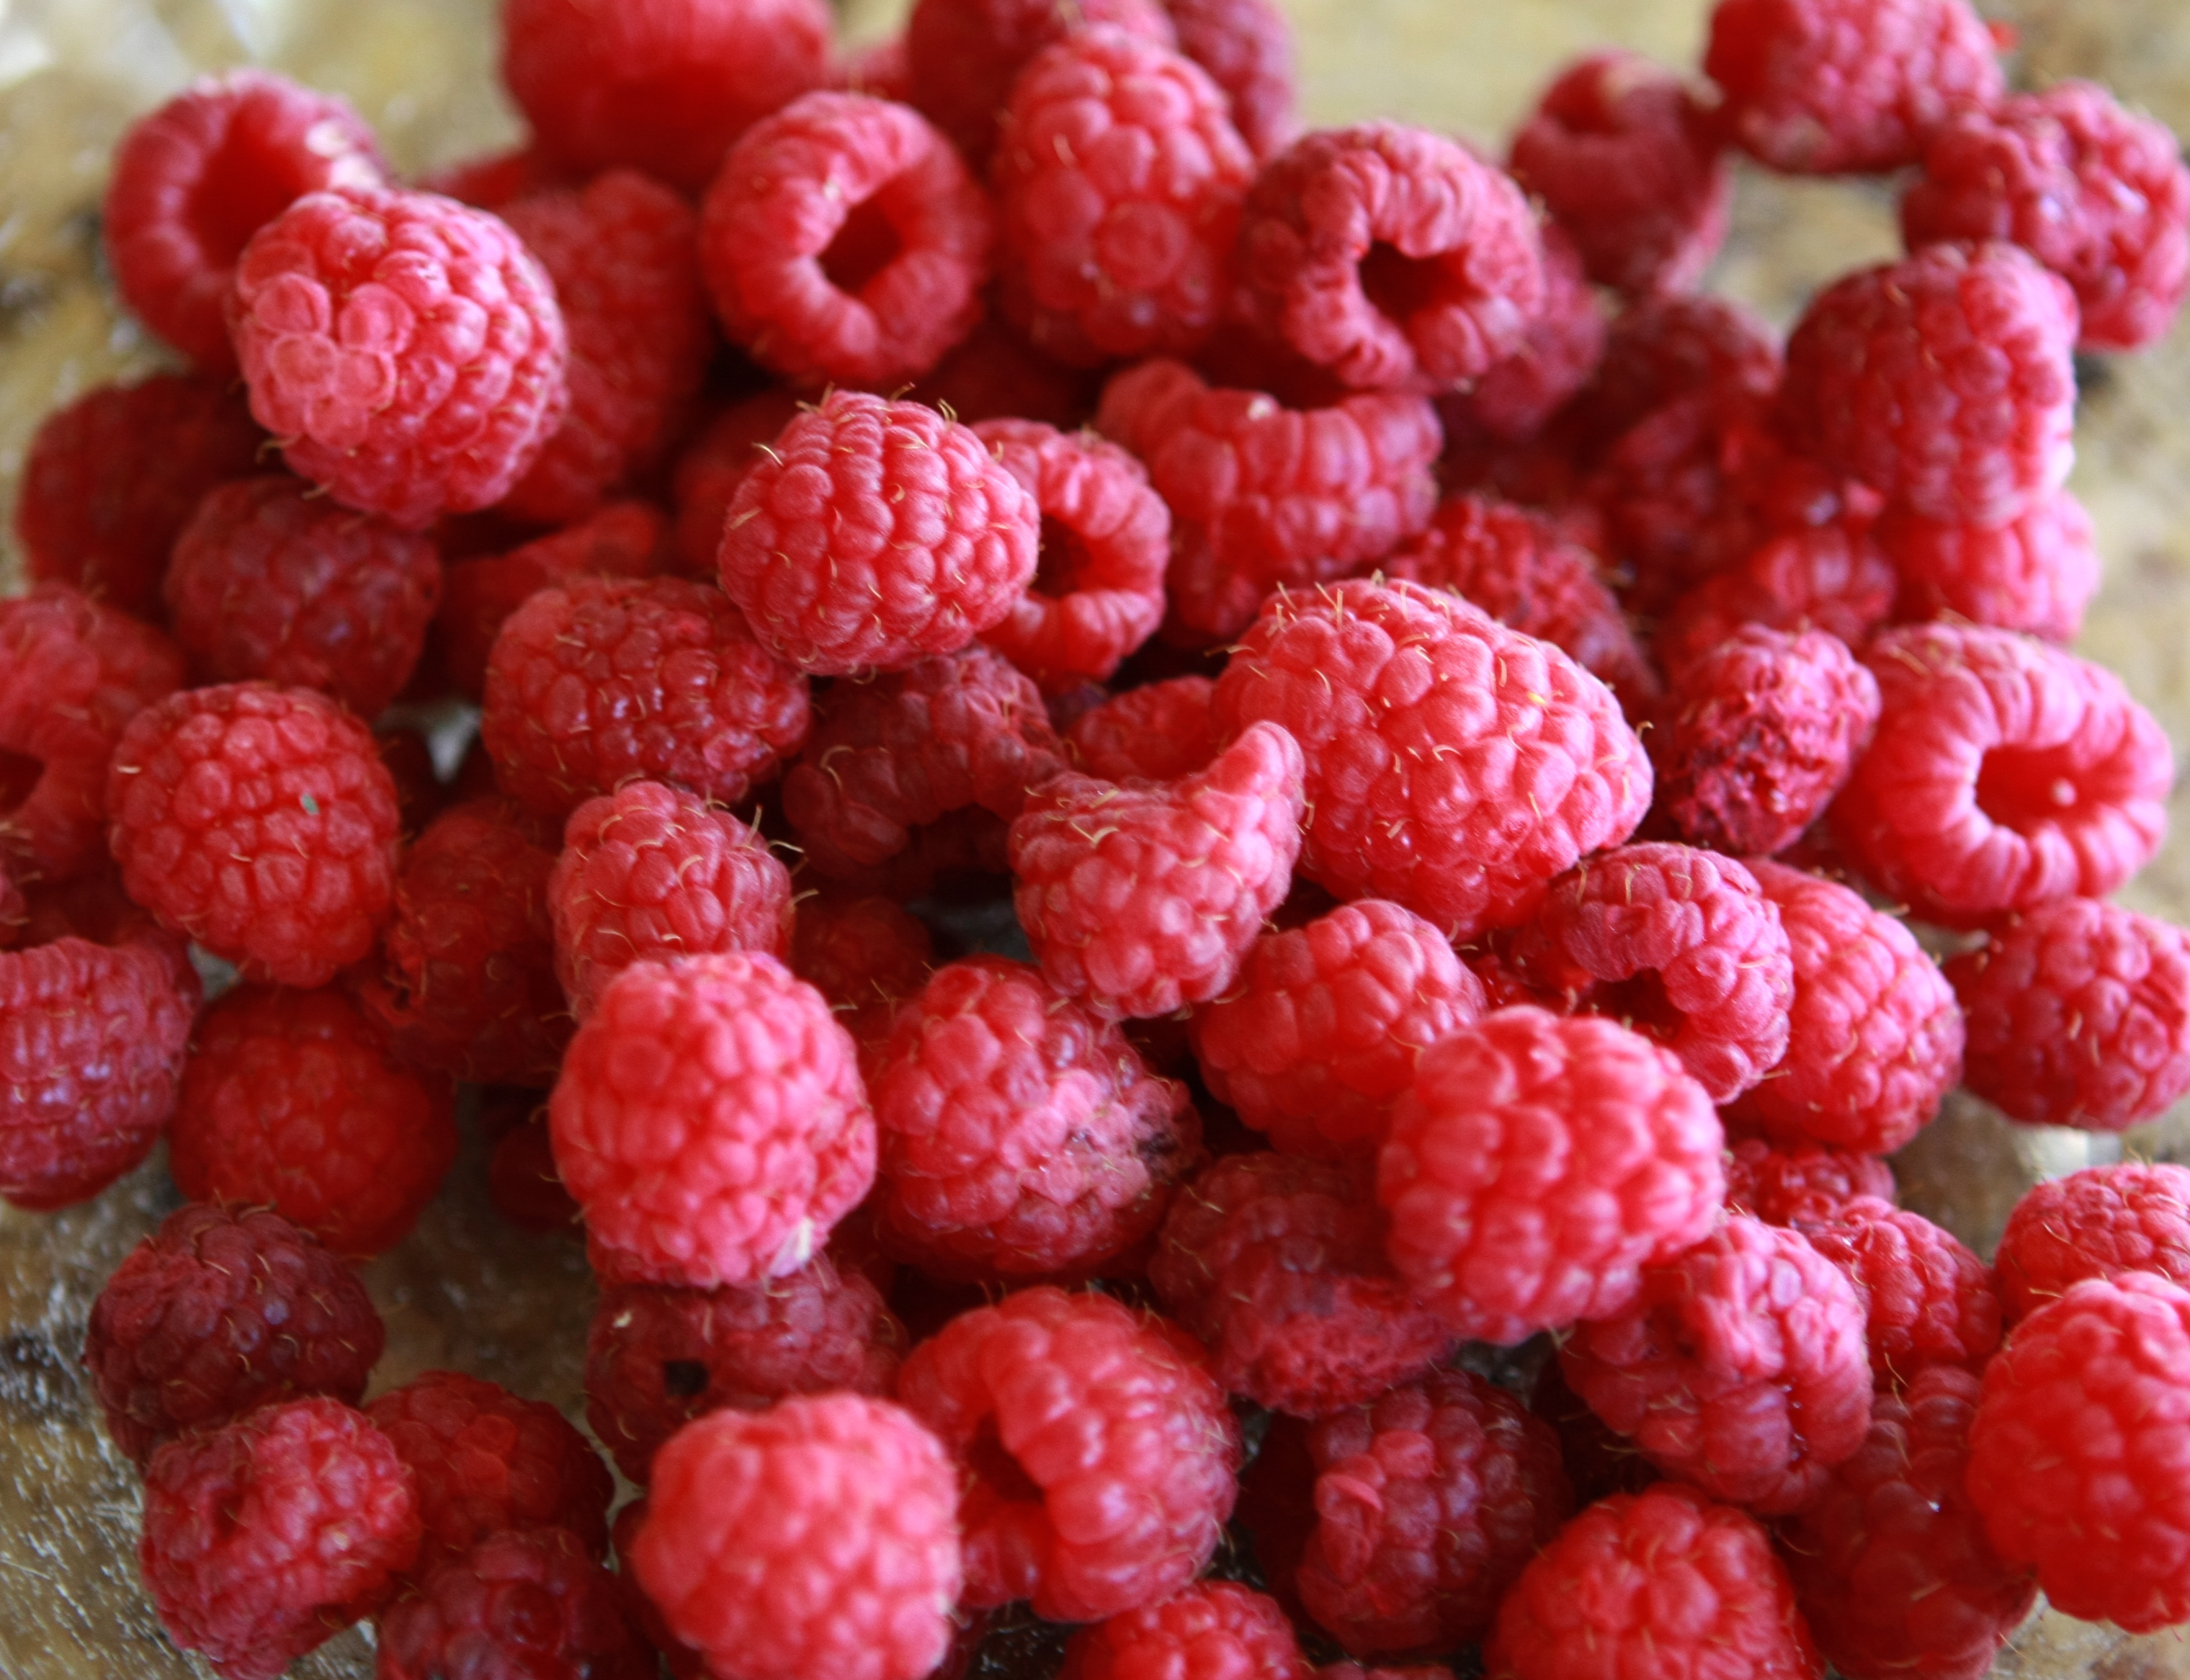
What do you do with delicious summer raspberries? (Other than eating them like candy right out of the paper carton.)
This week I dropped by one of my favorite fruit growers, Rachel at S & R Fruit in Alpine, Utah. Every year I buy my peaches, apples and raspberries from S & R for my canning and jam. My kids love to visit Rachel. She always shares an apple or peach with them… and they love to visit her new puppy. (They were heart broken when her old dog Rascal died.) I love S & R Fruit because everything they grow is good quality and delicious.
Rachel said they had just picked the last of their Summer Raspberries (don’t worry Fall Raspberries will be on in a few weeks.) I bought a few cups to make my husband’s favorite… his mother, Kit’s recipe for Raspberry Ice Cream.
One quick warning about Kit’s recipe… it contains uncooked eggs. I always use very fresh eggs and am careful to keep them very cold and am also careful when I crack the shells. No one in the 40 years Kit has made her ice cream has ever gotten sick. So I’m not worried. But it might freak some people out, so I give the warning.
Kit’s Ice Cream
4 Eggs
3 cups Sugar
1 quart Whipping Cream
1 14 ounce container Half and Half
1 can Evaporated Milk
3 Tbsp. Lemon Juice
1 Tbsp. Vanilla
3 cups Mashed Berries or Peaches
Dash of Salt
Mash fruit and add one cup of sugar. Stir and let stand for 1 hour. Beat egg and remaining sugar until lemon (I call it butter) colored. Stir in sweetened fruit, half and half, evaporated milk, lemon juice, vanilla, and dash of salt. In a separate bowl, whip cream to stiff peaks. Fold in whipped cream into fruit mixture. Mix in ice cream maker until frozen.
Click here for my printable recipe on Tasty Kitchen.
Here’s how I make it… but I must apologize for the photos, it was getting darker as I made the ice cream and the photos slowly go down hill with the light.
1. Start by mashing your fruit. A potato masher works like a charm. Add one cup of sugar. Stir and let stand for 1 hour.
2. Beat eggs with sugar until it turns a butter yellow.
Here’s the color… can you tell? The light is beginning to fade, actually there are some clouds rolling in. Blast the light.
3. Stir in fruit mixture, half and half, evaporated milk, lemon juice, vanilla, and a dash of salt.
4. Whip the cream to stiff peaks… no it isn’t yellow, it’s just the photo.
5. Fold cream into fruit mixture until incorporated. When folding, start in the center of the bowl and work the spatula out and fold over. Keep coming back to the center of the bowl and work all the way around the bowl. Keep going around until it’s incorporated, but not over-mixed.
6. Mix in an ice cream mixer until frozen.
I could eat bowls and bowls of this wonderful ice cream… but I will keep it to this little cup…
Keep in mind this is a big recipe and when I am making it in my small Cuisinart Ice Cream Maker, I cut the recipe in half and still have to do it in two batches (refreezing the bowl in between.) One of these days I would love to get a White Mountain Ice Cream Maker which will make 6 quarts of ice cream at a go. My mother in law has had one for years and loves it. The ice cream it makes sets better than mine and I love the capacity!
More Make it Do Wedding Plans
We spent today working on some wonderful wedding projects for Josh’s (my brother) and Jen’s upcoming wedding. I am amazed at the wonderful projects you can create on a budget.
Here are a few things we worked on today:
Did you know you can age a terra cota pot with stain? Sometimes a brand new pot is just too new looking. We aged them with gel wood stain (or you can use liquid.) We simply applied two coats with an old rag. The pots really have a lot of character now. I can’t wait to fill them with Maiden Hair Ferns, Golden Spike Moss and Orange Kalanchoes.
We also filled wonderful pillow covers that Jen found on a business trip to New York City. She paid $1 for each pillow cover! We will be placing them around on the ledges to provide comfortable seating at the wedding… and to provide color of course. But filling the pillows with a form was expensive… so we made do with an old foam pad of my mother’s. We simply cut the pad up with a pair of big scissors.
Don’t you love this old wood basket? Jen and I found them at Tai Pan Trading on closeout. The were a steal at only a few dollars a basket. And they look like they came out of a wonderful old garden. As you can see, we are filling the baskets with wheat grass and a small paper butterfly.
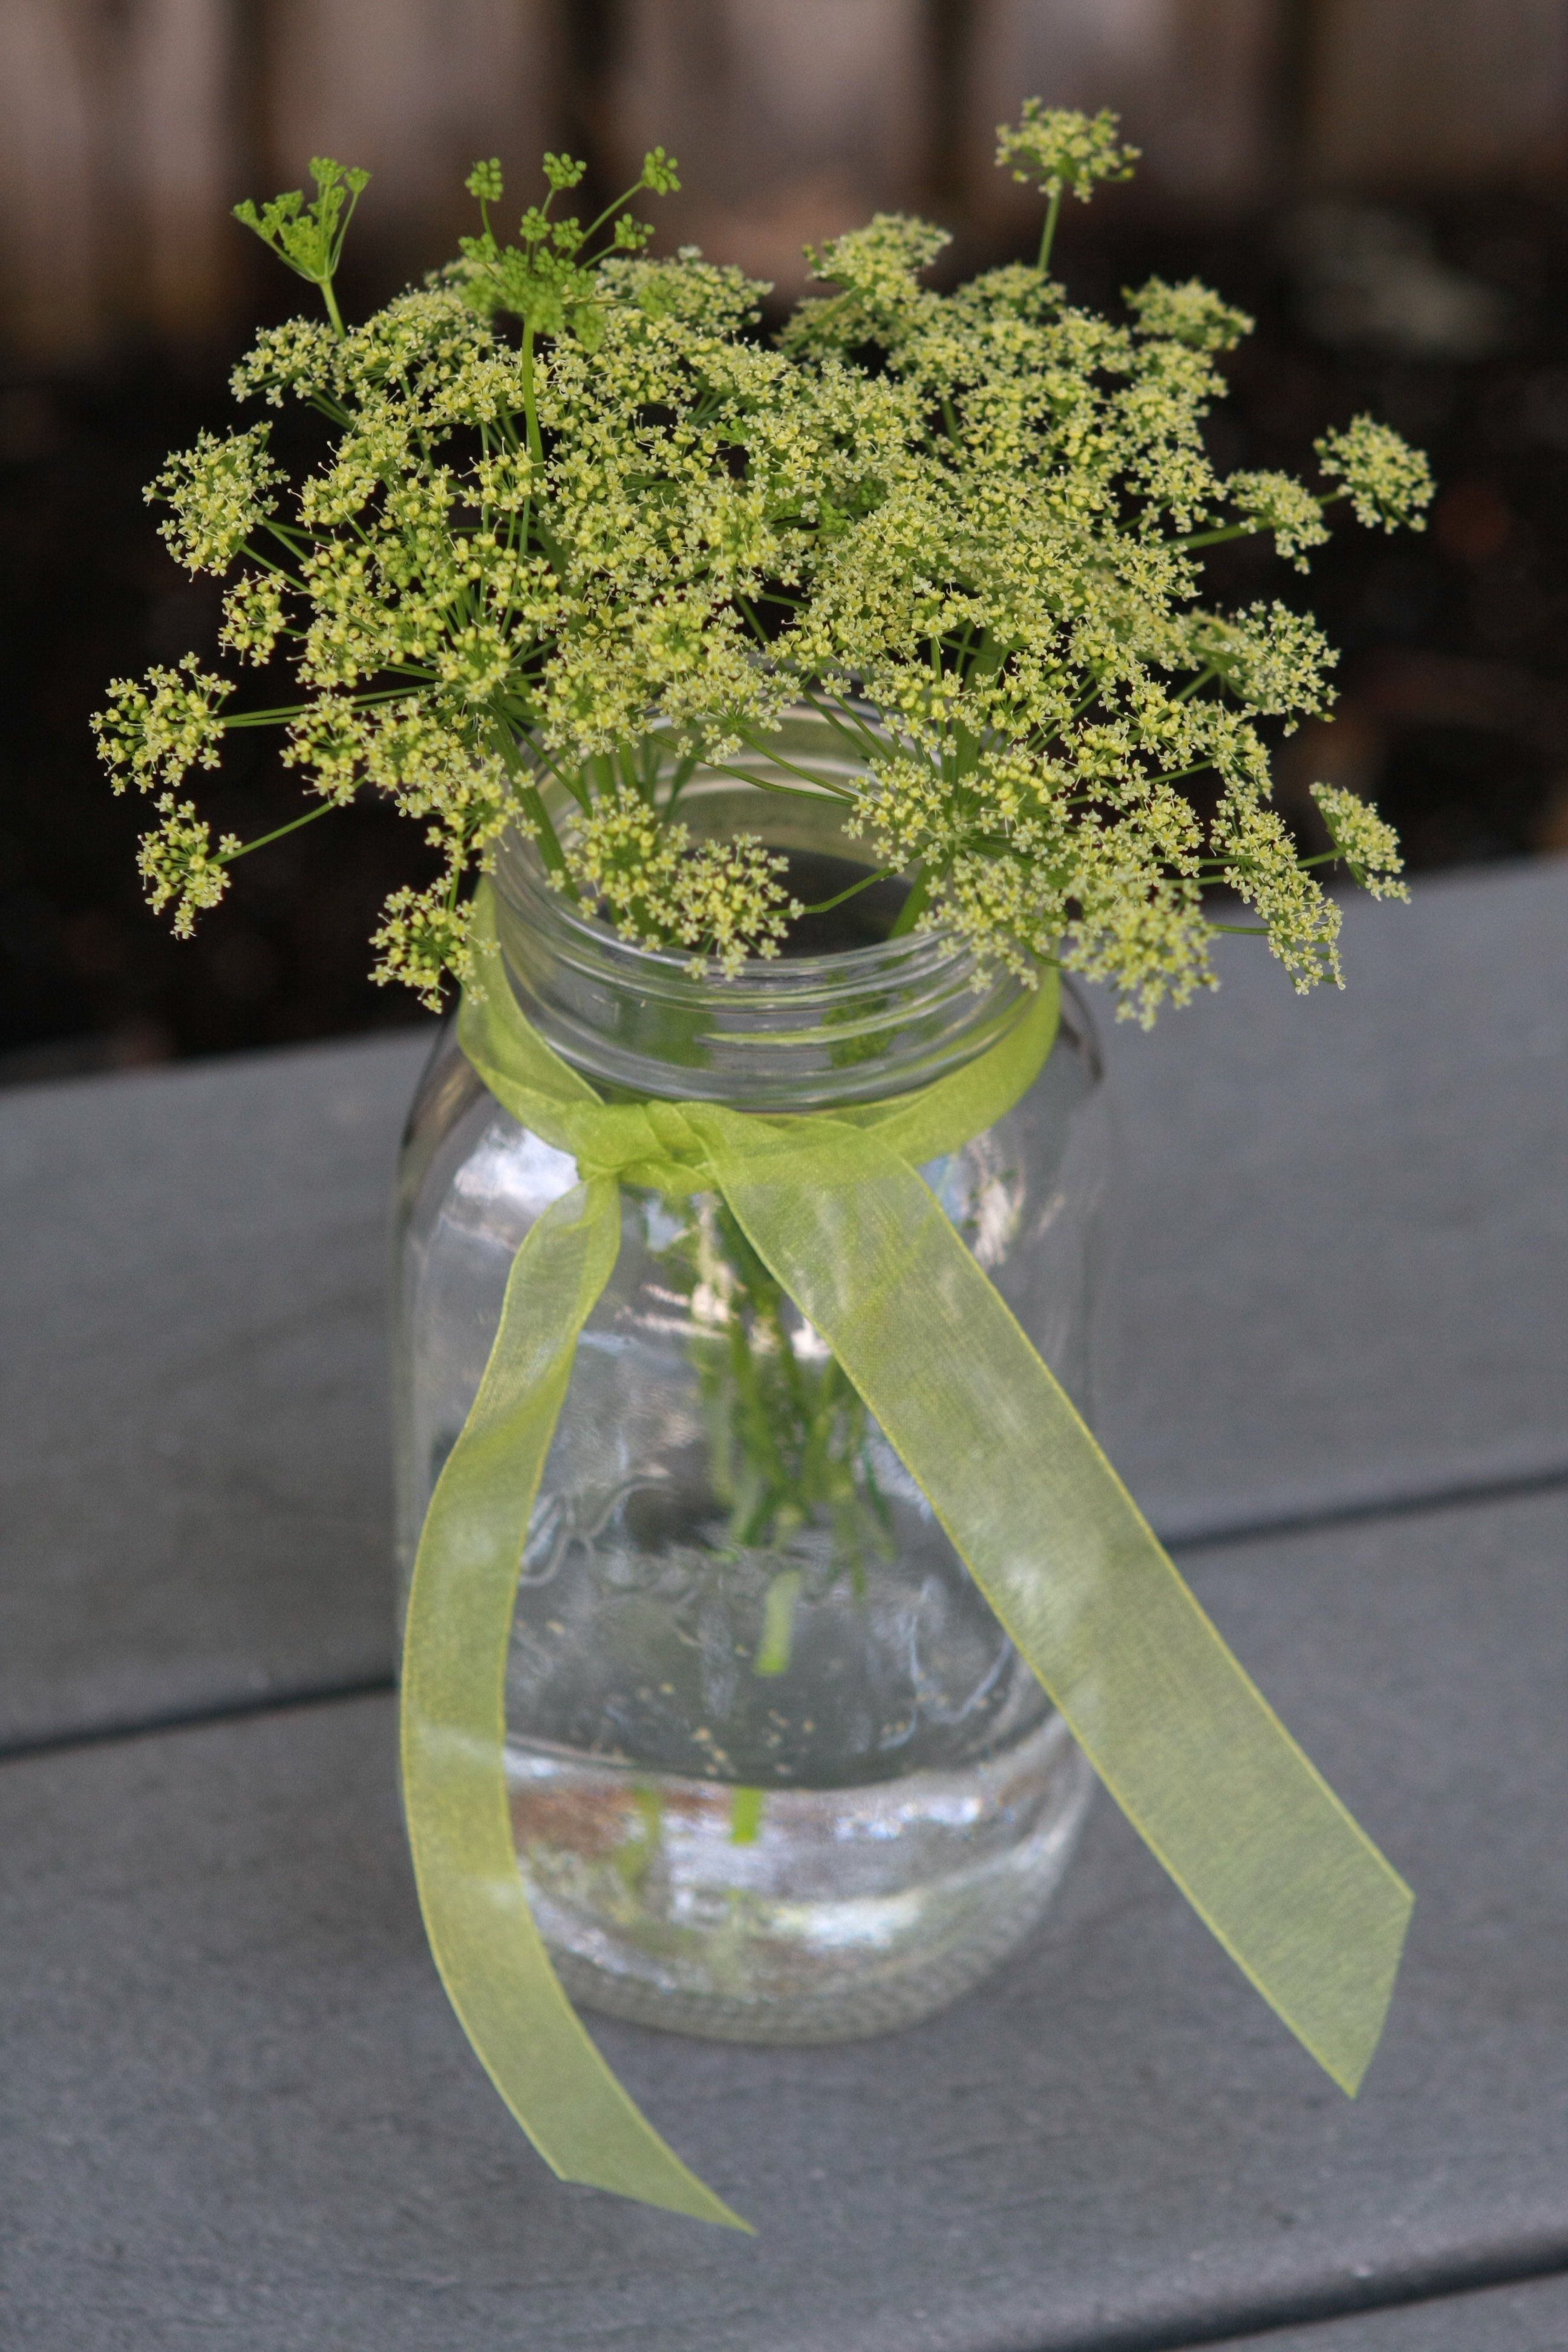
We will be decorating with mason jars filled with Queen Anne’s Lace. We tried to see how it was going to look by filling a jar with blooms from my Mom’s parsley. Parsley blooms are similar in shape to Queen Anne’s Lace only smaller and not as white… but I loved the way it looks. Next time my parsley blooms it will be in a vase on my counter!
I love the organic nature of all the decorations. I love that many of the decorations are re-purposed items, and most of the decorations will be useful after the wedding.
I can’t wait to share pictures from the wedding in September. But in the meantime, we are having a wonderful time getting together as a family and making things. And in the end this wedding will be a labor of love.
You might also enjoy taking a look at other wedding posts for Josh and Jen: