Hi, I’m Calli
Welcome! If you enjoy your visit, be sure to follow me:
Oh My Stars!
Canning Day Quilt

Posts Tagged ‘make it do’

Checkers Picnic Quilt in Progress
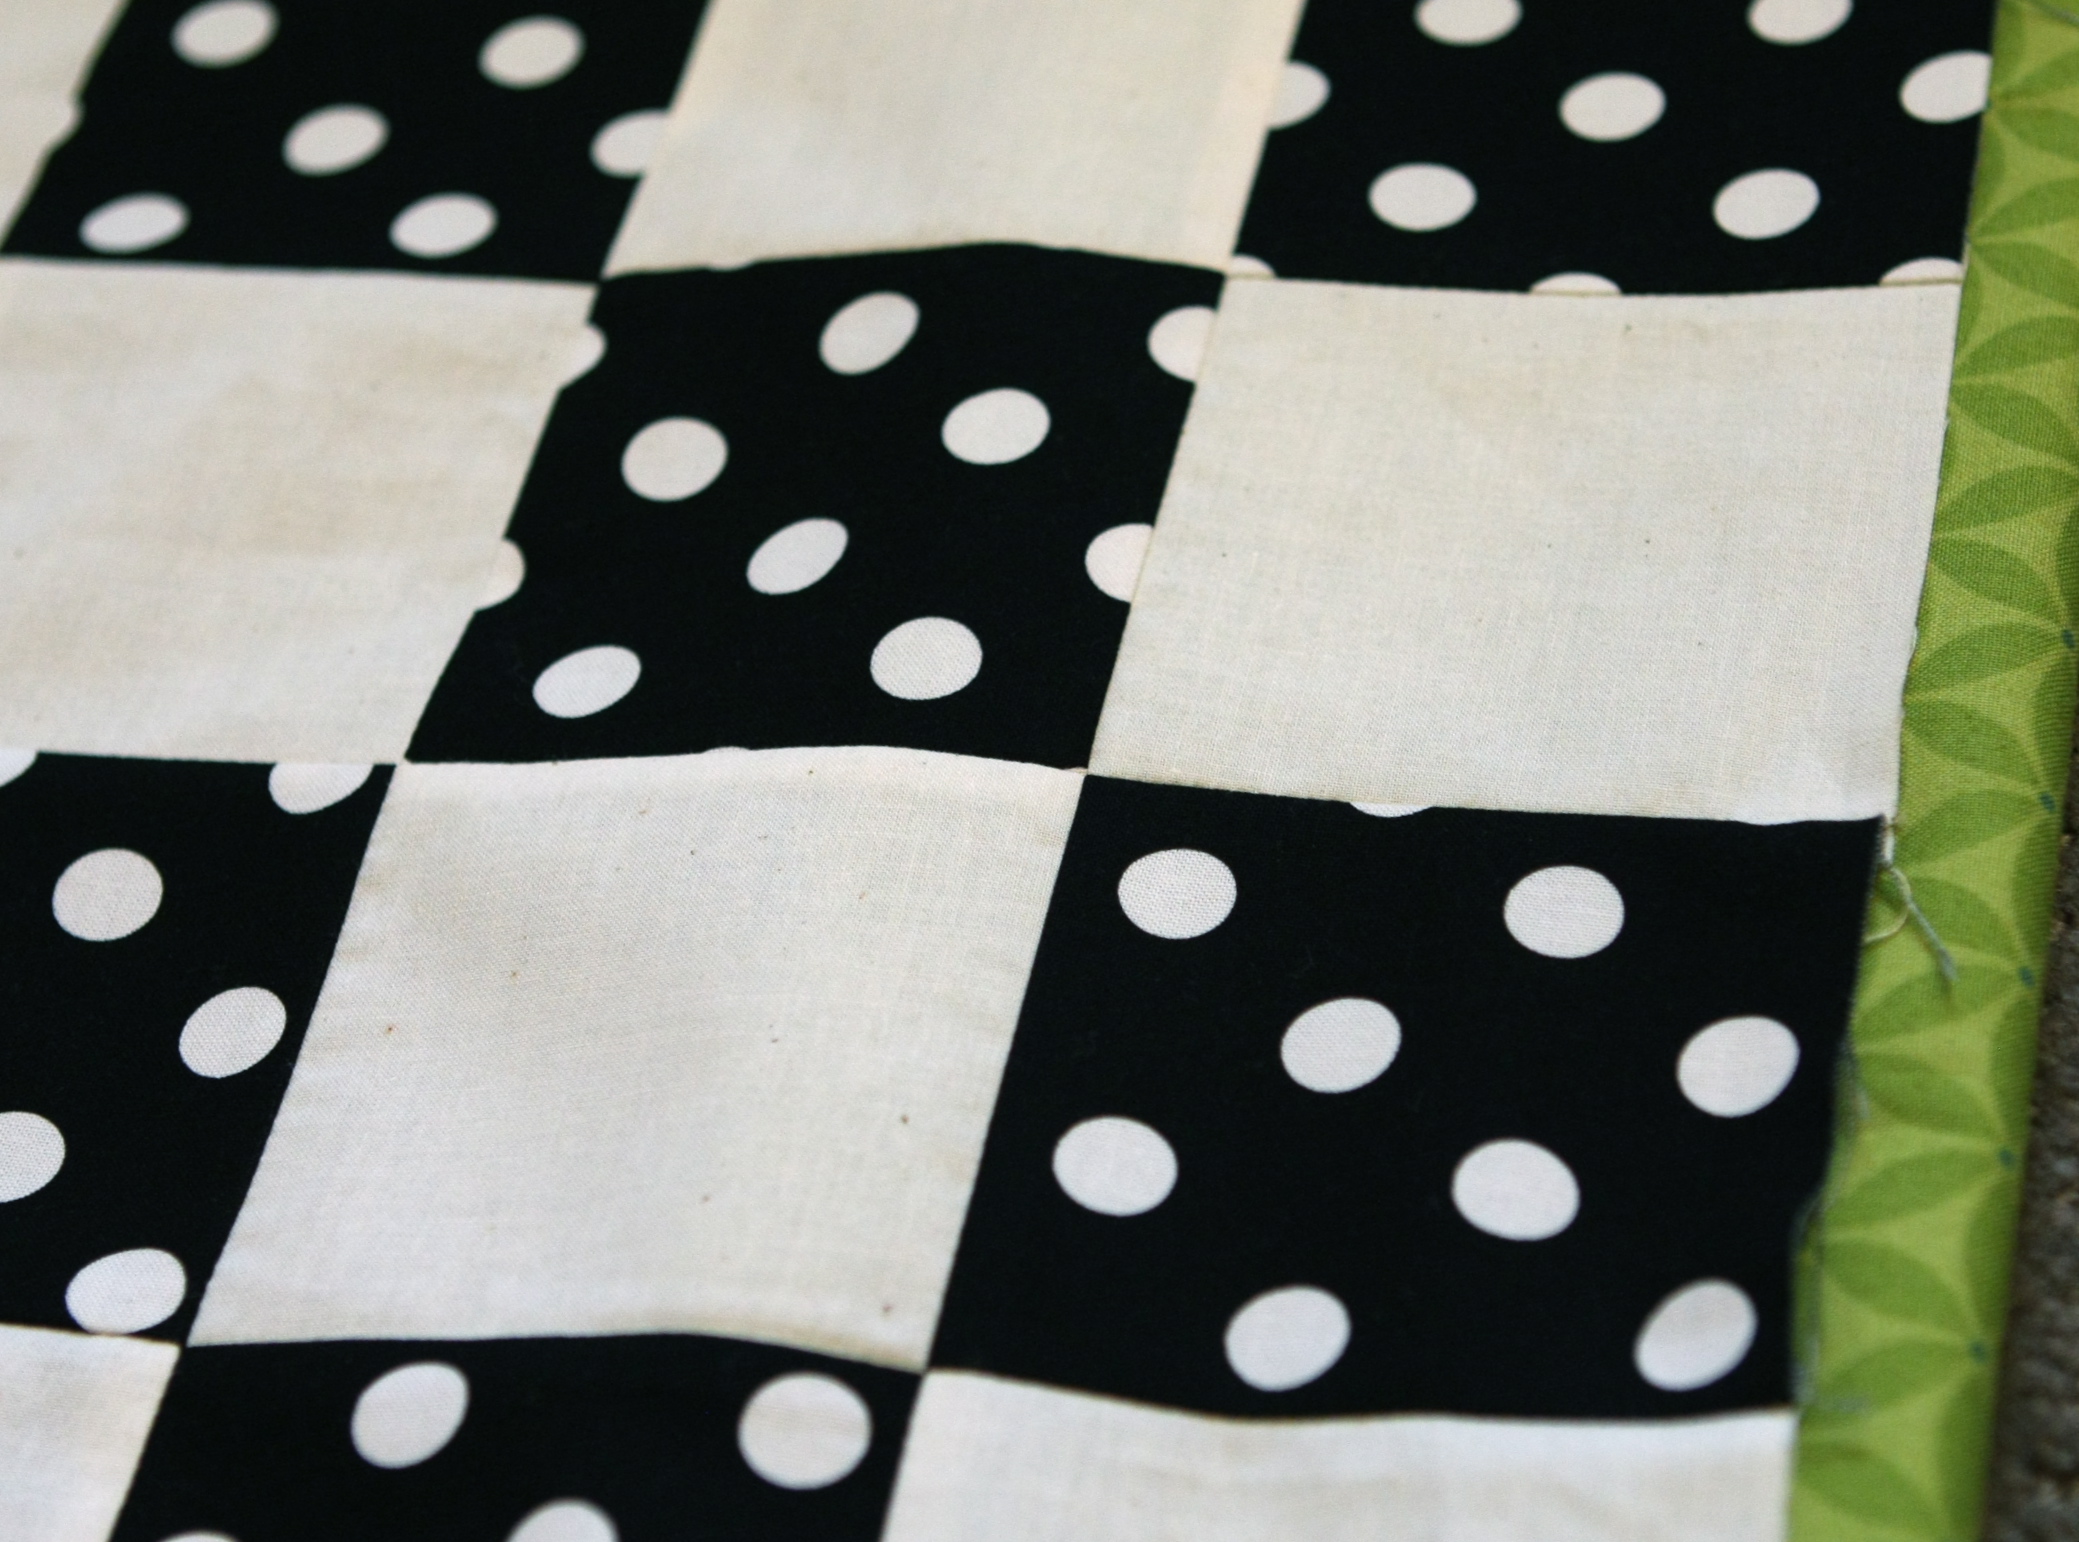
Last week I continued quilting lessons with my mom by working on a new checker board quilt.  We wanted to make a picnic quilt that was whimsical and easy.

The idea of a checker board just seemed too fun.

But my first thought was… with all those small squares, this quilt will take forever!

Not when my mom is teaching me the ropes.

The technique is so easy.  Black, white, then black strips are sewn together.  Next make a white, black, white strip.

They are stacked together and cut out.  Each one form 1/3 of a nine patch…

Now it’s quick and easy to build each block.

And with each block…

It’s easy to build the quilt.  I love quilting with my mom.  She makes things so clear and easy.

She is precise without being too fussy.  See how each seam comes together neatly.

Even the back of the quilt is neat and precise.

One of the other things I love about working with my mom is watching her hands.

I could see her hands in a photograph and know them immediately.  Her hands are rarely idle and can usually be found quilting, cooking, knitting, cleaning, or gardening.  They are strong working hands, with lots of character.  I love my mom’s hands.

Picnic Basket Part 4: Salad Bowl Cover

The inspiration for this project came from the talented Mayaluna of maya*made.  She posted a tutorial on making a picnic bowl cover strap, made out of an old shirt, no less.

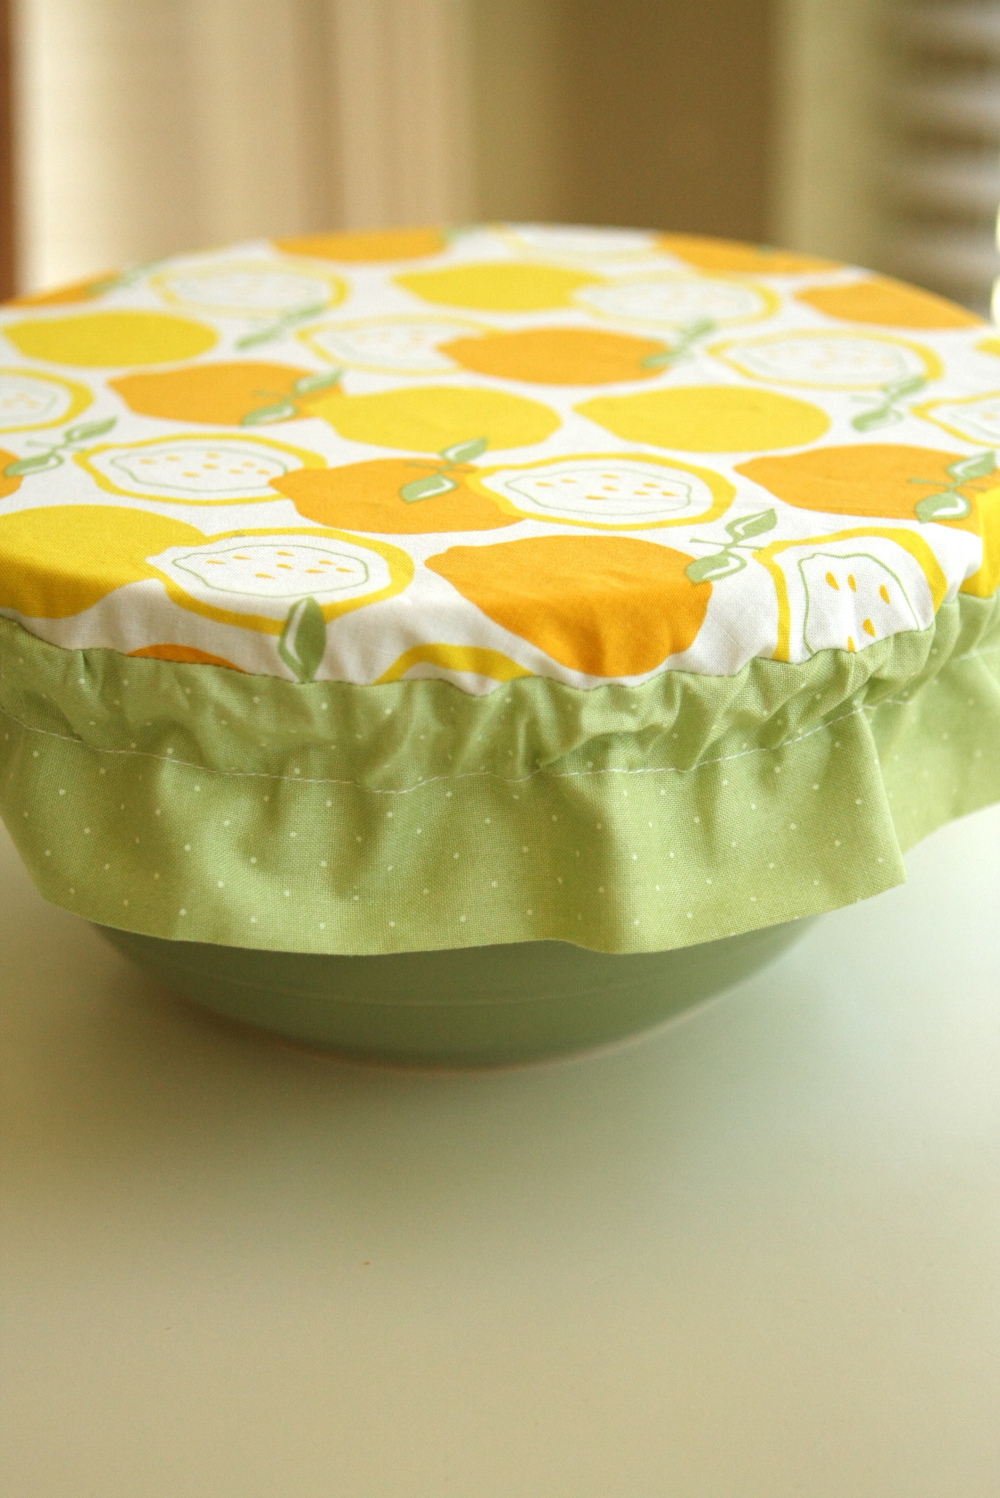
I loved her tutorial so much, I decided to make a whole cover for a picnic salad bowl to match my picnic basket.

This little cover is perfect for taking to a potluck or picnic.  It serves to keep out any unwanted pests, and it won’t blow off in a breeze.

Plus it looks great.

Here’s how to make this quick and easy project:

This cover was made for a 10 1/2″ wide salad bowl and can easily be adjusted to fit a smaller or larger bowl.  You’ll just need to do a little calculating to adjust the size of the circle and ruffle.

You’ll need:

  • 12″ circle of center fabric
  • 5″ x 40″ strip of ruffle fabric
  • 25″ of 1/4″ elastic

Start by cutting out a 12″ circle.  I traced a large mixing bowl directly on the fabric, using a fabric marking pen.  As you can see, I can’t get enough of this lovely lemon fabric from Alexander Henry, called Juicy.

Cut out a 40″ long x 5″ wide strip of fabric to make the ruffle.  I was using a leftover scrap of fabric, so I had to piece my strip once.  Make it do, I always say.

Fold your strip in half width-wise and press along the length of the strip.

Make a hem at each end, by turn the ends 1/2″ twice.  Press.  The picture above shows the pressed hem at the end.

Stitch the hem to finish the edge.

Fold it back in half and press again.

Stitch the length of the ruffle 1 1/4″ from the folded edge.

Pin the ruffle around the circumference of the circle.  Wow, that looks like a lot of pins.  And it was.  But I wanted my seam to be neat and tidy along the edge.  Make sure the two ends come together nicely.

Using a 1/4″ seam, stitch ruffle into place.

Press your cover.  I just love the early morning light in my kitchen.  I love sewing before anyone else in the family wakes up.

Cut a 25″ section of 1/4″ wide elastic.

See that old extra-large safety pin.  I’ve had the same one for years… and it’s threaded many elastics through fabric.

Thread the elastic on through, making sure to keep hold of the other end.  The opening is nice and wide and easy to thread.

Make sure it’s not twisted anywhere, and stitch your elastic together.

And you are done.  It looks like an old-fashioned night cap.

Until it is fitted on your bowl.

No hornets or flies will bother our salad…  and it looks so pretty, I can’t wait for our next picnic.


Archives


Virtual Quilting Bee