Hi, I’m Calli
Welcome! If you enjoy your visit, be sure to follow me:
Oh My Stars!
Canning Day Quilt

Posts Tagged ‘make it do’

Garden Apron Tutorial
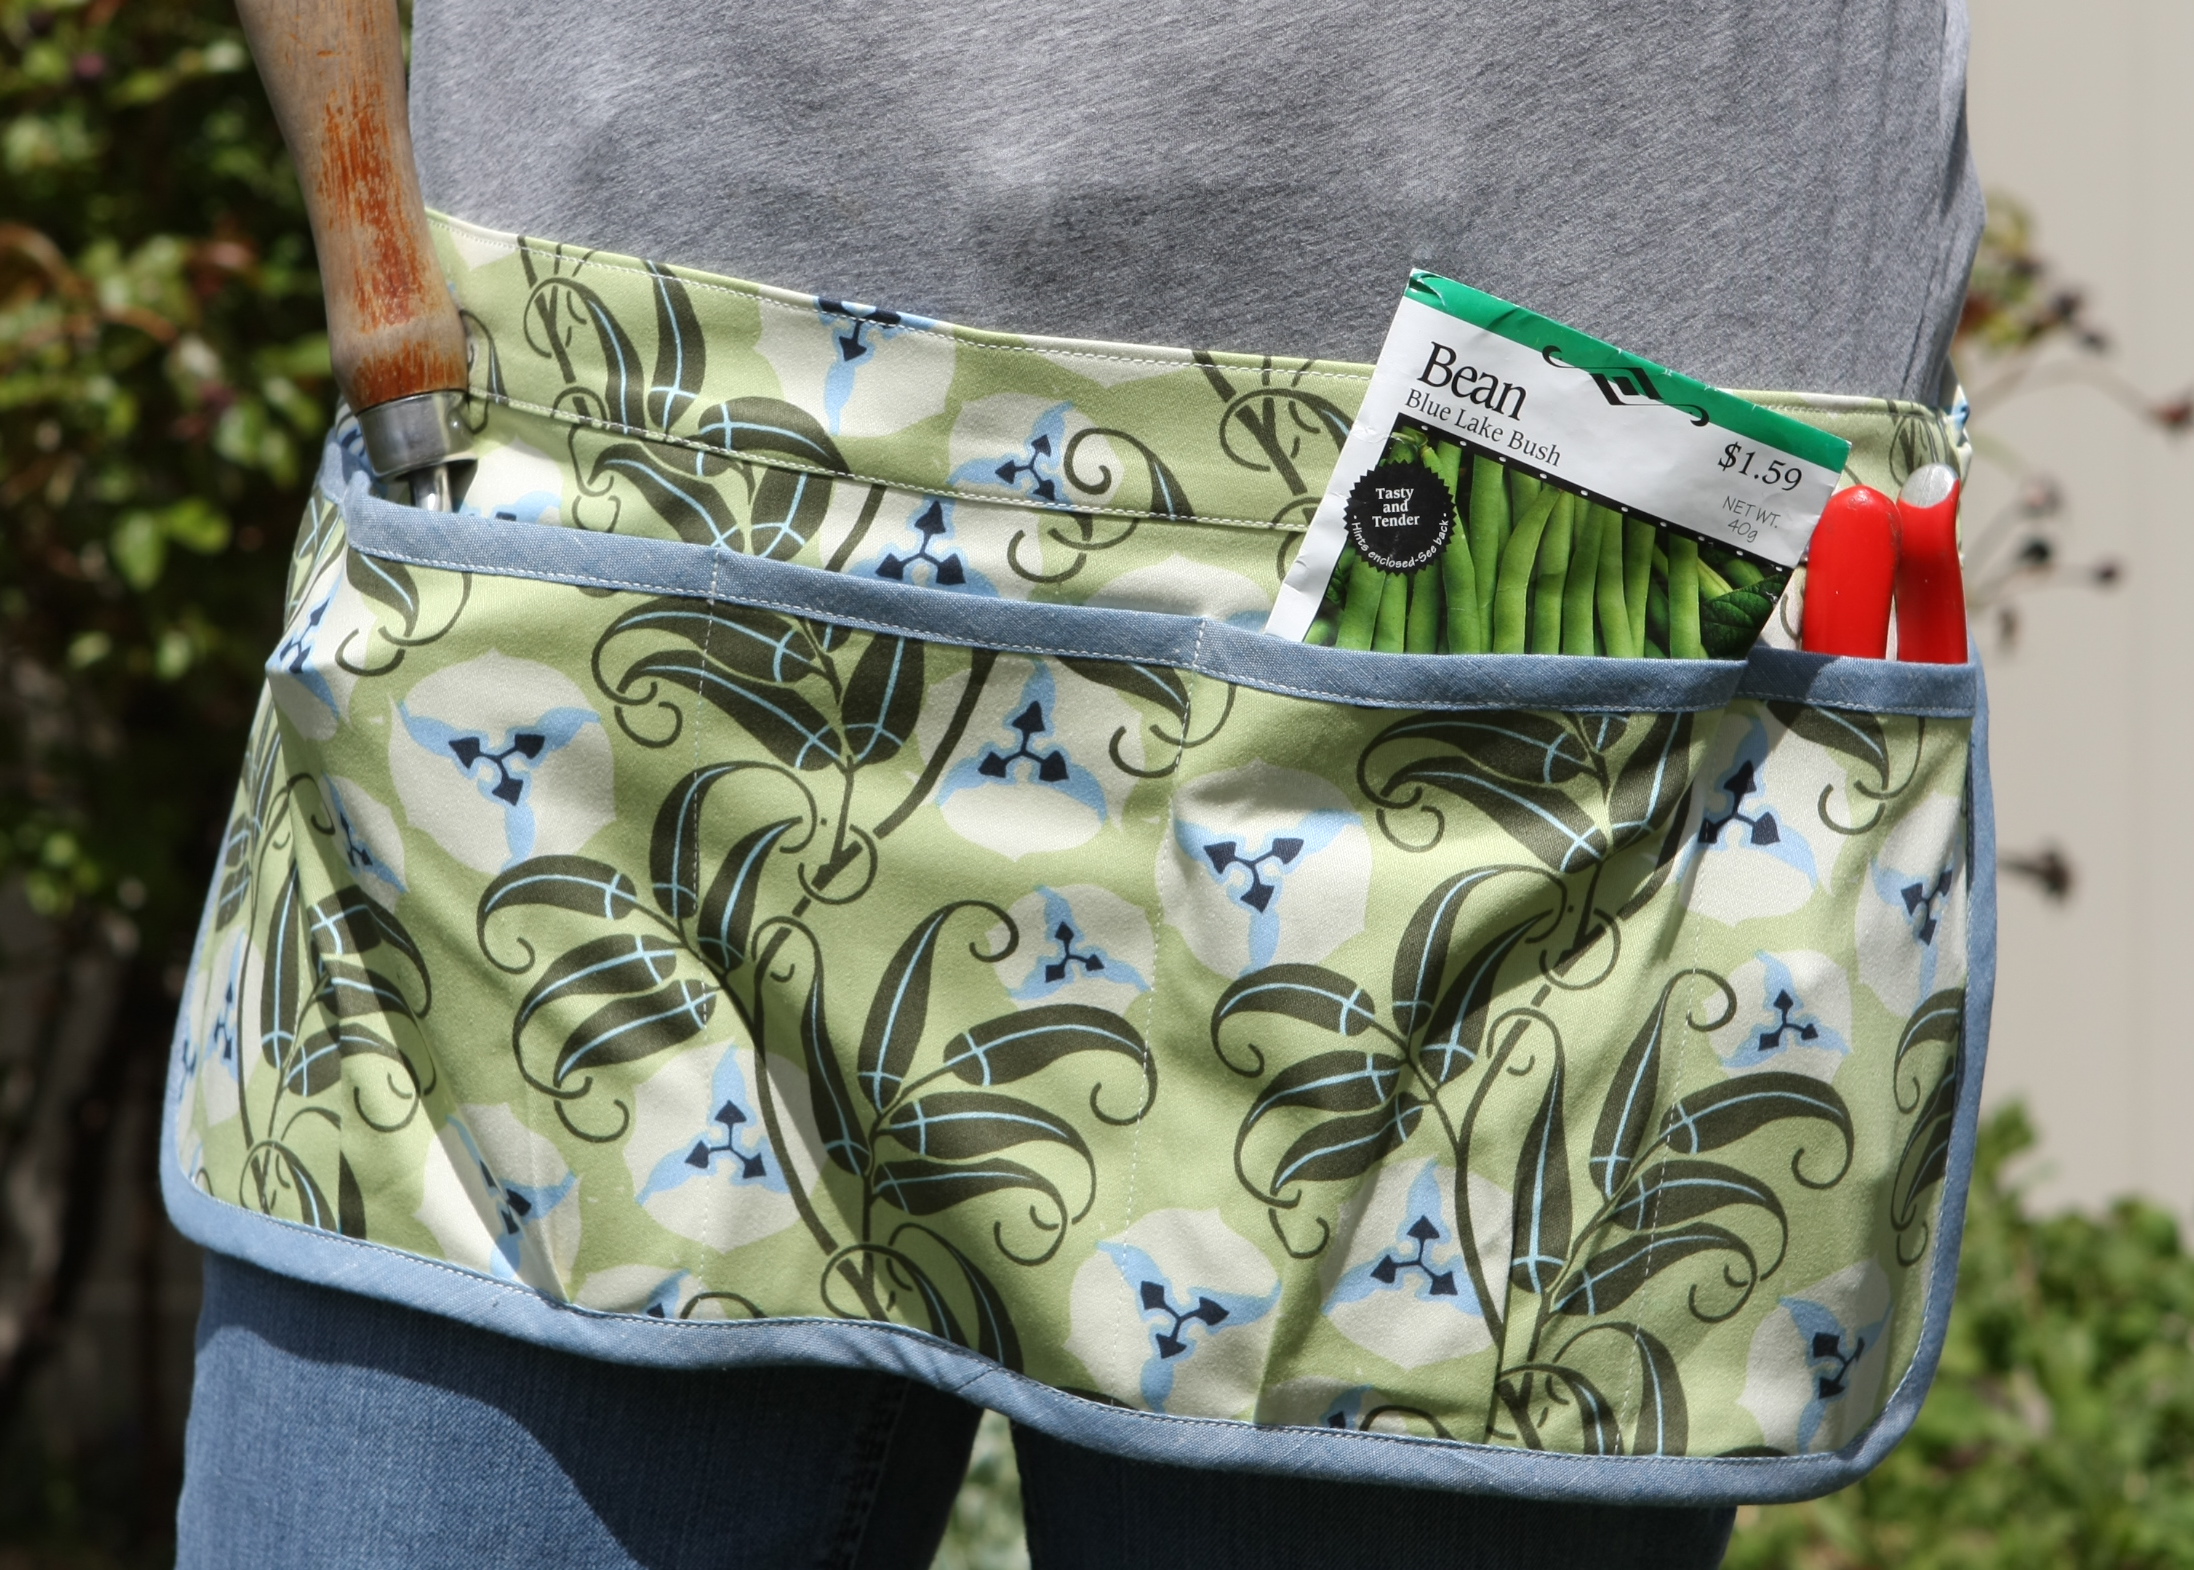
Hurray, I finally finished this post!  Making this apron was so much easier than writing about it.  How many times can you get interrupted, I ask you?  And still keep your head in the game?  But all’s well that ends well.  So here’s my apron tutorial.

This apron is just perfect for the garden… or for crafting, or a craft fair.  You get the picture.  It’s versatile.

And here’s how I made it:

You’ll need:

  • 1/2 yard 54″ wide home decor weight fabric, canvas, demin or something with a little weight to it.  You’ll be putting shovels in the pockets after all… lightweight isn’t going to cut it.
  • 1/3 – 1/2 yard alternate fabric for the binding.  You won’t use even close to all of this, and you can get away with less, but it’s nice to have a bigger cut of fabric to cut on the bias (a fat quarter can work great).  That way there are less seems.
  • A disappearing fabric pen.  I like the blue “erasable by water” pens.

The only thing easier than making this apron is making two at once.  And that’s what I’m doing.  I am lining my fabric up together to cut out two aprons at once.  Economy of action is where it’s at.

  • Cut one piece of fabric 21″ x 9″ for the body of the apron.
  • Cut one piece of fabric 23″ x  7″ for the pocket.
  • Cut one waistband 22″ x 4″
  • Cut two ties 4″ wide x 26″ – 30″ (is a good range depending on the size of the person)
  • Cut 2″ strips on the bias to make bias tape.  You’ll need approximately 70″ of tape… you can buy it pre-made in solid colors.  I always make my own using my handy dandy Clover Bias 1-Inch Tape Maker (a must have tool for anyone who wants to make aprons… and many other fun projects too.)

I’m cutting out my fabric for the bias tape on the bias (at a 45 degree angle)(thus the name).  Cutting on the bias makes your bias tape stretchy, so it will go around corners like a champ.

Next stitch your strips together as shown in the picture, right sides together.  When you press your seam open, it will make a nice long strip.  You need this strip to measure approximately 70″ long.

Feed your strip into your Clover Biased Tape maker and press as it’s coming out the other side.   Voila, instant bias tape.  Well not instant.  But close enough.

Fold in half and press.  Notice how the bottom is a bit wider than the top.  That’s on purpose.  When I stitch the bias tape onto the apron, I stitch on the top, which is obviously what shows, so you want it to be perfect.  If the bottom is a bit wider, you’ll never miss catching the edge.

Now that your biased tape is ready, set it aside.

I cut rounded corners at the bottom of the apron.  There’s nothing high tech here.  I simply used a cup and my marking pen to trace a rounded corner.  Be sure to round both the bottom corners of the apron body and the pocket.

(Sorry about the two different fabrics in the photos, I hope it’s not confusing.  Since I was making two, I was cutting them out all at once.  The rest of the tutorial should be consistent.)

Next, using your disappearing pen, mark the lines for the pocket dividers.  The great part about the pocket divisions is they can adjusted to suit your needs.

Here’s how I marked my dividers working from right to left, each mark is measured from the last mark.  The first mark was at 4″, the next was 5″, the next was 4″, the next 5″, the next 2 1/2, which makes the last two pockets 2 1/2″ wide.

For the two pockets that are 5″, I placed two 1/2 pleats at the bottom which I marked 1 1/2″ in from each side.

Phew… I hope that all made sense.  Give me a shout out if it doesn’t!

Here’s what a few of the divider marks look like.

Now that all your marking is done, stitch the bias tape to the top edge of the pocket.

When stitching on the bias tape, I move my needle position all the way over to the left.  So it’s easy to stitch cleanly close to the edge of the tape.

Time to pin the pleats.  Once they are pinned, the pocket should be exactly the same size as the body of the apron.  Pin the pocket to the body of the apron.

Stitch around the outside of the pocket.  I stitched around a second time for good measure, I’ll be putting a trowel in these pockets after all.

Stitch the dividers of the pocket, being sure to back stitch several times at the top.

Pin the binding around the sides and bottom of the apron.

Stitch into place.

Now for the straps.  I’ve pressed my fabric in half, right sides together.  And since I like a strap that comes to a point, I’m cutting the end at a 45 degree angle.

Using a 1/4″ seam, stitch around the strap, leaving the end open.

Be sure to clip the corners.

I love a good chopstick to help me turn the straps.  I’m the first to admit, it’s a pain in the rear to turn these thin straps, but the finished look is the nicest, so it’s worth it.  Once turned, press well.

And I added a little tuck to the end of the strap.  Repeat the whole process with the other strap.

Pin the straps into place at the top of the apron.  Stitch into place.  Be sure to really reinforce this stitching, it’s going to take a lot of weight.  I stitched in a box shape, then stitched an “X” in the center of the box.

In the picture you can see the waist band already in place at the back of the apron.  Ignore that.  I stitched in place on the first apron and decided it was better to stitch the straps on before I put on the waistband.  It’s just cleaner.

Turn and press a 1/4 seam down the edges of the waistband.

Fold in half and press, wrong sides together.

Fold in about a 1/4″ seam at each end and press well.

Pin the waistband along the top of the apron and stitch into place along the edge.  I even stitched along the top edge to give the apron a nice finished look.

And it’s finished.  I can hardly wait to get out into the garden in my new apron.  This one is for my mother-in-law, but the orange flower apron is for me.  It’s very stylish… and best of all very functional.

Cinco de Mayo Chicken Enchiladas

Does anyone really know what the heck Cinco de Mayo is?

Well I do… now… I just Googled it a few minutes ago.  But other than celebrating the Mexican victory against the French in 1862, Cinco de Mayo has always been the perfect excuse to eat great Mexican food.  And oh, how I love great Mexican food.

These enchiladas aren’t really authentic.  They are what you might call Mexican inspired- but they are so delicious.

For years I’ve had a recipe for chicken enchiladas in a cheesy white sauce.  They are very fattening and have no veggies other than onion.  They are yummy, but it’s hard to justify ever making them.

When my friend Kate mentioned her favorite chicken enchilada recipe had spinach, sweet red bell pepper and corn, I couldn’t wait to make them.

And after making them several times and changing up the recipe to suit my tastes, I also have my new favorite chicken enchilada recipe.

Here’s the recipe:

Chicken Enchiladas

  • 4 boneless, skinless chicken breasts
  • ½ cup Italian dressing (not low fat)
  • Salt and lemon pepper to taste
  • 1 tbsp. olive oil
  • 1 medium onion, chopped
  • 1 sweet red bell pepper, chopped
  • 1½ cups frozen corn
  • 1- 4 oz. can mild green chilies, drained
  • 3 cups rough chopped fresh spinach
  • 1- 8 oz. package light or fat free cream cheese
  • 16 oz. jalapeño jack cheese, shredded  (regular jack cheese may be substituted in part or whole for less spicy enchiladas)
  • 1 package flour tortillas (I use medium-sized)
  • 1 16 oz. can Hatch’s Mild Red Enchilada Sauce
  • 1 tbsp. brown sugar

Pour Italian dressing over chicken breasts and let marinate in the refrigerator for about 2 hours.  Sprinkle chicken breasts with salt and lemon pepper and grill until cooked through- about 7 minutes a side.  Let stand about 10 minutes and chop into bite-sized pieces.

Heat a large frying pan (one with a lid) over medium-high heat, add olive oil and onions and cook for about 2 minutes.  Add red pepper and cook for about 2 more minutes.  Add frozen corn.  Add chicken and green chilies.  Add the spinach and cook until is just starts to wilt.

Stir in the cream and jack cheese(s).  Cover pan with a lid and remove from heat immediately.  Set aside for several minutes while the cheeses melt.  Remove lid and stir well to blend.

Preheat oven to 350 degrees.  Spray a 9×13 casserole dish with cooking spray.  Fill tortillas with chicken mixture, roll and line up in casserole dish.  Makes approximately 10 enchiladas depending on how full you stuff them and the size of your tortillas.

Bake at 350 degrees for 15 minutes.  While enchiladas are cooking, heat enchilada sauce with brown sugar in a small saucepan.    Remove enchiladas from oven, the tortillas should be getting a little crispy.  Pour sauce over enchiladas and return to the oven for about 10 minutes or until cheeses are hot and bubbly.

Click over to my Tasty Kitchen Recipe Box for the printable recipe.

Here’s the step by step:

Marinate chicken for a couple of hours in Italian salad dressing.  Don’t use a light or fat free dressing.

Sprinkle with salt and lemon pepper before grilling.


And grill up the chicken about 7 minutes per side until cook through.  Set chicken aside to cool.

Chop up the onion.

And the sweet red bell pepper.  Also chop up the spinach.  Be sure to be generous with the spinach.  I used 3 heaping cups of already chopped spinach because when it wilts it shrinks to almost nothing.

Now is a great time to shred your cheese.  The cheese will determine how spicy your enchiladas will be.  I you like them spicy, use 16 oz. of pepper jack cheese.  If you want totally mild enchiladas just use jack cheese.  I compromise and use 8 oz. of pepper jack and 8 oz. of jack.  That way I can get my kids, who like things medium spicy to eat the enchiladas.

I’m having Emma shred all the cheese in my food processor.  It’s so fast!  I also wanted to show off her gap tooth.  She didn’t loose that darn tooth until Saturday!

In a large skillet (one with a lid) heat oil over medium-high heat.  I’m using my favorite chef’s pan.  Add onion and cook for a couple of minutes.

Toss in the sweet red bell pepper and cook a couple more minutes.

Add the frozen corn.  I don’t bother thawing it before tossing it in.  It will splatter a bit, but not too bad.  I also season with a bit of salt and pepper at this point.

In the meanwhile, chop up the chicken into bite-sized pieces.  And toss it into the pan.

Add in the green chilies with the chicken.  I started to add the spinach when I remembered the chilies… but normally I’d add it in with the chicken.  Even when you make a mistake, it’s all good.

Now add the spinach.  Stir it in and cook until it just starts to wilt.

Next comes the cheeses.  I used light cream cheese instead of the fat-free the original recipe calls for.  The light was on sale for .99 cents and the fat free was $2.50.  And darn it all, the light tasted a lot better.  Fat equals flavor sometimes.  You can use either… they’re both good really.  Full fat would probably taste awesome, but I’m not going there.

Stir in the jack and cream cheese to the pan.  Cover with the lid and immediately remove from the heat.

Let it sit for a couple of minutes while the cheeses melt.

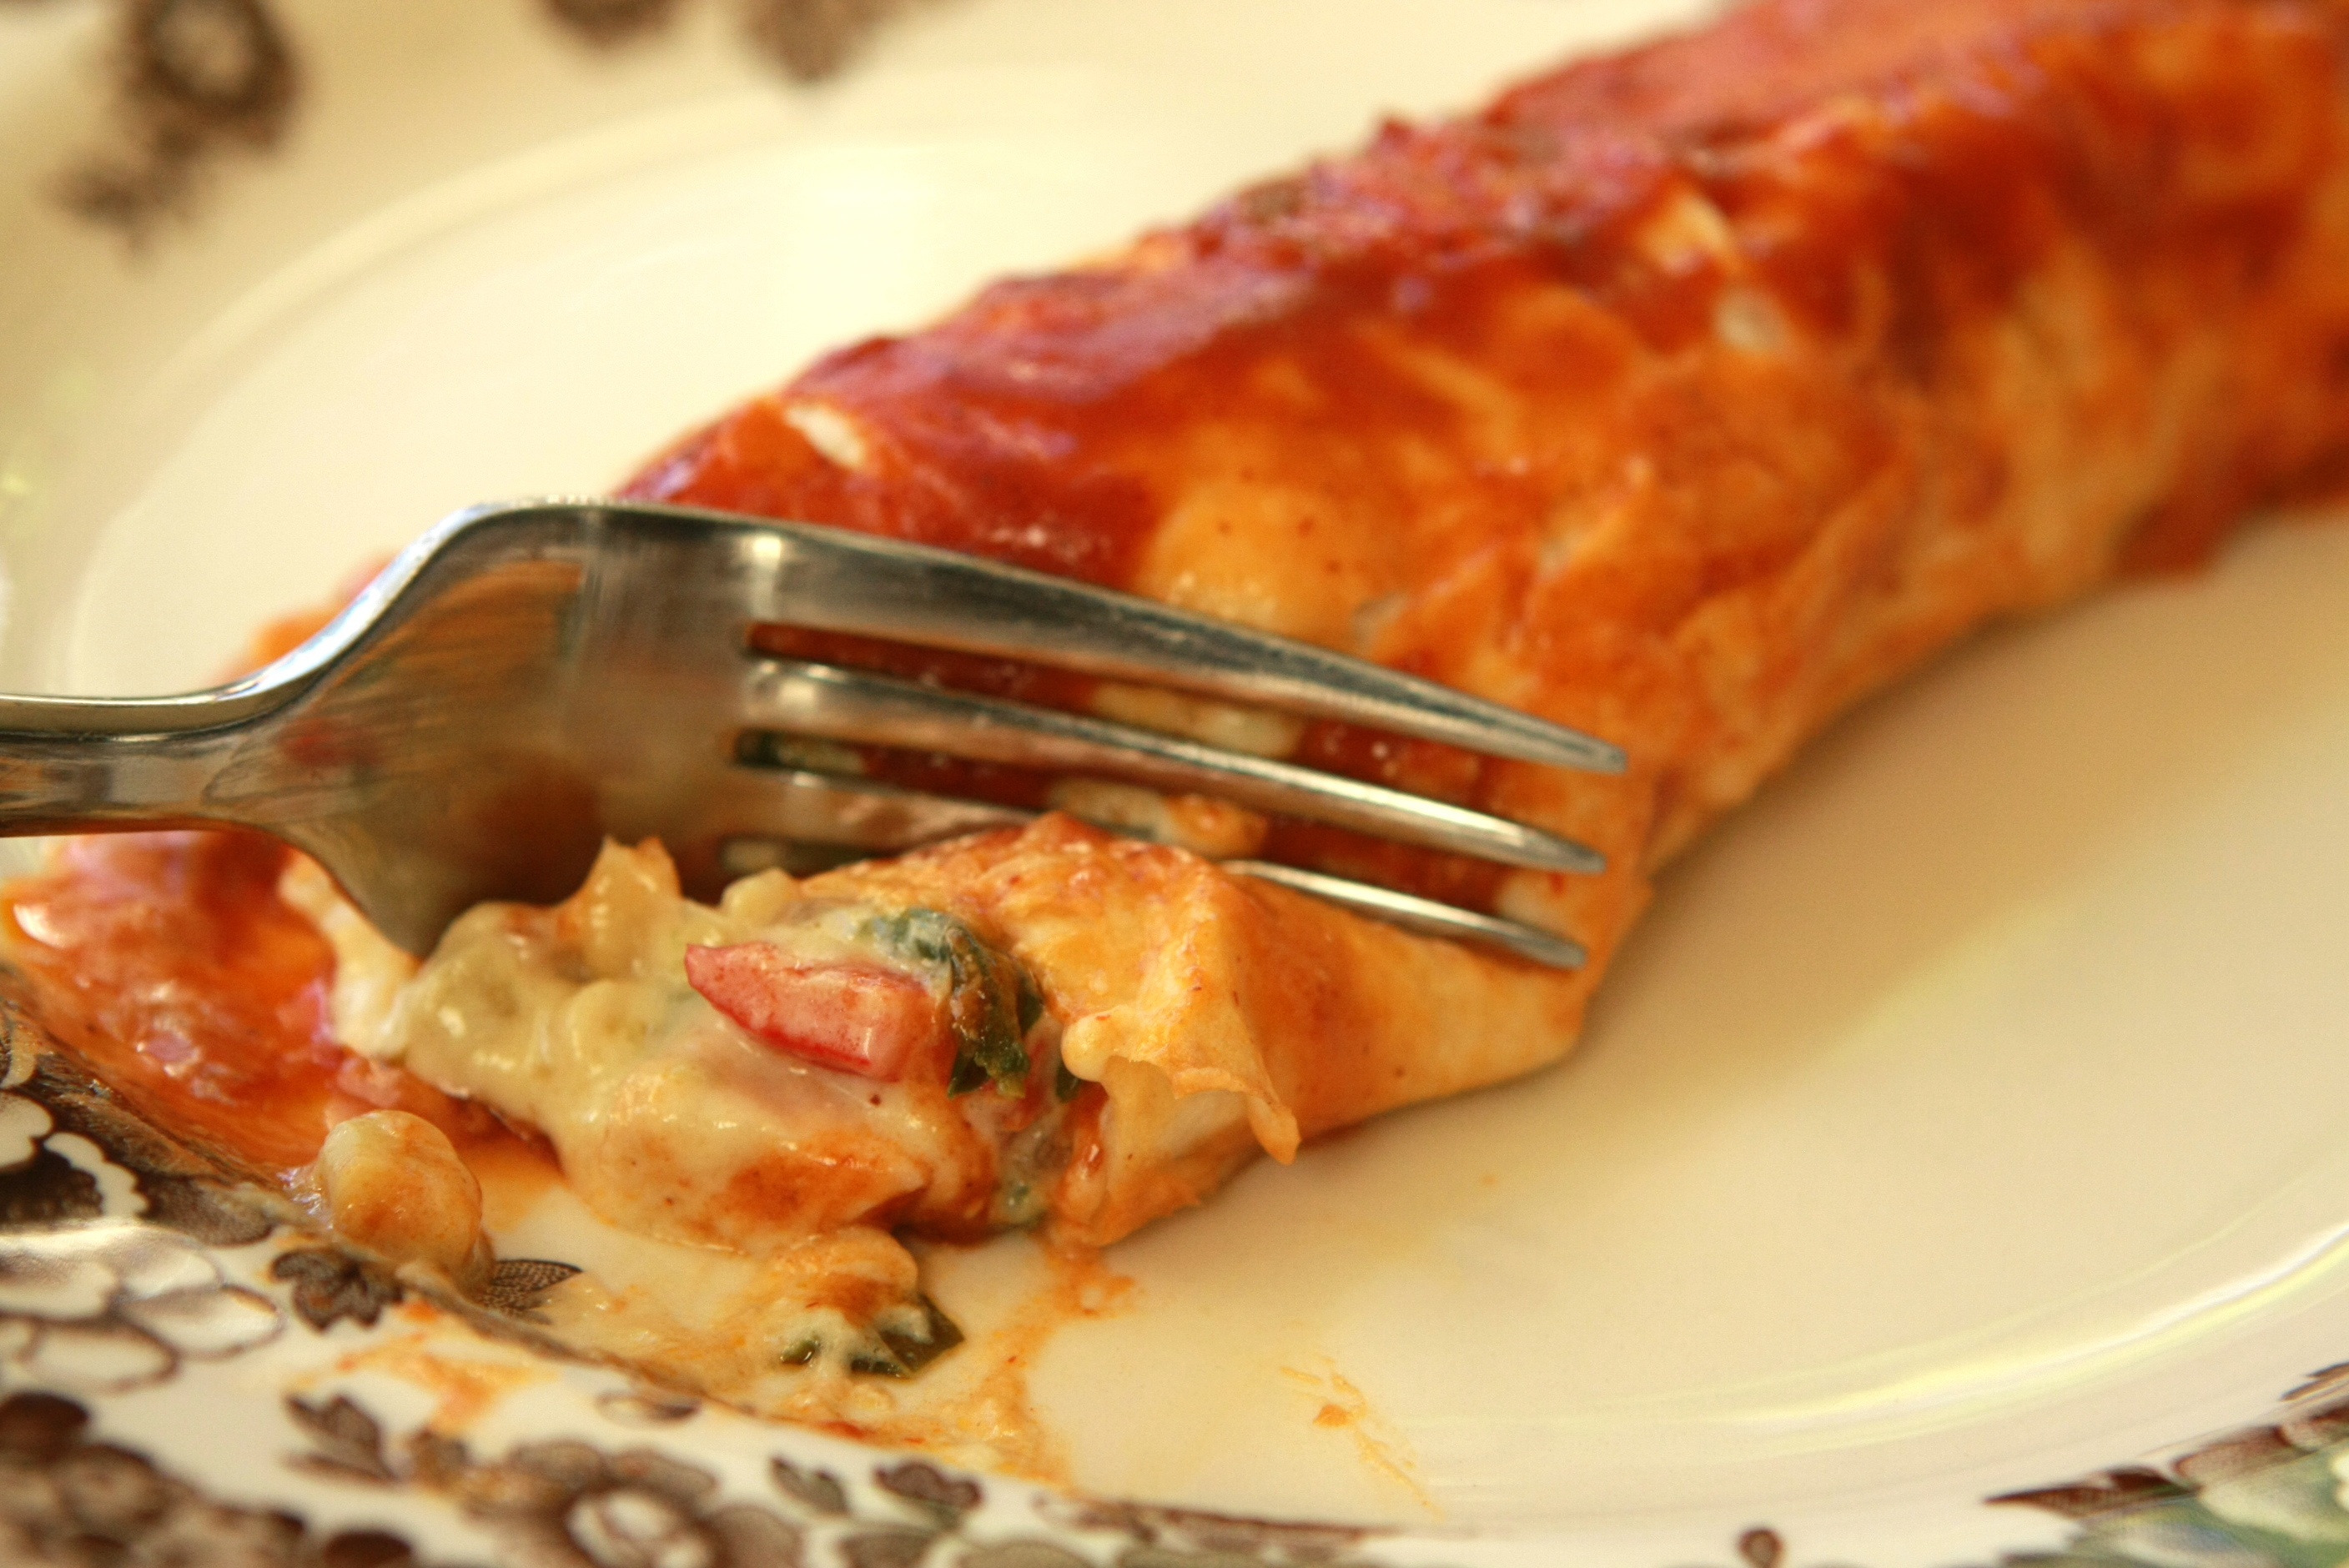
Remove the lid and stir it all together until it’s well combined.   This is crazy yumminess folks.

Time to preheat the oven to 350 degrees.  Also spray your 9×13 casserole dish with cooking spray.  I love my Pyrex pan for these.  If you use a Pyrex and medium sized tortillas, they fit perfectly across the width.

Fill the tortilla with a generous scoop of the chicken mixture.  Roll up the enchilada.

Line them up in the pan.  I’m pretty generous with my filling, and I get 10 enchiladas.

Toss the enchiladas into a 350 degree oven for 15 minutes.

While they’re cooking, make the sauce.  You may choose to use any brand of enchilada sauce, but Hatch’s sauce taste the best.

Toss in a tablespoon of brown sugar.  You can even use 2 tablespoons if you prefer a sweeter sauce.  Heat in a small saucepan.

When the enchiladas come out of the oven, the tortillas should be starting to get crisp.  Pour the enchilada sauce over the top and toss them back into the oven for another 10 or so minutes, until the cheeses are hot and bubbly.

Once out of the oven give them about 10 minutes or so to cool before serving.  It gives them a chance to set up a bit.

This dish is so yummy, it’s great for anytime.  Serve it up with Pioneer Woman’s Mexican Rice and a small green salad with corn, black beans, cilantro and jicama.   Feliz Cinco de Mayo!  Is that correct Spanish?  I’m not sure.  But enjoy anyway.

Archives


Virtual Quilting Bee