Posts Tagged ‘make it do’
Homemade Rolls for Thanksgiving
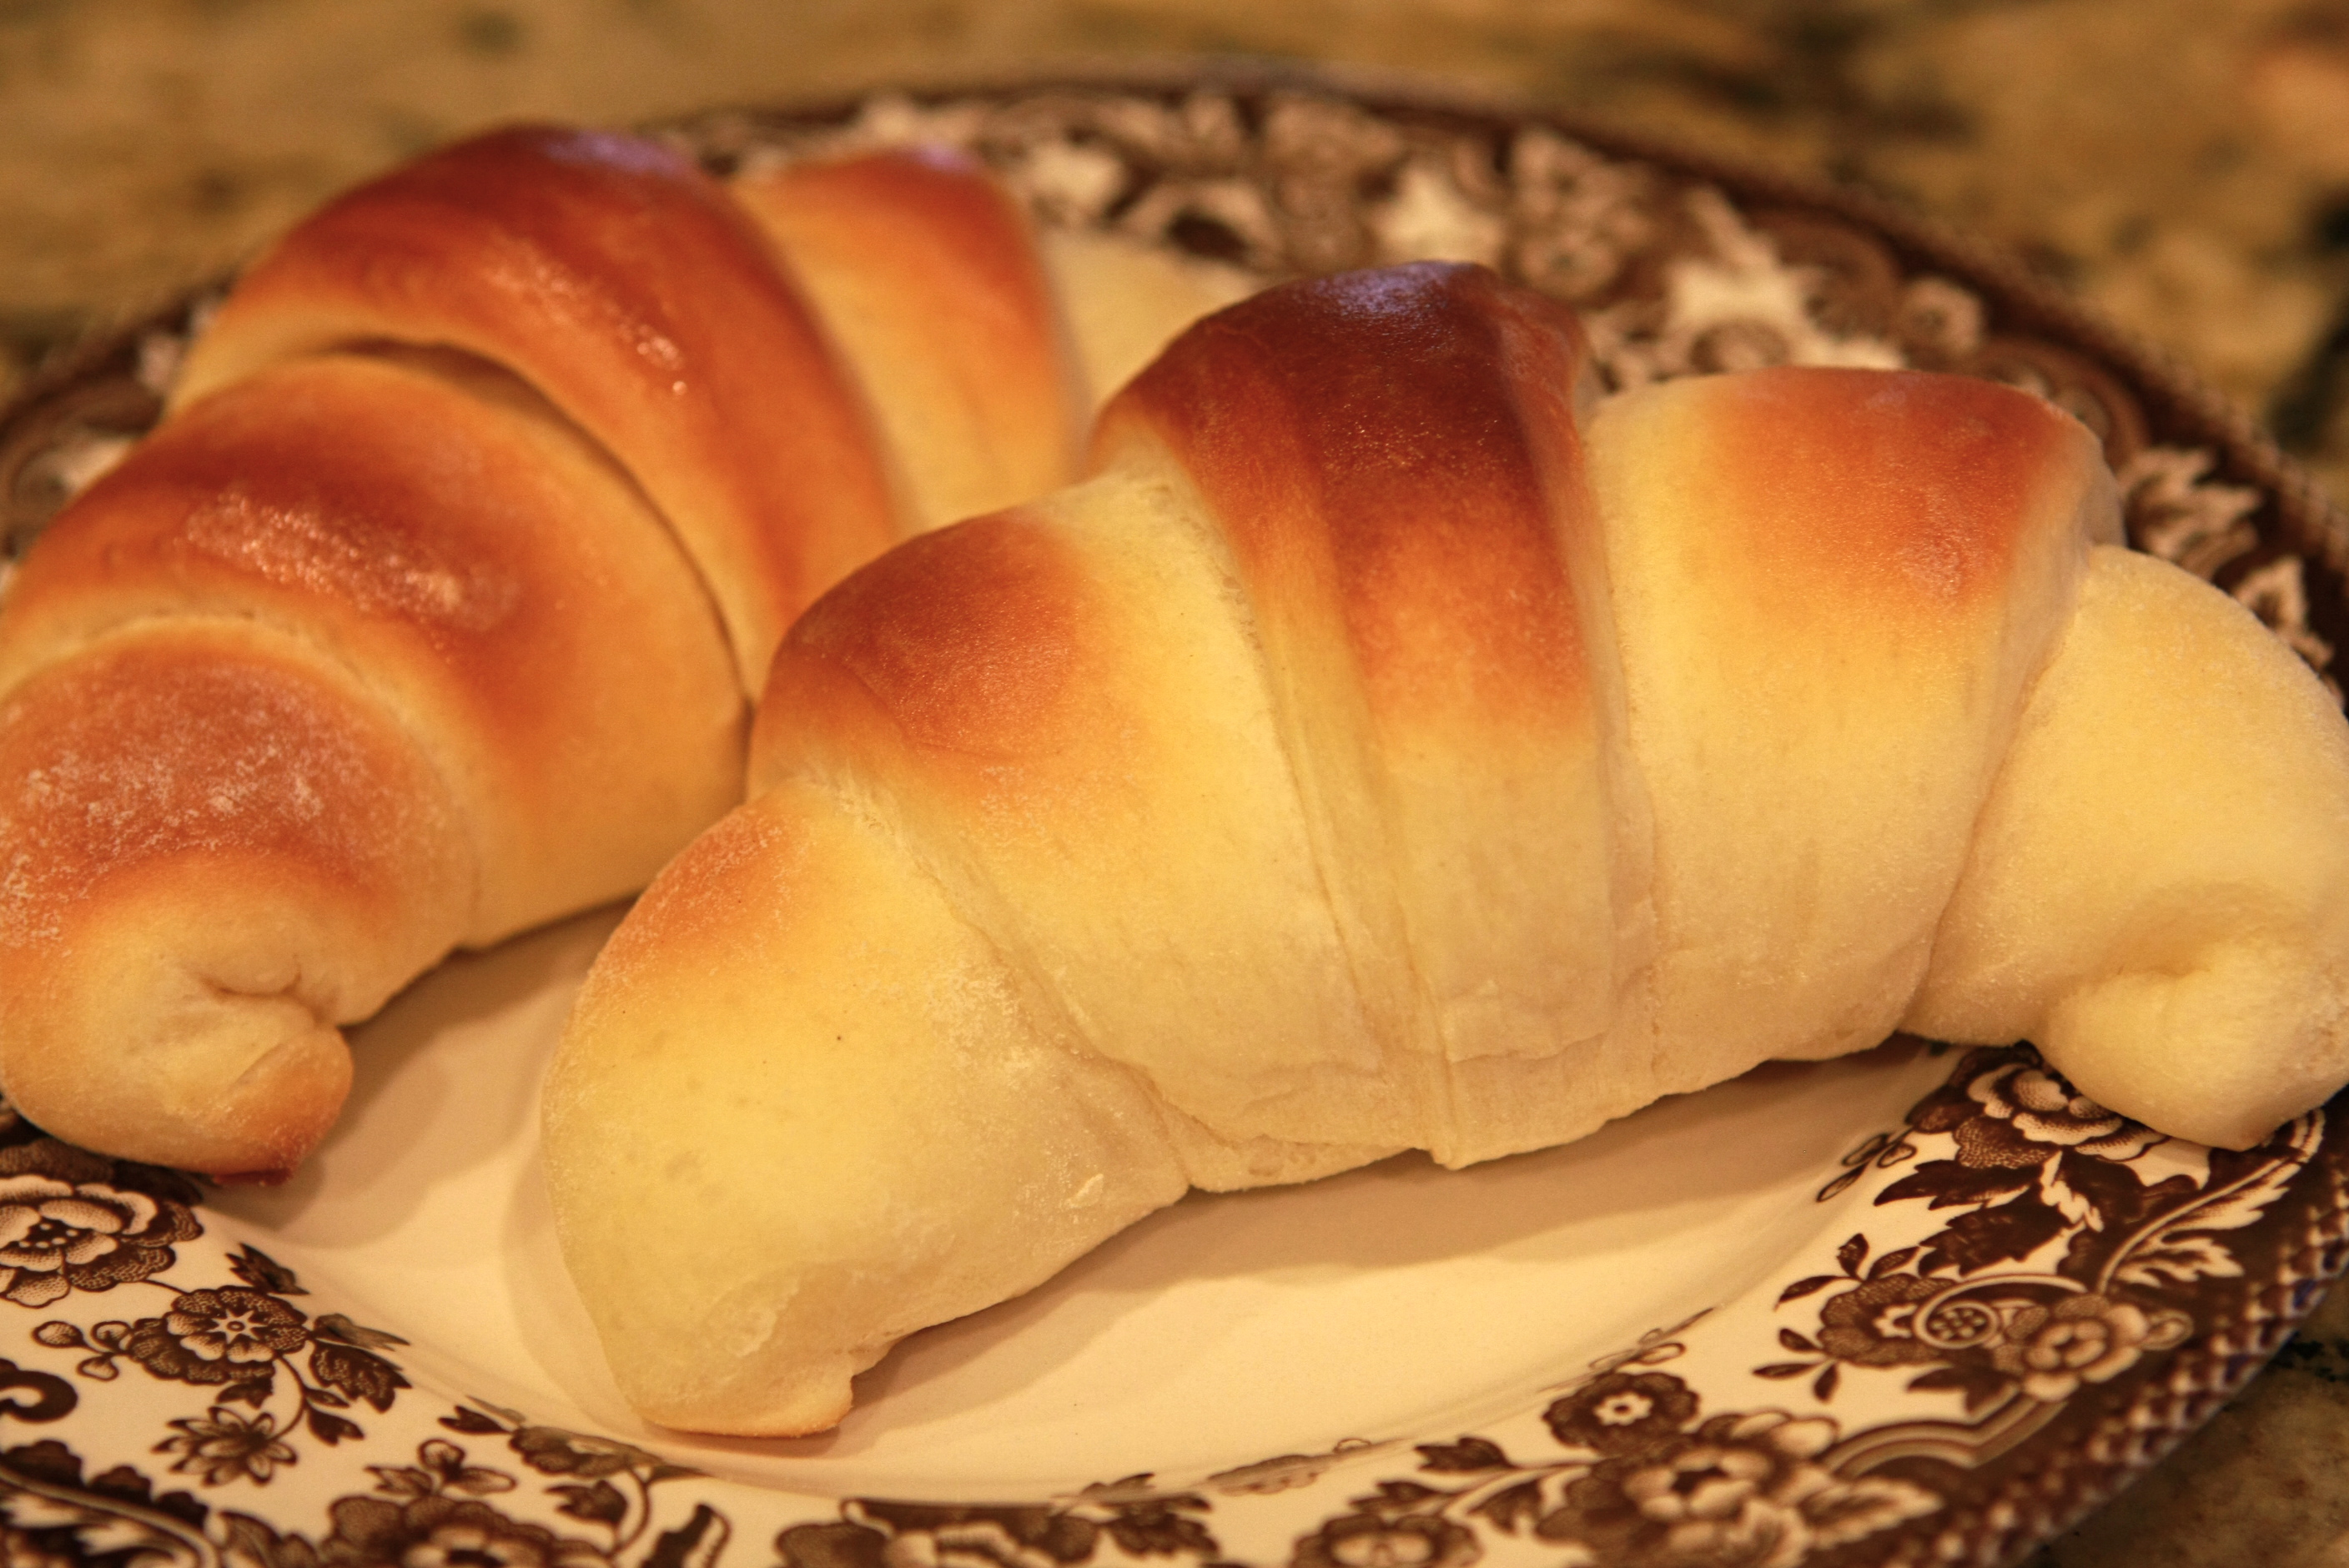
One of the things that really seems to daunt home cooks is making homemade rolls. But many recipes are actually quite easy, and there is nothing quite so good as hot rolls right out of the oven.
This recipe for crescent rolls has been a staple at my family’s Thanksgiving table for many years. They are light and the crescent shape is elegant enough for a special occasion.
Here’s the recipe:
Mom’s Crescent Rolls
- 2 Tbsp. dry active yeast
- 1/2 cup warm water
- 1/2 cup butter
- 1 cup milk
- 1/2 cup sugar
- 1 tsp. salt
- 3 beaten eggs
- 4 1/2 to 5 1/2 cups all-purpose or bread flour
Click here for the printable recipe on Tasty Kitchen.
Here’s how to make these yummy rolls:
1. Combine warm water with 2 tablespoons dry active yeast. One of the important tips to successful yeast breads is getting the liquid temperature right to activate the yeast. Think baby bottle warm. If you are unsure, check the temperature with a candy thermometer, it should be approximately 110-115 degrees. Take a look at the picture above, the yeast is really bubbling and activated.
2. In a separate larger bowl, combine one cup milk with 1/2 cup butter (one cube.) Heat in the microwave until butter is melted. You can also do this step in a small saucepan on the stove top. Allow the mixture to cool.
3. Stir 1/2 cup sugar, 1 tsp. salt and 3 beaten eggs into milk/butter mixture.
4. Add yeast mixture and stir to combine.
5. In a stand mixer fitted with a dough hook, add 4 1/2 cups of flour.
6. Pour liquids into the mixture and mix until smooth. If the mixture is too sticky, add up to 1 cup of flour until dough starts pulling away from the sides of the bowl. (Dough will still be a bit slightly sticky, but manageable. A soft dough will produce a lighter roll.)
7. Cover bowl with plastic wrap and allow dough to rise until doubled.
8. Turn dough out onto a floured counter and cut into two equal pieces. Form into two balls.
9. Roll dough out into a 16 to 17 inch round.
10. Using the back of a spoon, spread very soft butter onto the dough round.
11. Cut round into 16 pieces, like a pizza. (for larger rolls, you can cut it into 12 pieces.)
It should look like this:
12. At the top of the triangle grab each corner and gently tug to stretch the dough. Then start rolling toward the point.
13. Place rolls on a cookie sheet, curving into a crescent, making sure the tip is carefully tucked under the roll (if isn’t tucked, the rolls don’t look as pretty when they are cooked. The tip can even pop up and burn.) This recipe makes 32 rolls and I use 3 cookie sheets.
14. Cover each sheet with a clean dishtowel and allow to rise for one hour.
15. Bake for 10 minutes in a 400 degree oven.
16. When rolls come out of the oven brush them lightly with butter. This keeps them moist and delicious.
I’ve eaten four of them today… that’s the only problem with these rolls, I can’t say no to them.
Make it Do Gift: Peppermint Popcorn
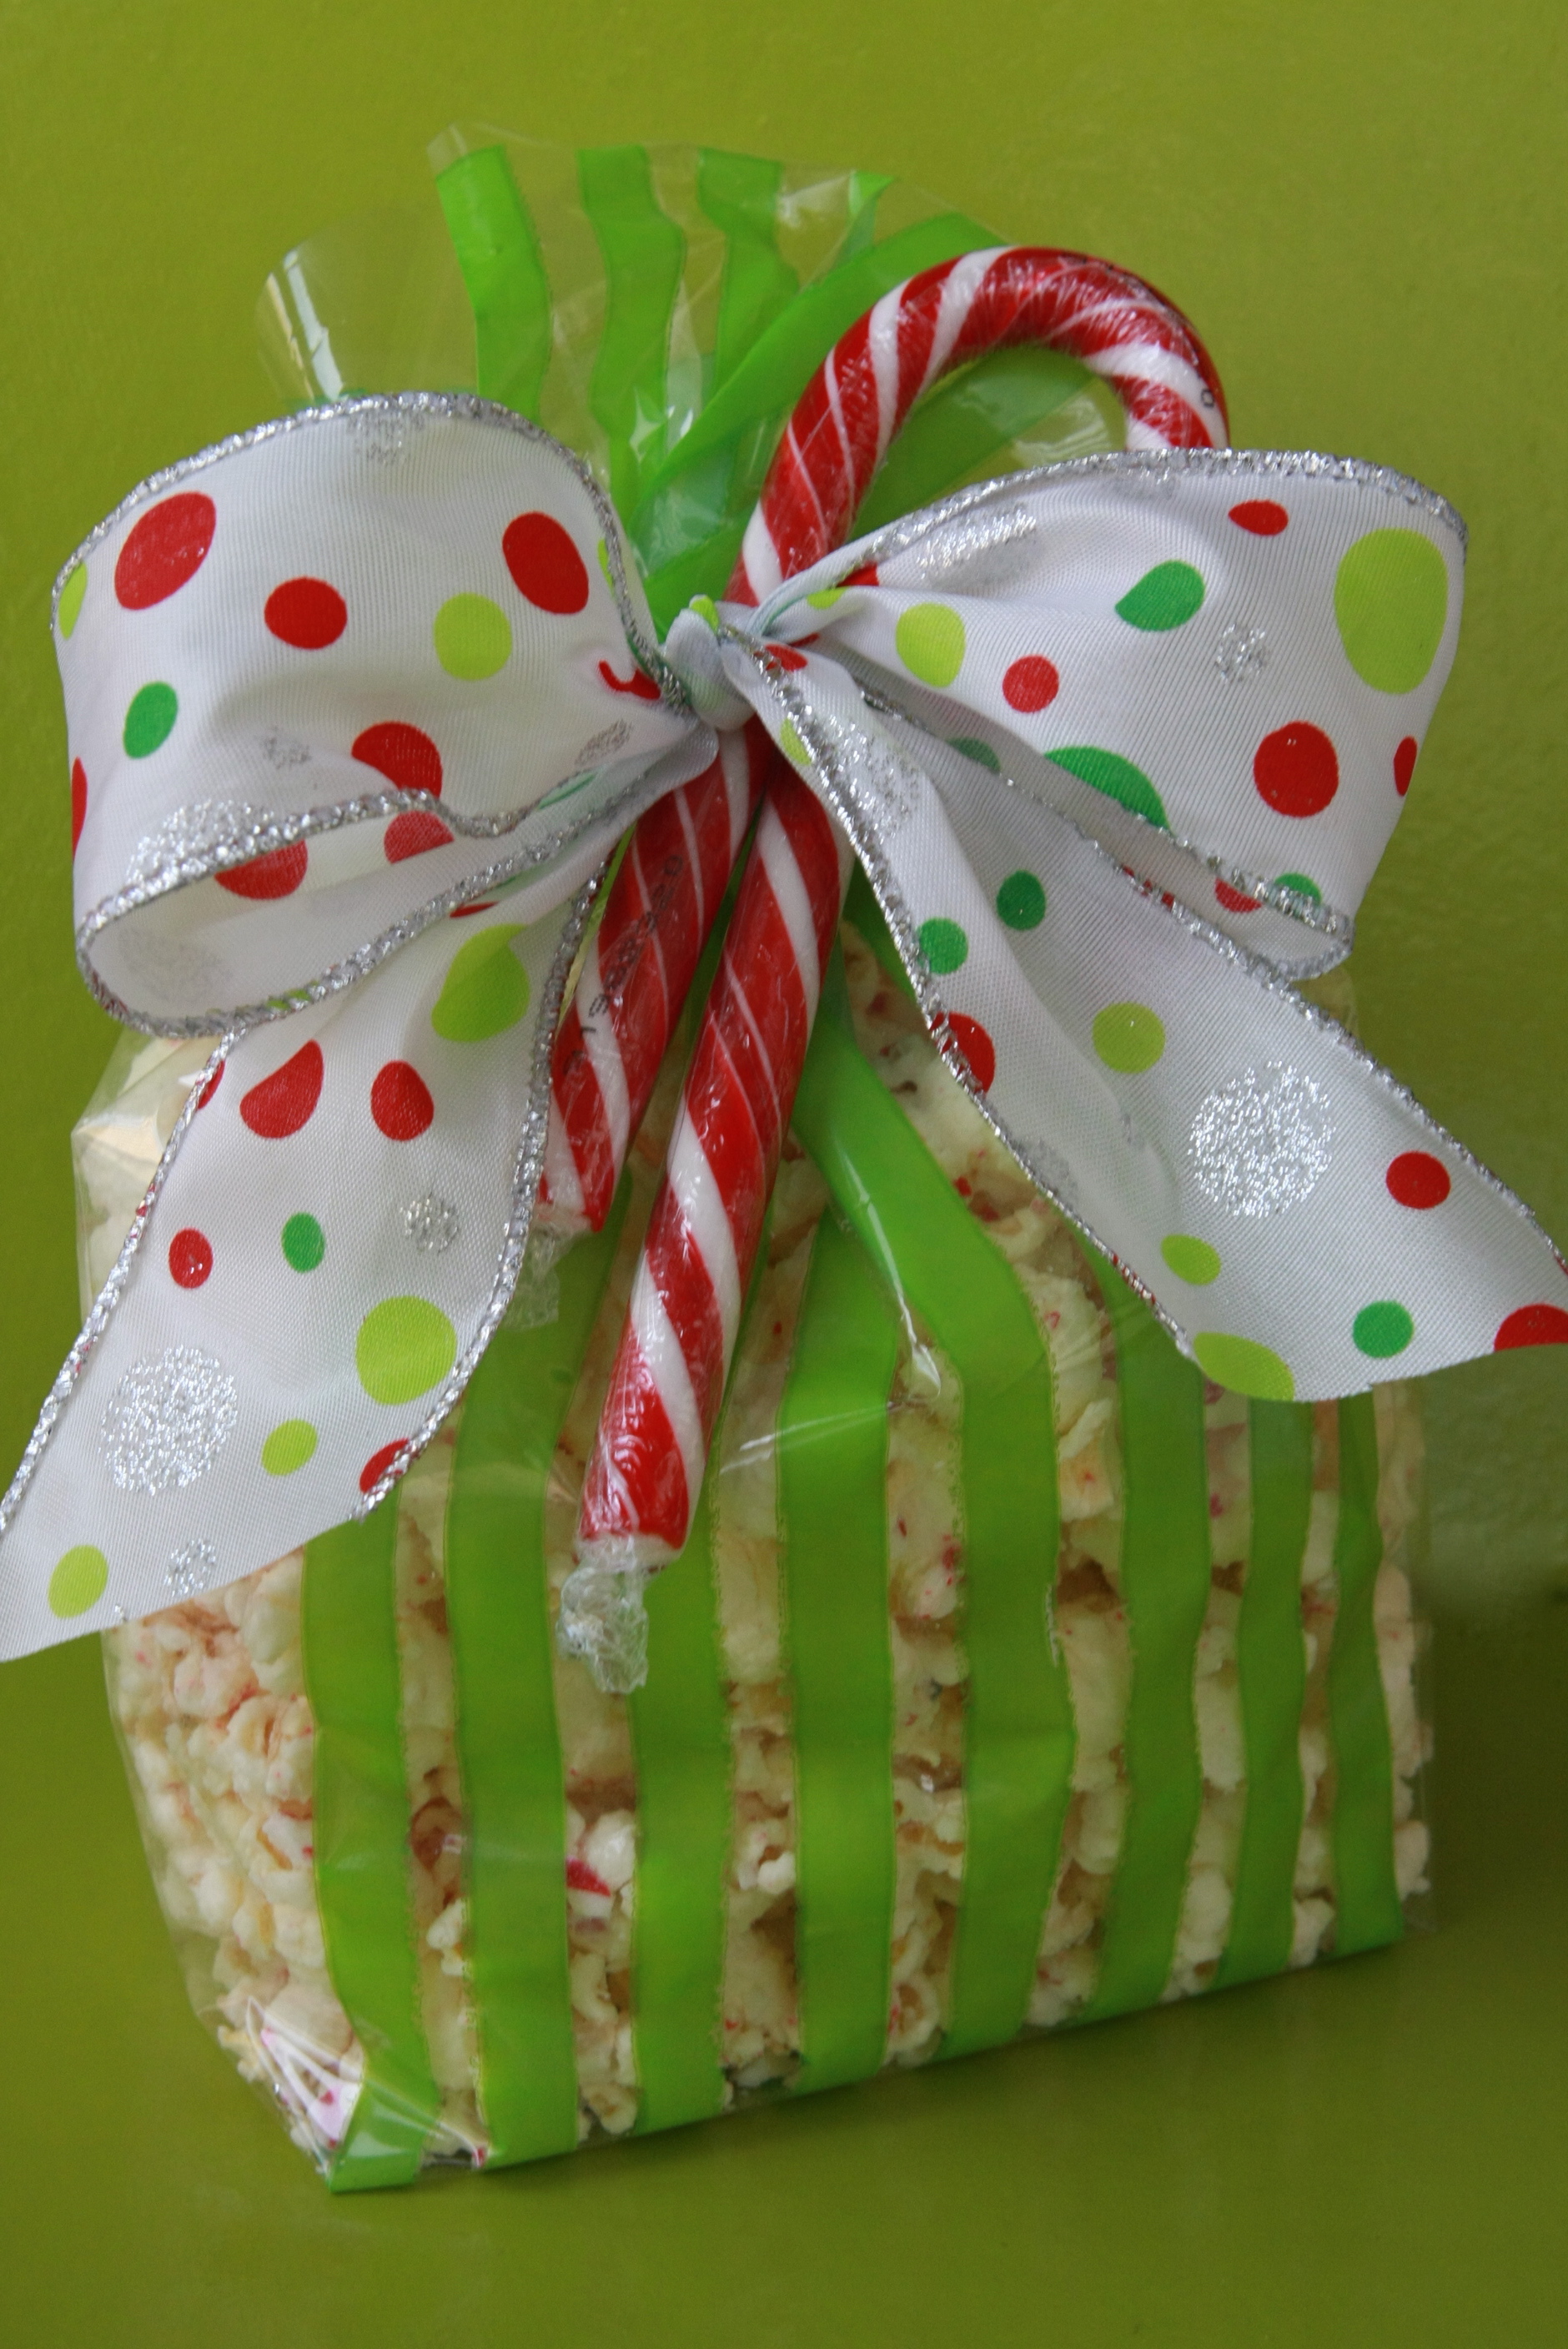
This gift idea that doesn’t cost much and is so easy to make. It’s Peppermint Popcorn. After receiving a bag for Christmas last year, my husband asked me to figure out how to make it. I took the recipe for White Chocolate Popcorn, and simply added the crushed candy cane… and the result was festive and very yummy.
Here’s the recipe:
- 1/2 cup unpopped popcorn (approx. 16 cups popped depending on your popcorn and popper)
- 2 cups white chocolate chips
- 1/2 cup crushed peppermint candy canes
- a dash of salt
- popcorn may be lightly buttered if desired
1. Start by popping 1/2 cup of popcorn. I use an air popper and 1/2 cup is the size of my measuring cup on the lid. This makes approximately 16 cups of plain popped popcorn.
2. Place peppermint candy canes or candies into a ziplock bag and using a rolling pin (or the like) finely crush. This is a great activity if you have any pent up frustrations…
3. In a heat proof bowl, carefully melt the white chocolate chips in the microwave, stirring every 30 seconds to prevent scorching. It took 1 1/2 minutes in my microwave.
4. In a very large bowl (I was wishing mine was bigger!) start drizzling the white chocolate evenly over the popcorn, then quickly sprinkle the crushed candy, and a dash of salt over the popcorn and stir vigorously to evenly coat all the popcorn before the chocolate starts to set up.
5. Once it is evenly coated, turn the popcorn out onto waxed paper in a thin layer and allow to cool.
6. When the popcorn is completely cool and dry, brake up into small pieces.
7. Now it’s ready to be put into bags or eaten (my preference.)
I used a cellophane gift sack, which is the most economical way to package your popcorn. But you could use a fun tin, gift box or colored Chinese take out box.