Hi, I’m Calli
Welcome! If you enjoy your visit, be sure to follow me:
Oh My Stars!
Canning Day Quilt

Posts Tagged ‘make it do’

Make it Do Gift: Felt Poinsettia

IMG_8361

Yesterday, my girls and I were working on a few Christmas gifts for their friends.  One thing led to another and I found myself making yet another flower pin.  This time a Poinsettia.  I loved this project and ended up making two for my girls, and plan on making more.  They are perfect as a broach or as a hair clip.

Here’s what you will need:

  • Small amount of red wool felt (I used scraps from another project.)
  • Very small amount of green wool felt (also scraps)
  • button
  • pin or hair clip
  • freezer paper
  • template  here is my simple template, but I also found this wonderful template from Kaboose.  It has a few more petals than my simple flowers, but that might look even better, here’s the link: Kaboose Poinsettia Template

IMG_8373

1.  Start by tracing your pattern onto the paper side of a piece of freezer paper.

IMG_8375

2.  Cut out your template, and place it on your wool, waxy/shiny side down.

IMG_8378

3.  Using an iron set to wool, iron on the template.  It will gently stick to your fabric.

IMG_8382

4.  Using good scissors, cut out around the template.

IMG_8385

5.  Peel the template away from the wool.  It doesn’t leave a mark.  Isn’t that cool?

IMG_8387

6.  Repeat with the smaller flower.  I just set the button down to see how it would look.

IMG_8388

7.  Cut a 1 1/4 inch circle out of red or green felt.  Cut two small slits in the circle, just wide enough to slip a hair clip through.  This is for the back of the flower, on which to attach the clip or pin.

IMG_8394

8.  Using just the bottom flower, stitch the circle around the back of the flower.  I used white thread to show the stitching better in the photo… Yah, that was it.  It wasn’t because my machine was already threaded with white and I was lazy.  That wasn’t the reason at all.  I was just thinking of you.

9.  Somehow I missed taking a picture of cutting out the green center of the flower.  I cut my green with a fluted edge, which was a little tricky and requires good scissors.  You can also cut it in a circle, but in that case, I would choose a button with a fluted edge.  I was dying to try pinking scissors, but I don’t own any.  So I just cut the fluted edge out carefully.  Sometimes you just need to make it do.  The finished green center was a 7/8 inch circle fluted.

IMG_8405

10.  Layer just the smaller top flower, with green center and button on top.  And stitch together going through all three layers.

IMG_8406

11.  Glue the bottom and top flowers together using hot glue.

IMG_8409

There’s a front and back view, with a hair clip attached.  I like that this flower is flexible, I can easily pull out the hair clip and I can slip in a broach pin to wear on a sweater, hat or scarf.

IMG_8362

Here it is pinned on a sweater…

IMG_8422

Thanks to an idea a reader told me about on Craftzine, I also thought this would make a perfect topper for a gift.  That way the wrapping is actually like giving another gift.  (Using cheap yarn is much, much cheaper than ribbon!)


Chocolate Pecan Pie

IMG_8283

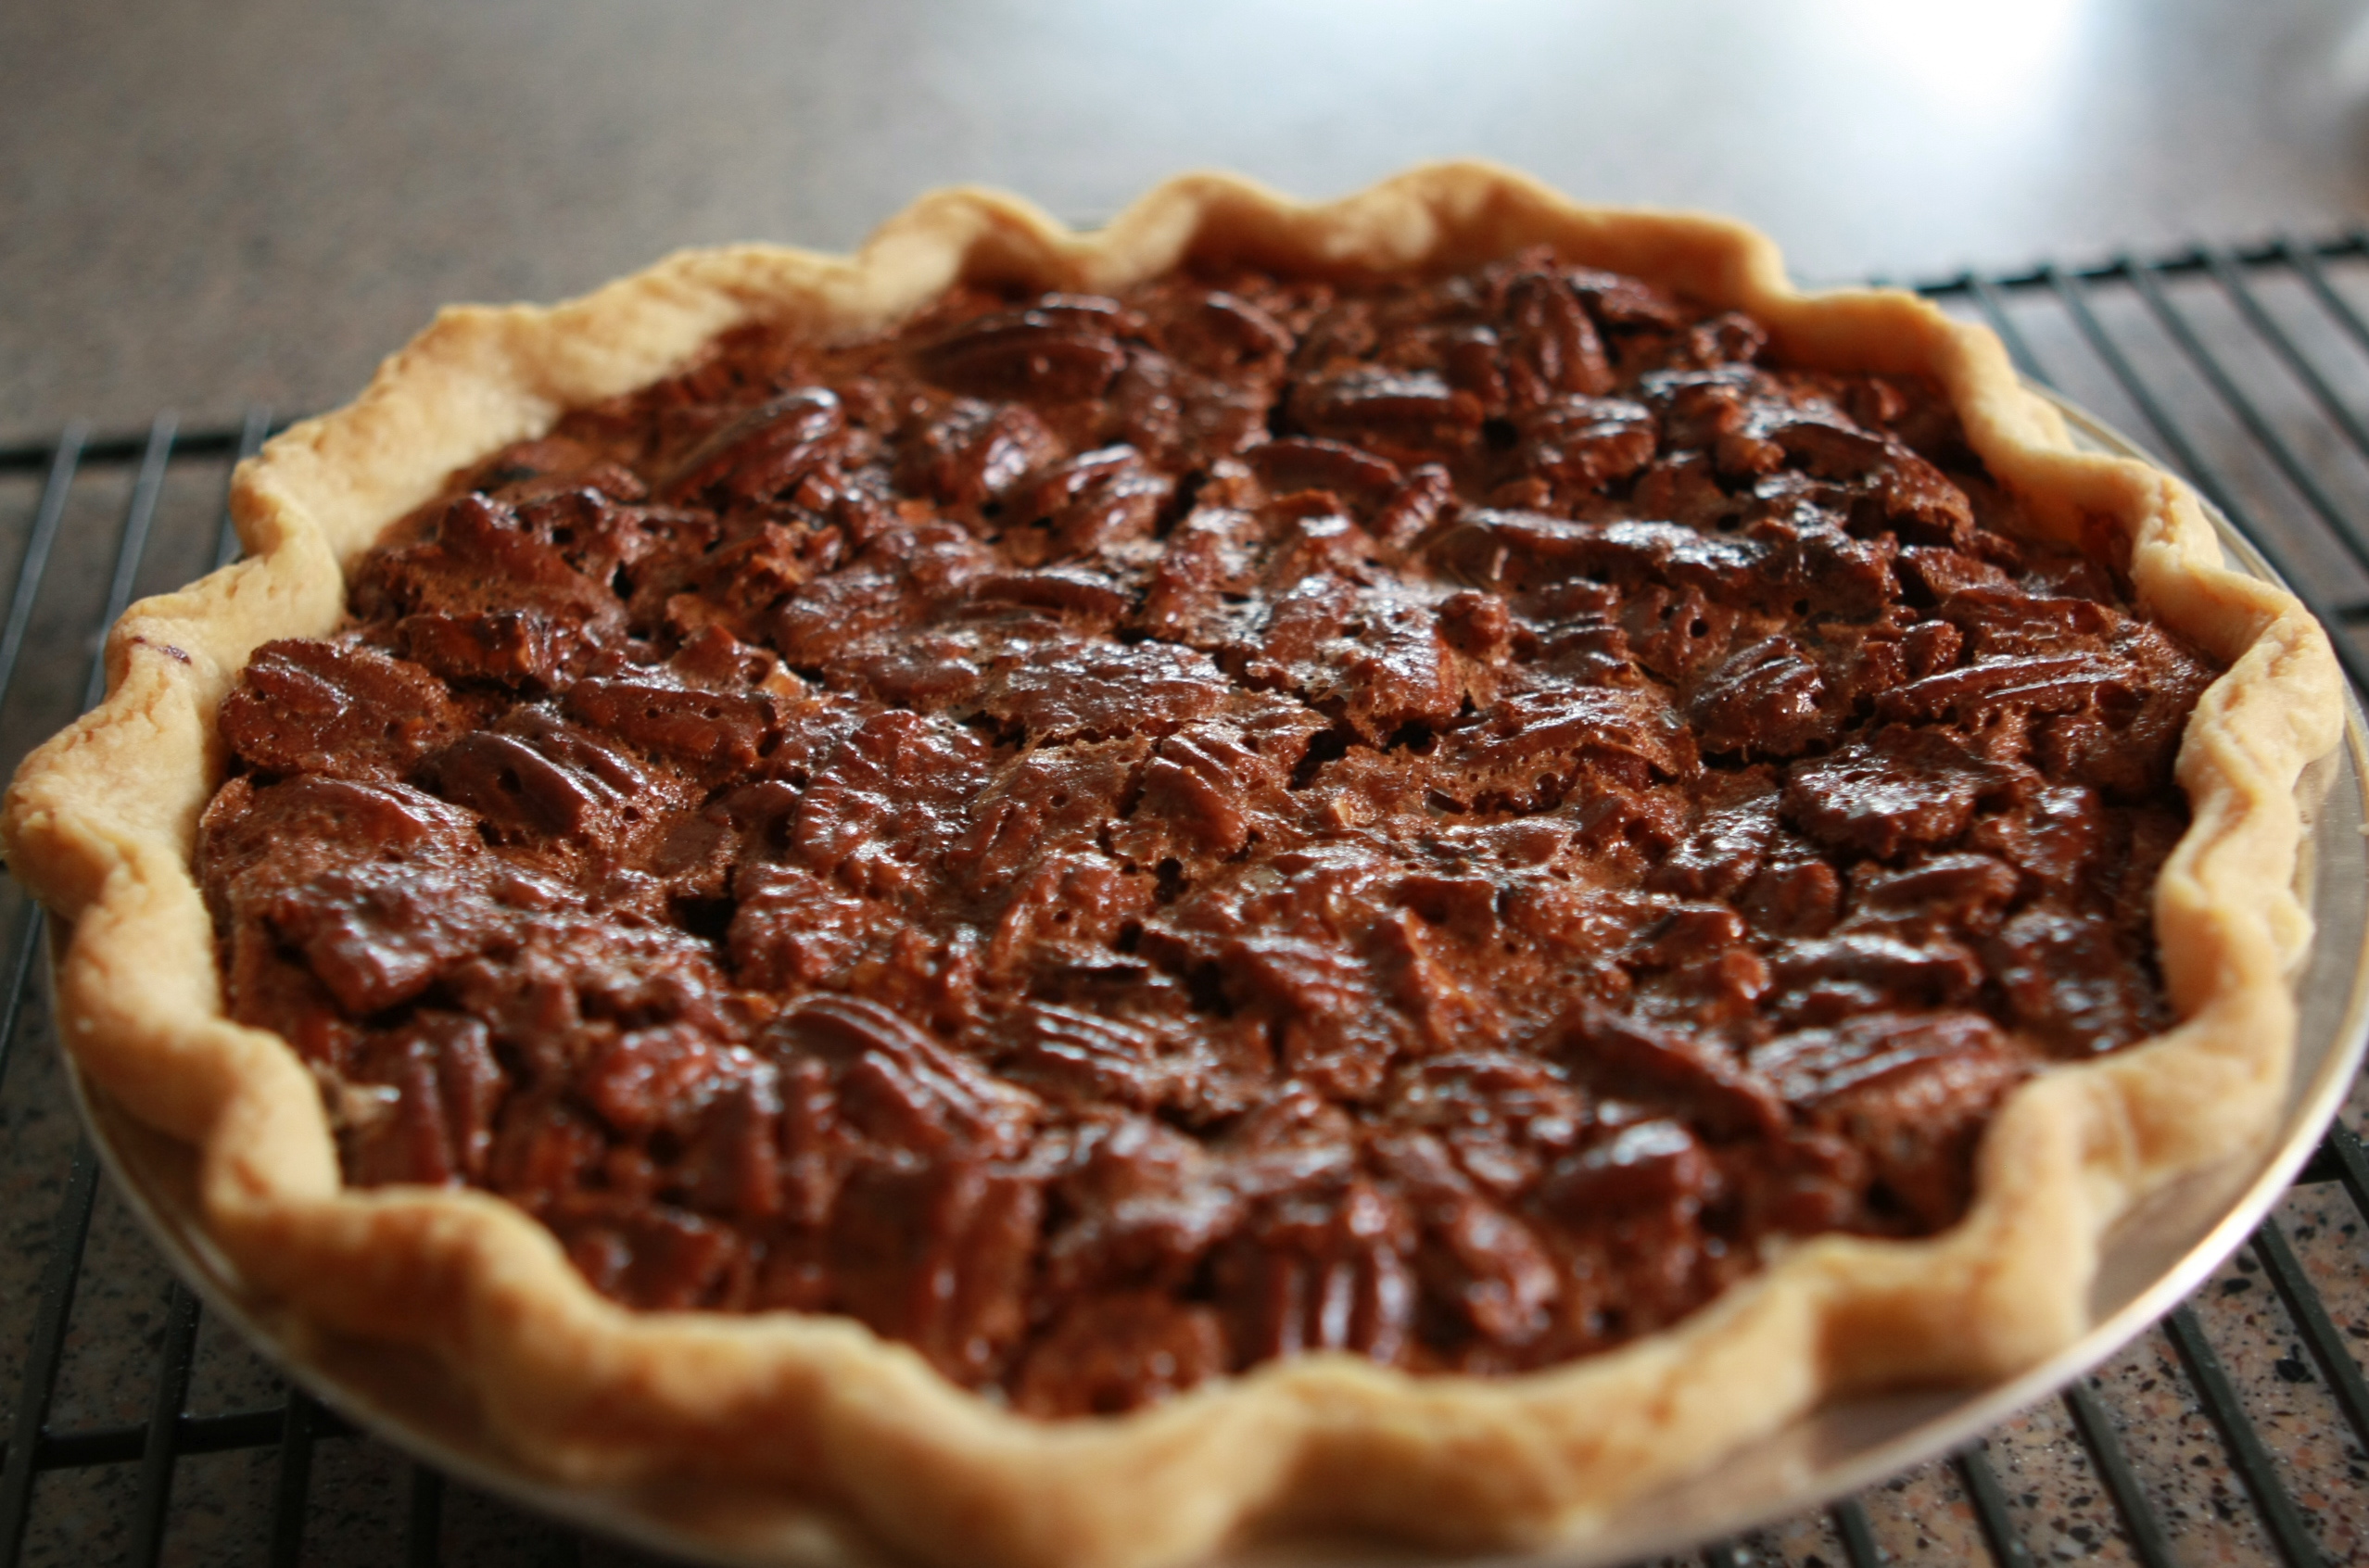
It doesn’t get any better than this.  Especially if you love Pecan Pie and chocolate, like I do.

My Mom went in search for a recipe for Chocolate Pecan Pie after a trip to New Orleans.  Somewhere along the way my parents had the most delicious Chocolate Pecan Pie at a restaurant (she can’t remember which one)… and fell in love.  After a long search, and some trial and error, she came up this family Thanksgiving favorite.

But first I have to show you this:

IMG_8162

It’s my Mom’s cookbook that my sister and sister-in-law made for my Mom for Mother’s Day last year.  They devoted a whole chapter to my Mom’s Thanksgiving recipes.  That’s where we turned for the Chocolate Pecan Pie recipe.

IMG_8165

It all begins with good quality semi-sweet chocolate.  I hate to say it, but it’s important not to skimp here.  Good chocolate makes the pie.  Cheap chocolate… not so much.  I usually use Guittard semi-sweet chocolate chips for this recipe.  (Which is on sale at my local grocery store this week, by the way.)  My Mom uses Semi-sweet baking bars or chips, which ever she has.

IMG_8169

Break up the 4 oz. chocolate bar (or add 1/2 cup chips) with 4 tablespoon butter.  Now, a professional chef would tell you to melt the chocolate and butter together in a double boiler, stirring constantly so as not to scald the chocolate.  We are not professionals.  We do things the fast way whenever we can.  So carefully melt the chocolate in the microwave for 30 seconds.  Take it out and stir it well.  Then back in the microwave for another 20 -30 seconds.  Do not over do it or you will scald the chocolate.  But it sure beats standing over the stove and stirring and stirring.

IMG_8170

Add 1/2 cup sugar, 1 cup light corn syrup, 1 1/4 vanilla and 1/4 salt.  Stir until well incorporated.

IMG_8189

In a separate bowl, beat the three eggs.

IMG_8193

Whisk into the chocolate mixture until well mixed.

IMG_8199

Roughly chop the pecans.  You can leave them whole if you prefer.  I personally don’t like eating (or cutting) a pie with whole pecans, so I rough chop them.

IMG_8203

Spread pecans into unbaked pie crust.

IMG_8209

Pour chocolate mixture over pecans.

IMG_8214

Bake at 350 degrees for 50 to 60 minutes.  Do not over bake. (A knife inserted one inch from the edge should come out clean.)

IMG_8355

Serve with freshly made whipped cream.

Here’s the recipe:

Chocolate Pecan Pie

  • 1 (4 oz.) package semi-sweet chocolate bar (1/2 cup of semi-sweet chips works too)
  • 4 Tbsp. butter
  • 1 cup light corn syrup
  • ½ cup sugar
  • 1 ¼ tsp. vanilla
  • ¼ tsp. salt
  • 3 eggs
  • 1 ½ cups pecan halves
  • 1 unbaked pastry pie shell

Melt semi-sweet chocolate with butter, stirring until smooth.  Remove from heat and beat in corn syrup, sugar, vanilla, and salt.  In a separate bowl, beat eggs.  Add to chocolate and beat until well incorporated.  Place pecans on bottom of pastry pie shell.  Pour chocolate mixture over the top of pecans.  Bake at 350 degrees for 50-60 minutes until a knife inserted 1 inch from the edge comes out clean.  Serve with whipped cream.

Click here for the printable recipe posted on Tasty Kitchen.

Archives


Virtual Quilting Bee