Hi, I’m Calli
Welcome! If you enjoy your visit, be sure to follow me:
Oh My Stars!
Canning Day Quilt

Posts Tagged ‘make it do’

Make it Do Gift Ideas: How to Make Fabric Flowers
IMG_7849

A few weeks ago, I decided to wander through Dear Lizzie, a small boutique near my home, to look for Handmade Christmas gift ideas.

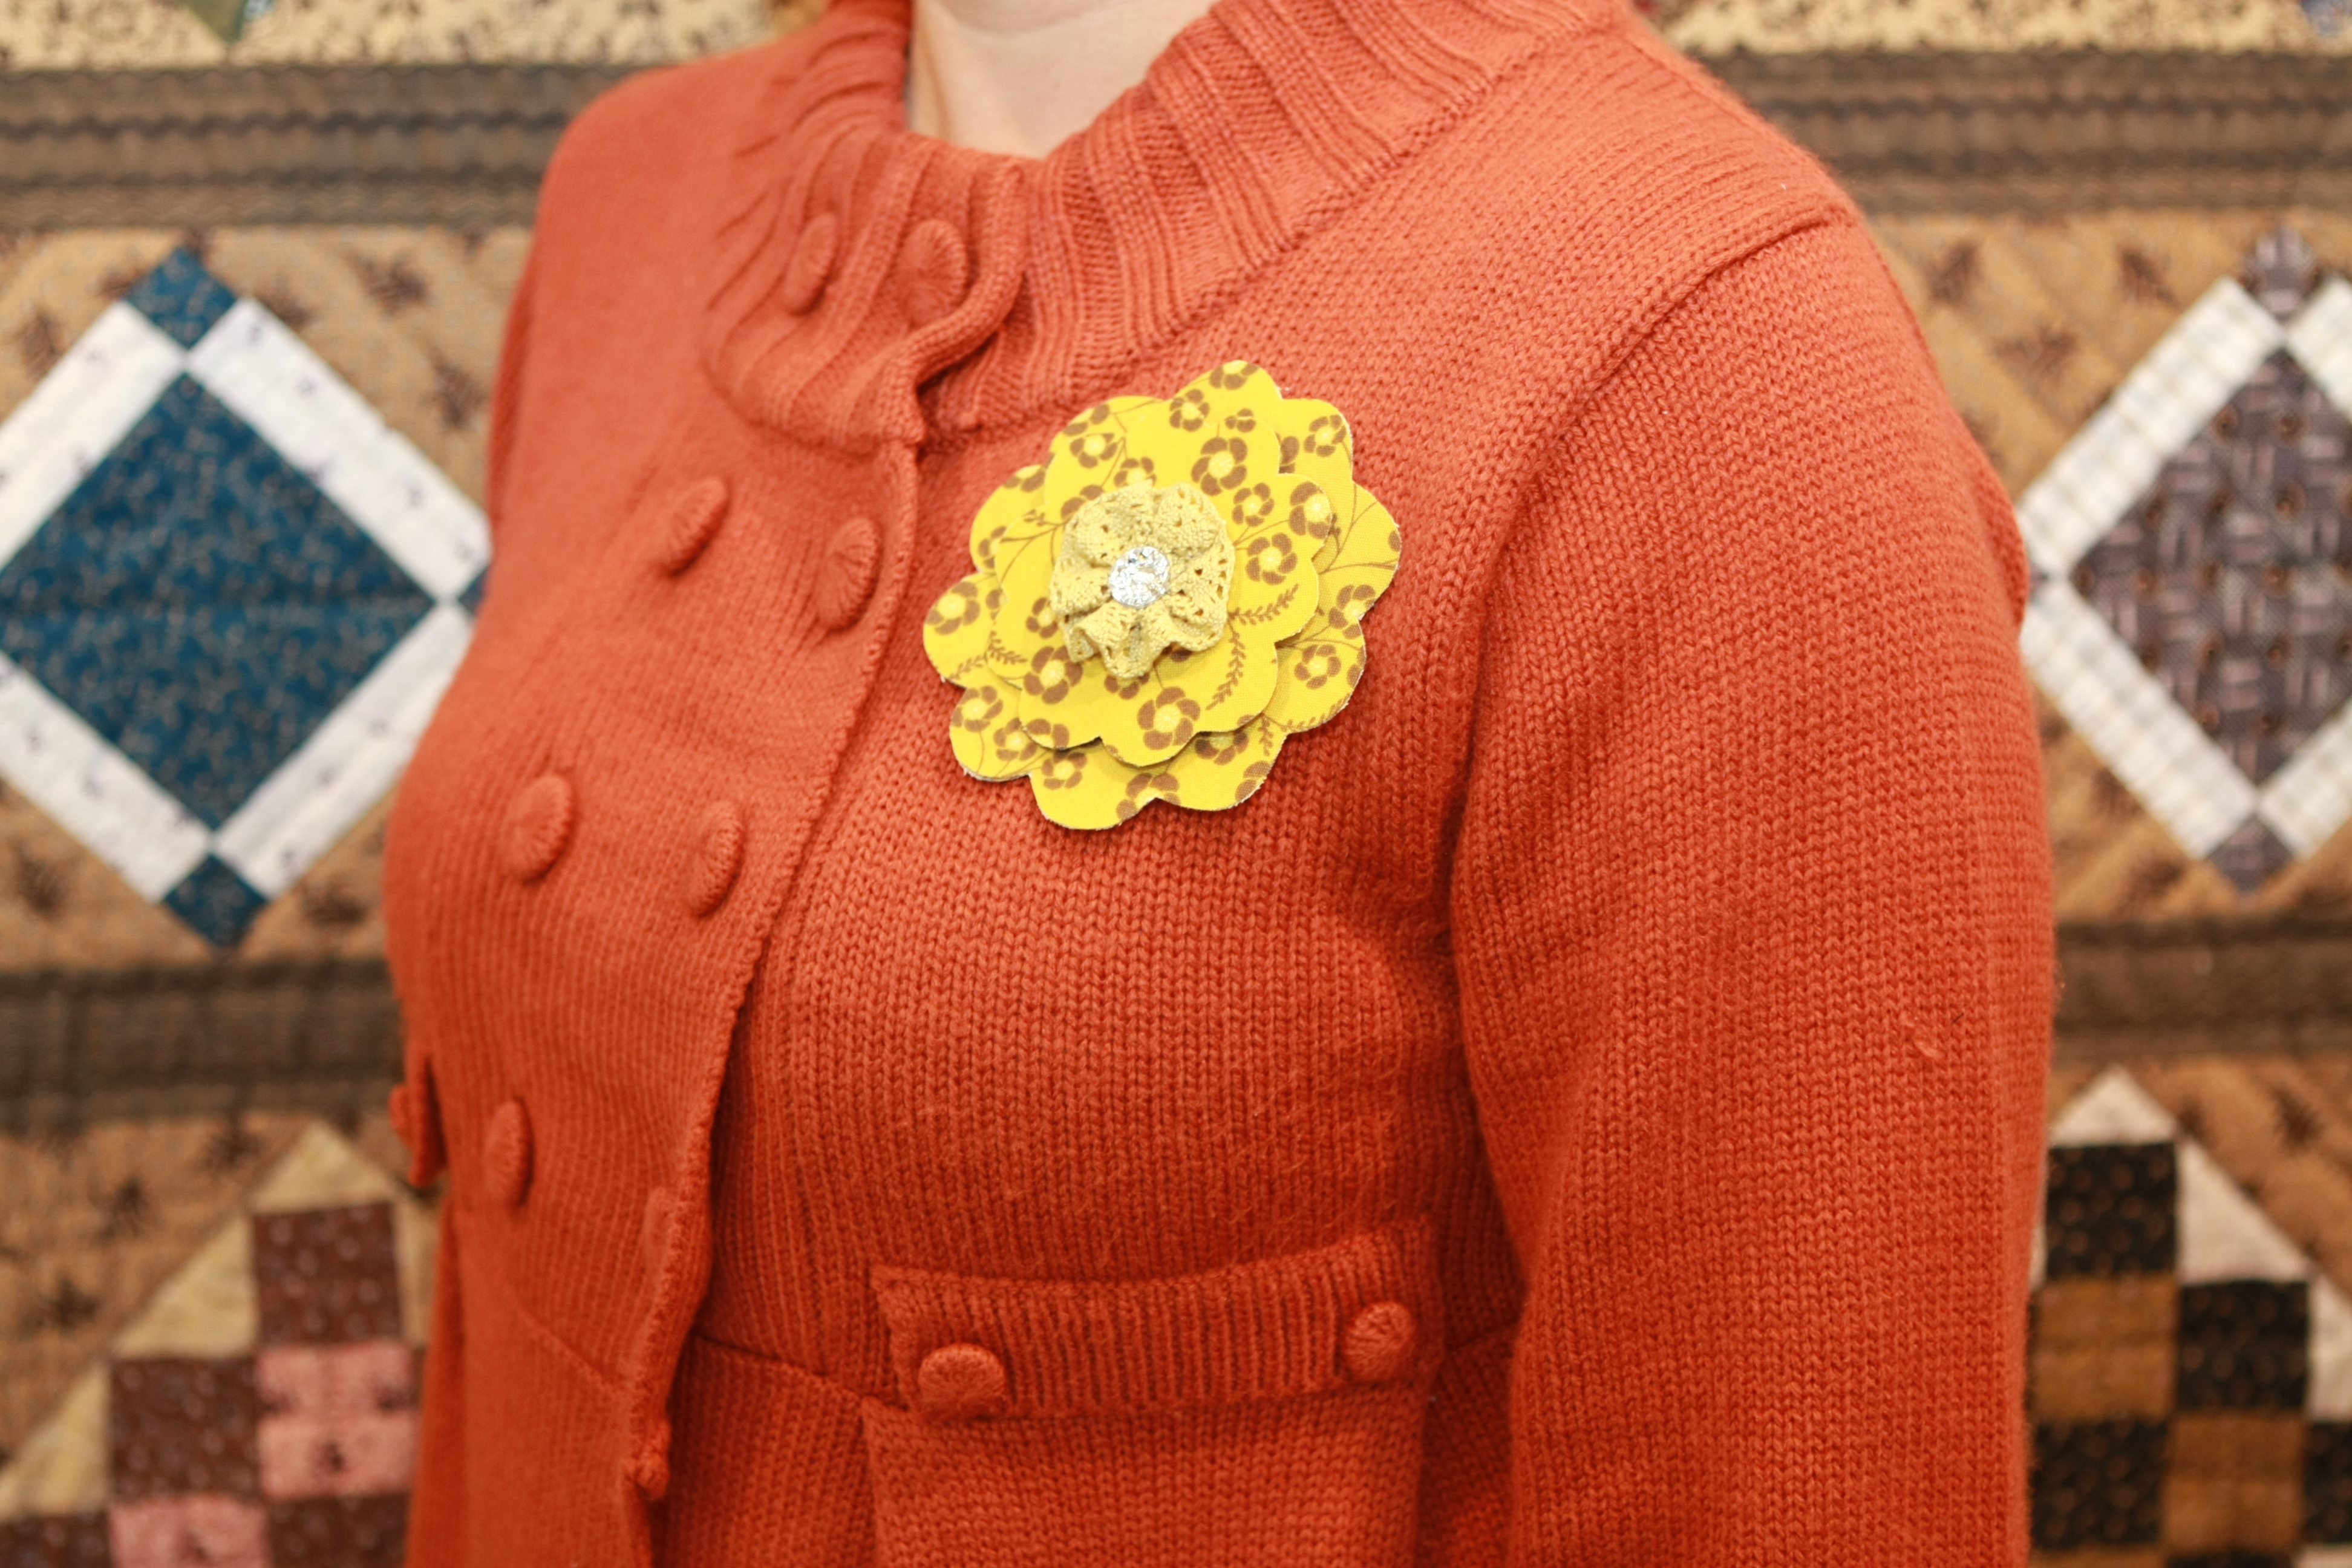
Right as I walked in the door, I spotted the perfect project.  It was a darling fabric flower pin, and I knew it would be easy to make at home.  It’s a perfect gift for a friend, mother, sister, or even a teacher.  The flowers at Dear Lizzie sold for about $15 dollars, it cost me less than a dollar to make these.  And it was a quick project that took me less than half an hour.

Here’s what you need for the project:

  • A small amount of fabric- scraps of fabric from a past project are perfect!
  • Light weight iron-on adhesive like Heat n Bond or Wonder Under
  • Wool Felt- just a small amount.  Again scraps from another project work great.
  • Buttons, large crystal beads, lace, tulle or any other embellishment you love.
  • A hair clip or a pin
  • Click here for a printable template of the flower.

IMG_7780

1.  Place the template under your iron-on adhesive and trace all three flowers.  Roughly cut out around the flowers, leaving a little edge.

2.  Following the intructions for the iron on adhesive, iron to the wrong side of fabric.

IMG_7786

3.  Carefully cut out the flowers.

IMG_7787

4.  Peel backing from iron-on adhesive.

IMG_7788

5.  Iron the flowers to the wrong side of fabric.

IMG_7789

6.  Carefully cut around flower edge, making your flowers double sided.

IMG_7797

7.  Cut out three circles from the felt.  For the first circle, I used the top of a shot glass.  Next flip it over and trace the smaller bottom of the glass.  The last circle was about the size of a penny.  So you are basically going from large to small circles.  You can usually use a pencil to trace the circles onto the felt.

IMG_7800

8.  In the largest circle, cut two small slits, across from each other.  This will be to slip a hairclip or pin into, as you can see below.

IMG_7801

Remove clip before stitching felt into place.

IMG_7803

9.  Center largest circle onto largest flower and stitch around edge.  This may be done on the machine or by hand.

IMG_7793

10.  Layer large flower, then medium felt circle, then medium flower, small felt, the small flower.

IMG_7808

11.  Center a button in the middle of the flowers and using a heavy duty thread, and a sharp needle, stitch through all the layers to sew the layers together and the button into place.

IMG_7812

You can also use a layer of lace before you sew on the button.  Using long thread, I weave the needle in and out of the bottom of 7 inches of lace.  Then pull both ends of the thread and gather the lace in tight.  Tie the thread into a knot.  IMG_7816

Trim off the end of the lace.  I used my still attached needle to weave the two ends of the lace together.  This is an optional step.

IMG_7826

I used one less layer of flower for this flower pin. I stitched the lace to the flower below it, before securing the button.IMG_7846

These pins are perfect to embellish a purse… like this Swing Bag from Amy Butler.

IMG_7841

Or slip in a hair clip for a wonderful hair accessory.

These flower pins make a fun, easy and thoughtful handmade gift.  If you prefer one out of ribbon, don’t forget the tutorial for ribbon flower pins I made in the Spring… they would be wonderful in reds, greens, silver or golds for the Holidays.

IMG_3212

Thinking about November

thanksgiving

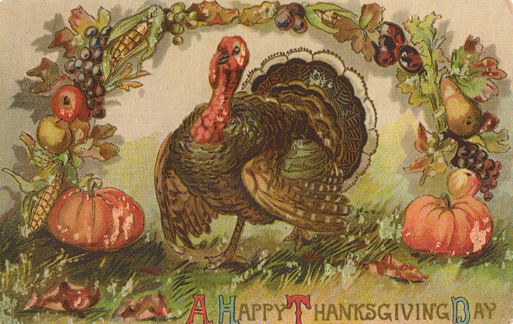
While this is the month I start to get ready for Christmas, I try very hard not to look past November and to focus on what it represents.

It’s a bleak month at first glance.  The brilliant Autumn leaves have  turned brown, the trees rattle with the few stalwart leaves upon the bare branches.  And the wind never seems to end.

But, I love Thanksgiving and celebrating the harvest.  I love taking stock of my blessings.  I love making Thanksgiving dinner, which we often host at our home.  I love watching my husband make the turkey, stuffing and gravy.  I love watching him teach my son to cook and see my son’s fascination, curiosity and disgust at the raw turkey with it’s giblets and neck (me too, Ben, the disgusted part anyway.)

I love making pies with my daughters.  I love to bake the pie crust scraps on a cookie sheet with cinnamon and sugar sprinkles for my children, just like my mom did when I was a girl.  I love setting the long table with my favorite dishes and the smells of the day.  I love having family gather round.

I remember being enthralled with the tales of the Pilgrim’s first Thanksgiving.  But now I know the realities of that time were much harsher and more difficult than childhood stories could ever betray.   Yet, despite having suffered disease, the death of loved ones and enduring great struggle, the Pilgrims saw fit to celebrate their blessings.

Abraham Lincoln made Thanksgiving an official American holiday in 1863 during the darkest days of the American Civil War.  And for me the message is clear: it is when we are struggling, when we are in the darkest times, that gratitude is not only possible, but becomes most important.

It is with a heart full of gratitude that I start this month of Thanksgiving.

The month will be filled with projects… making gifts, cards and getting ready for the holidays.  The rest of this week, I will be sharing ideas for handmade gifts that will help me start checking projects off my gift list.  For me, making gifts for loved ones is an act of thanksgiving.

You give but little when you give of your possessions.  It is when you give of yourself that you truly give.  ~Kahlil Gibran, The Prophet


Archives


Virtual Quilting Bee