Hi, I’m Calli
Welcome! If you enjoy your visit, be sure to follow me:
Oh My Stars!
Canning Day Quilt

Posts Tagged ‘make it do’

Just in Time- Harry Potter Quidditch Costume
IMG_7689

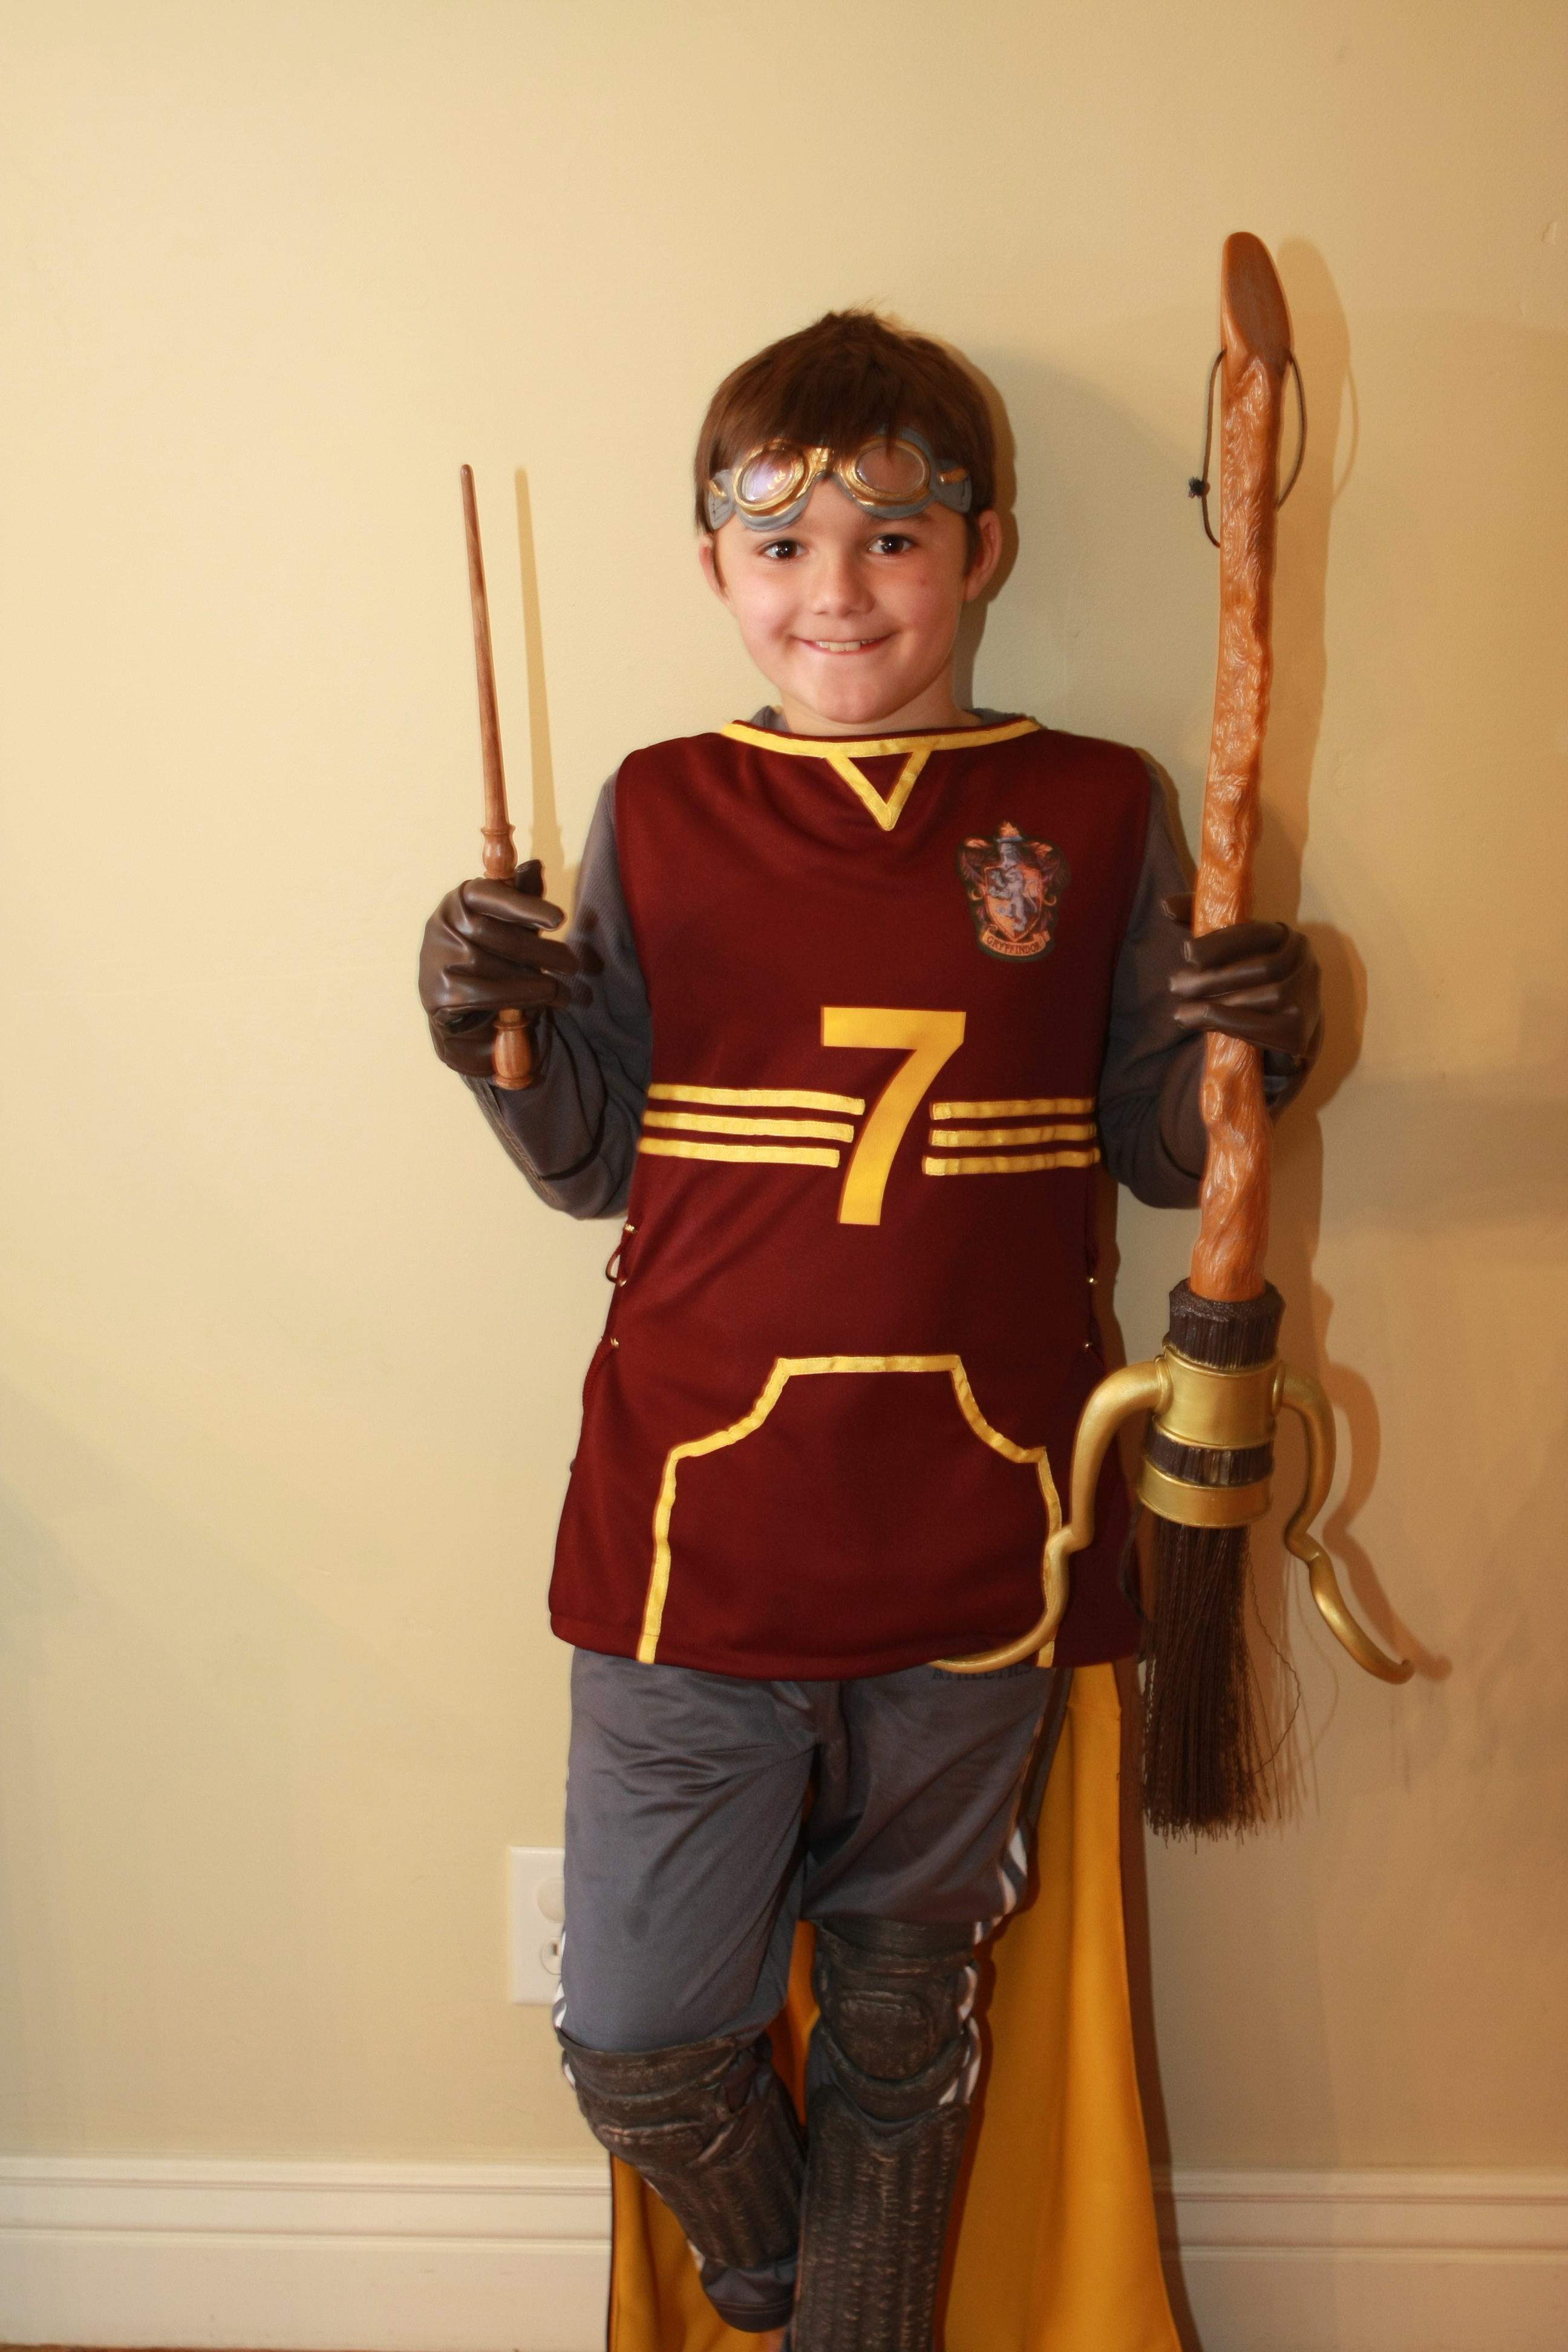
With a busy morning of getting everyone in their costumes, we just had time to snap a quick shot of my son in his Quidditch uniform before running to catch the school bus.

I am happy to say I finished his costume without staying up til 2:00 am.  Sewing the costume jersey was actually was very easy, despite the fact that I made the pattern up in my head.  I only used my seam ripper twice.  Once because I thought I had made a mistake, and the other because I realized I had done it right the first time.  The fabric was called Ponte, and I was able to by it at 50% off bringing my total in fabric to only $6.  It looked athletic fabricish and all in all was the perfect fabric for the project.

For this costume, the devil was in the details.  Most of the time was spent sewing the ribbon trim.  For the trim I used the wrong side of a  3/8″ satin gold ribbon.  The ribbon however didn’t have the ability to curve the way it should, and if I were to do it again, I would have invested in a  1/4″ Bias Tape Maker.  I could have used gold cotton fabric to make the bias tape (my Mom’s suggestion all along) and it would have made the curves nicely without buckling like the ribbon did.  But you know what they say about costumes?  If you can’t see it from a galloping horse, the mistake really doesn’t matter.  (At least that’s what I tell myself.)  The other thing they say is “Always listen to your mother.”

The best part was using Transfer Magic- Transfer to Dark to make the numbers and crest for the costume.  It worked like a charm.  I made the numbers in Word using Arial Bold sized to 650 percent and colored gold.  Then I printed them from a inkjet printer.  Again, since it isn’t recommended to use the Transfer Magic on synthetic fabrics, I kept the iron moving slightly to keep it from leaving an iron mark.  I also put grommets and lacing down the sides of the costume.

Ben wore his gray athletic pants and a gray long sleeve waffle t-shirt under the jersey. We did buy in a Quidditch accessories kit and broom from the costume shop.  They were made in Taiwan, and guess what?  They are utter garbage.   I wish I would have used my ingenuity and made something out of faux leather.  I could have made the goggles using a tutoral from dadcando.com (Have I mentioned how much I dig this site.)  I think I want to try and make the snitch they have on Dadcando as well.

IMG_7704

They’re off to our little yellow school bus…  which they are imagining is the H0gwart’s Express.

Two Harry Potter Costumes Down and One to Go

IMG_7675

I’ve done it again.  I’ve somehow managed to leave costume-making to the last minute, despite best intentions.  I’ve finished my girls Hogwarts school uniforms- a little Ginny and Hermione. But my son’s Quidditch costume, which I have had to completely design is still in the early phases.  If I am up until 2:00 am tonight sewing, I am going to be really put out.

Here’s a little about the girl’s Hogwarts uniforms.  I wanted to make them nice enough to be worn as regular clothing.  I started with the skirts and went looking for a pattern.  I loved the pleated skirt pattern from Oliver + S, but could not bring myself to spend $15.95 for a pattern.  In the end, I found a very nice pattern- McCall’s M5459 on sale for .99 and the skirts turned out just how I hoped.  They have an elastic in the back, which I prefer over zippers, buttons or hooks.  And I was able to easily alter the pattern to fit my very skinny little girls.

IMG_7682

The cloaks were a different matter, they will never be worn to school (unless that owl arrives) but, they will be worn for dress ups often in the coming year, so I made them out of an inexpensive polyester gabardine which I found for 50% off. I intended to use the cloak pattern I used last year to make cloaks, but after looking at it carefully, concluded it would not look like a Hogwarts cloak.  So I made up the pattern.  This wasn’t as easy as I thought it might be, and I ended up using my seam ripper more than a few times.  But, they are finished and I am happy with the results.  I used Transfer Magic- Inkjet Transfer to Dark transfer paper to make the crest chest patch.  I will also be using the the transfer paper to apply the number and crest on my son’s Quidditch uniform. It worked really well, I just had to be really careful about transferring to the polyester fabric, which is not recommended.  Test it on small scrap of fabric first.  I recommend keeping the iron moving slightly or you may have an iron mark on your fabric.

We already had white oxford button down shirts, black tights, and shoes.  I purchased the sweaters, which are cute enough to wear all winter and plain red children’s neckties to complete the look.  I considered painting gold stripes with fabric paint, but decided not to.  I would rather have the ties usable for the future, than ruin them for one night’s use.

Next came the wands, I came across the most amazing tutorial on how to make wands out of paper from dadcando.com (a very cool site, by the way.)  We made three practice wands, but had not painted them yet when a surprise showed up on the doorstep.  My husband had purchased Alivan’s Wands, which he has been eyeing for years.  Would you believe they had wands on sale for $7.99?  The kids were surprised and absolutely thrilled.  They are real wood and wonderful… and about the same price as a cheap plastic wand.

Wish me luck with the Quidditch costume.  With any luck, I will end up with something remotely resembling these:HBP-Quidditch:

Archives


Virtual Quilting Bee