Posts Tagged ‘making fabric flower pins’
Make it Do Gift Ideas: How to Make Fabric Flowers
A few weeks ago, I decided to wander through Dear Lizzie, a small boutique near my home, to look for Handmade Christmas gift ideas.
Right as I walked in the door, I spotted the perfect project. It was a darling fabric flower pin, and I knew it would be easy to make at home. It’s a perfect gift for a friend, mother, sister, or even a teacher. The flowers at Dear Lizzie sold for about $15 dollars, it cost me less than a dollar to make these. And it was a quick project that took me less than half an hour.
Here’s what you need for the project:
- A small amount of fabric- scraps of fabric from a past project are perfect!
- Light weight iron-on adhesive like Heat n Bond or Wonder Under
- Wool Felt- just a small amount. Again scraps from another project work great.
- Buttons, large crystal beads, lace, tulle or any other embellishment you love.
- A hair clip or a pin
- Click here for a printable template of the flower.
1. Place the template under your iron-on adhesive and trace all three flowers. Roughly cut out around the flowers, leaving a little edge.
2. Following the intructions for the iron on adhesive, iron to the wrong side of fabric.
3. Carefully cut out the flowers.
4. Peel backing from iron-on adhesive.
5. Iron the flowers to the wrong side of fabric.
6. Carefully cut around flower edge, making your flowers double sided.
7. Cut out three circles from the felt. For the first circle, I used the top of a shot glass. Next flip it over and trace the smaller bottom of the glass. The last circle was about the size of a penny. So you are basically going from large to small circles. You can usually use a pencil to trace the circles onto the felt.
8. In the largest circle, cut two small slits, across from each other. This will be to slip a hairclip or pin into, as you can see below.
Remove clip before stitching felt into place.
9. Center largest circle onto largest flower and stitch around edge. This may be done on the machine or by hand.
10. Layer large flower, then medium felt circle, then medium flower, small felt, the small flower.
11. Center a button in the middle of the flowers and using a heavy duty thread, and a sharp needle, stitch through all the layers to sew the layers together and the button into place.
You can also use a layer of lace before you sew on the button. Using long thread, I weave the needle in and out of the bottom of 7 inches of lace. Then pull both ends of the thread and gather the lace in tight. Tie the thread into a knot. 
Trim off the end of the lace. I used my still attached needle to weave the two ends of the lace together. This is an optional step.
I used one less layer of flower for this flower pin. I stitched the lace to the flower below it, before securing the button.
These pins are perfect to embellish a purse… like this Swing Bag from Amy Butler.
Or slip in a hair clip for a wonderful hair accessory.
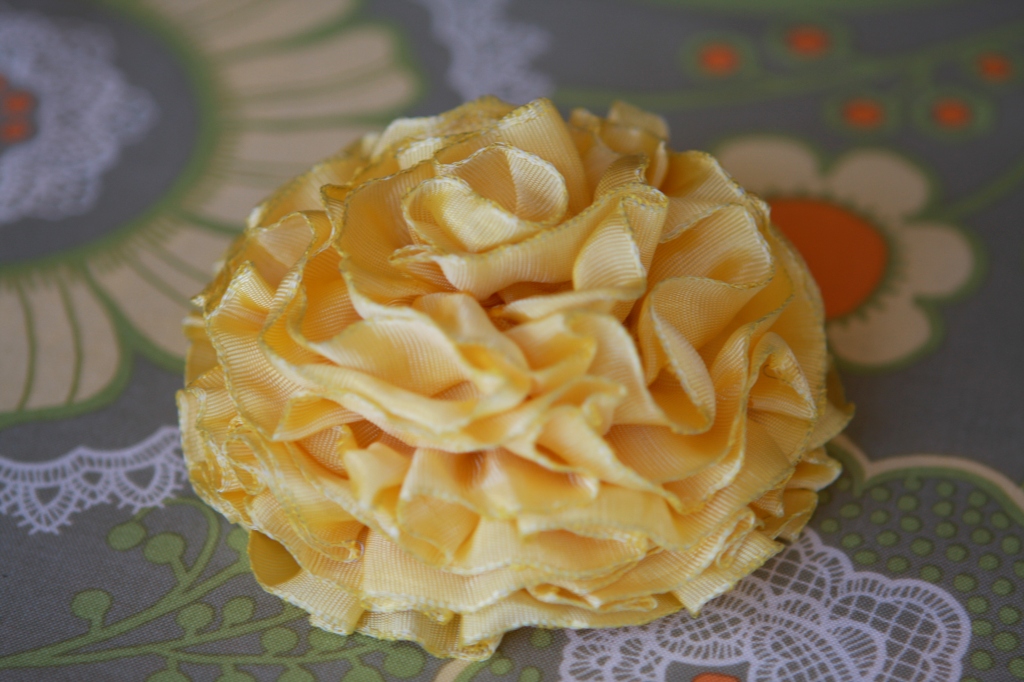
These flower pins make a fun, easy and thoughtful handmade gift. If you prefer one out of ribbon, don’t forget the tutorial for ribbon flower pins I made in the Spring… they would be wonderful in reds, greens, silver or golds for the Holidays.


