Posts Tagged ‘teaching kids to embroider’
Embroidery Lessons on a Rainy Day
If you live in Utah or near by and get the TV station ABC4, check out Good Things Utah today at 10:00 am. I am giving away my flouncy little apron and ribbon flower pin from Give Away Today to an audience member. On Friday I will be giving away a half apron at Give Away Today… all you have to do is leave a comment to be registered to win.
Rainy days in June are usually a rare occurrence for Utah… but the last few days have been overcast and this afternoon we had a wonderful downpour. My darling neighbor girls were over to play and since we were stuck inside… we decided to try our hand at a bit of embroidery.
I’d like to tell you I had the whole project planned and I had everything I needed, but that wasn’t the case. Oh well, I am a “Make it Do” kind of gal. I scrounged around to find hoops, needles, left over embroidery floss, and some muslin… I was in business.
One Pretty Thing published some darling free patterns today that I printed off. (I love free and darling in the same sentence.) But I didn’t have a transfer paper or anything fancy like that… I simply taped the pattern to my window. Then centered the fabric and taped it to the pattern. Using a fine point Mark B-Gone Pen I traced the pattern onto the fabric. (I was wishing I had a fine point brown pigma pen, but oh well).
I taught the girls one simple stitch today… a back stitch. It’s easy to learn and since I am not an expert, it’s easy to teach. It is the same first stitch my mom taught me many years ago. Here is a wonderful “how to” resource for embroidery stitches from the Embroiderers’ Guild.
This is how we got started:
- I traced their pattern onto the fabric.
- Then I placed the fabric into an embroidery hoop.
- I cut the embroidery floss about 18 inches long. That is a good length for children to work with.
- I split the floss in half so I had three strands.
- Tie a knot at the end of the floss and thread the needle.
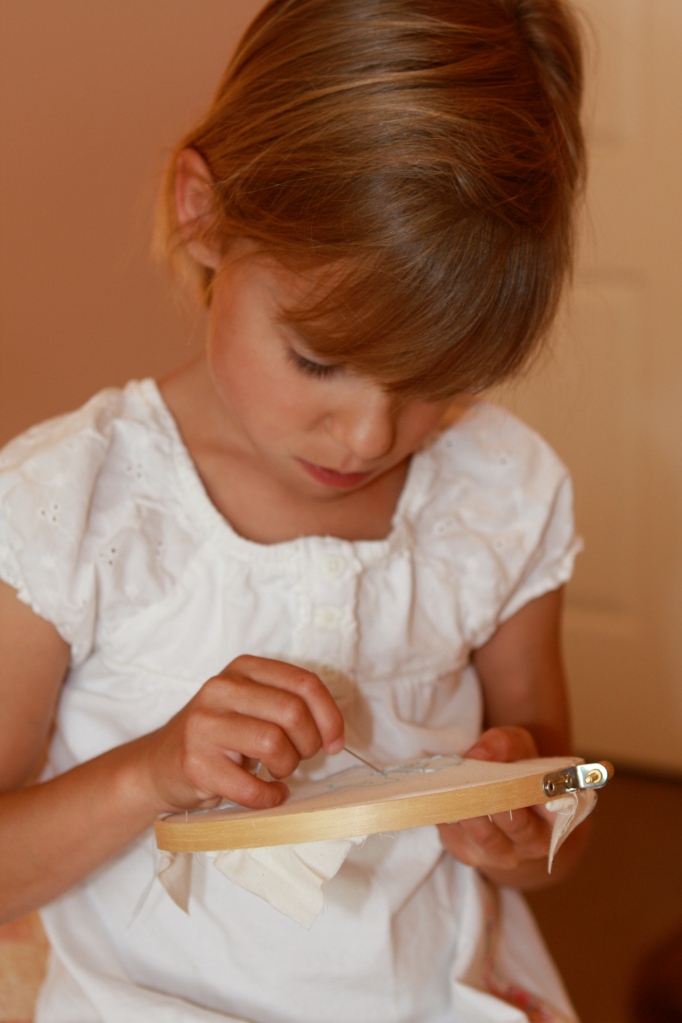
- I sat next to each child individually and taught them by making the first few stitches.
- Then I turned them loose. Maybe I am easily impressed but I think they took to it like ducks to water….
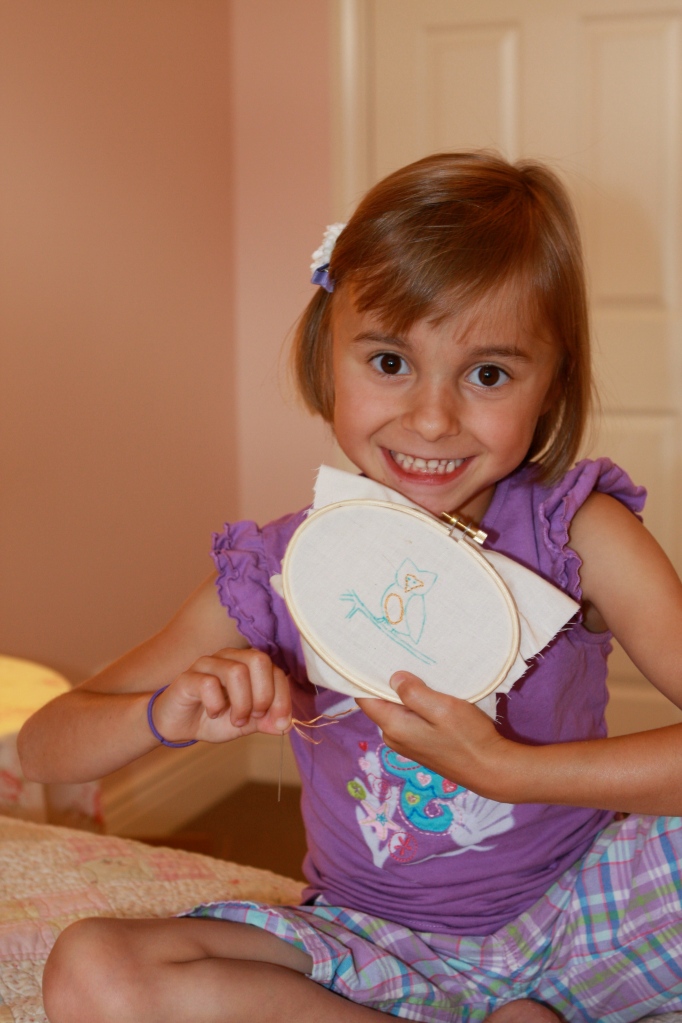
Here is Lily’s handiwork. It’s wonderful for a seven year old on her first try. (Did I mention that I’m her mother?)
Emma is going to keep me busy setting up new projects for her… she has about ten things planned after she finishes her owl. I think she takes after my Mom… her Nan.
Here’s my favorite old time embroidery story. A little girl sat down and dutifully stitched her embroidery…. when she stood up her lovely stitchery was completely attached to her skirt. I guess the moral of the story is stitch in pants.

